
Data Sphere BatRep! Corregidor Jurisdictional Command vs. Qapu Khalqi

Arachas’s Corregidor vs. Scorch’s Qapu Khalqi
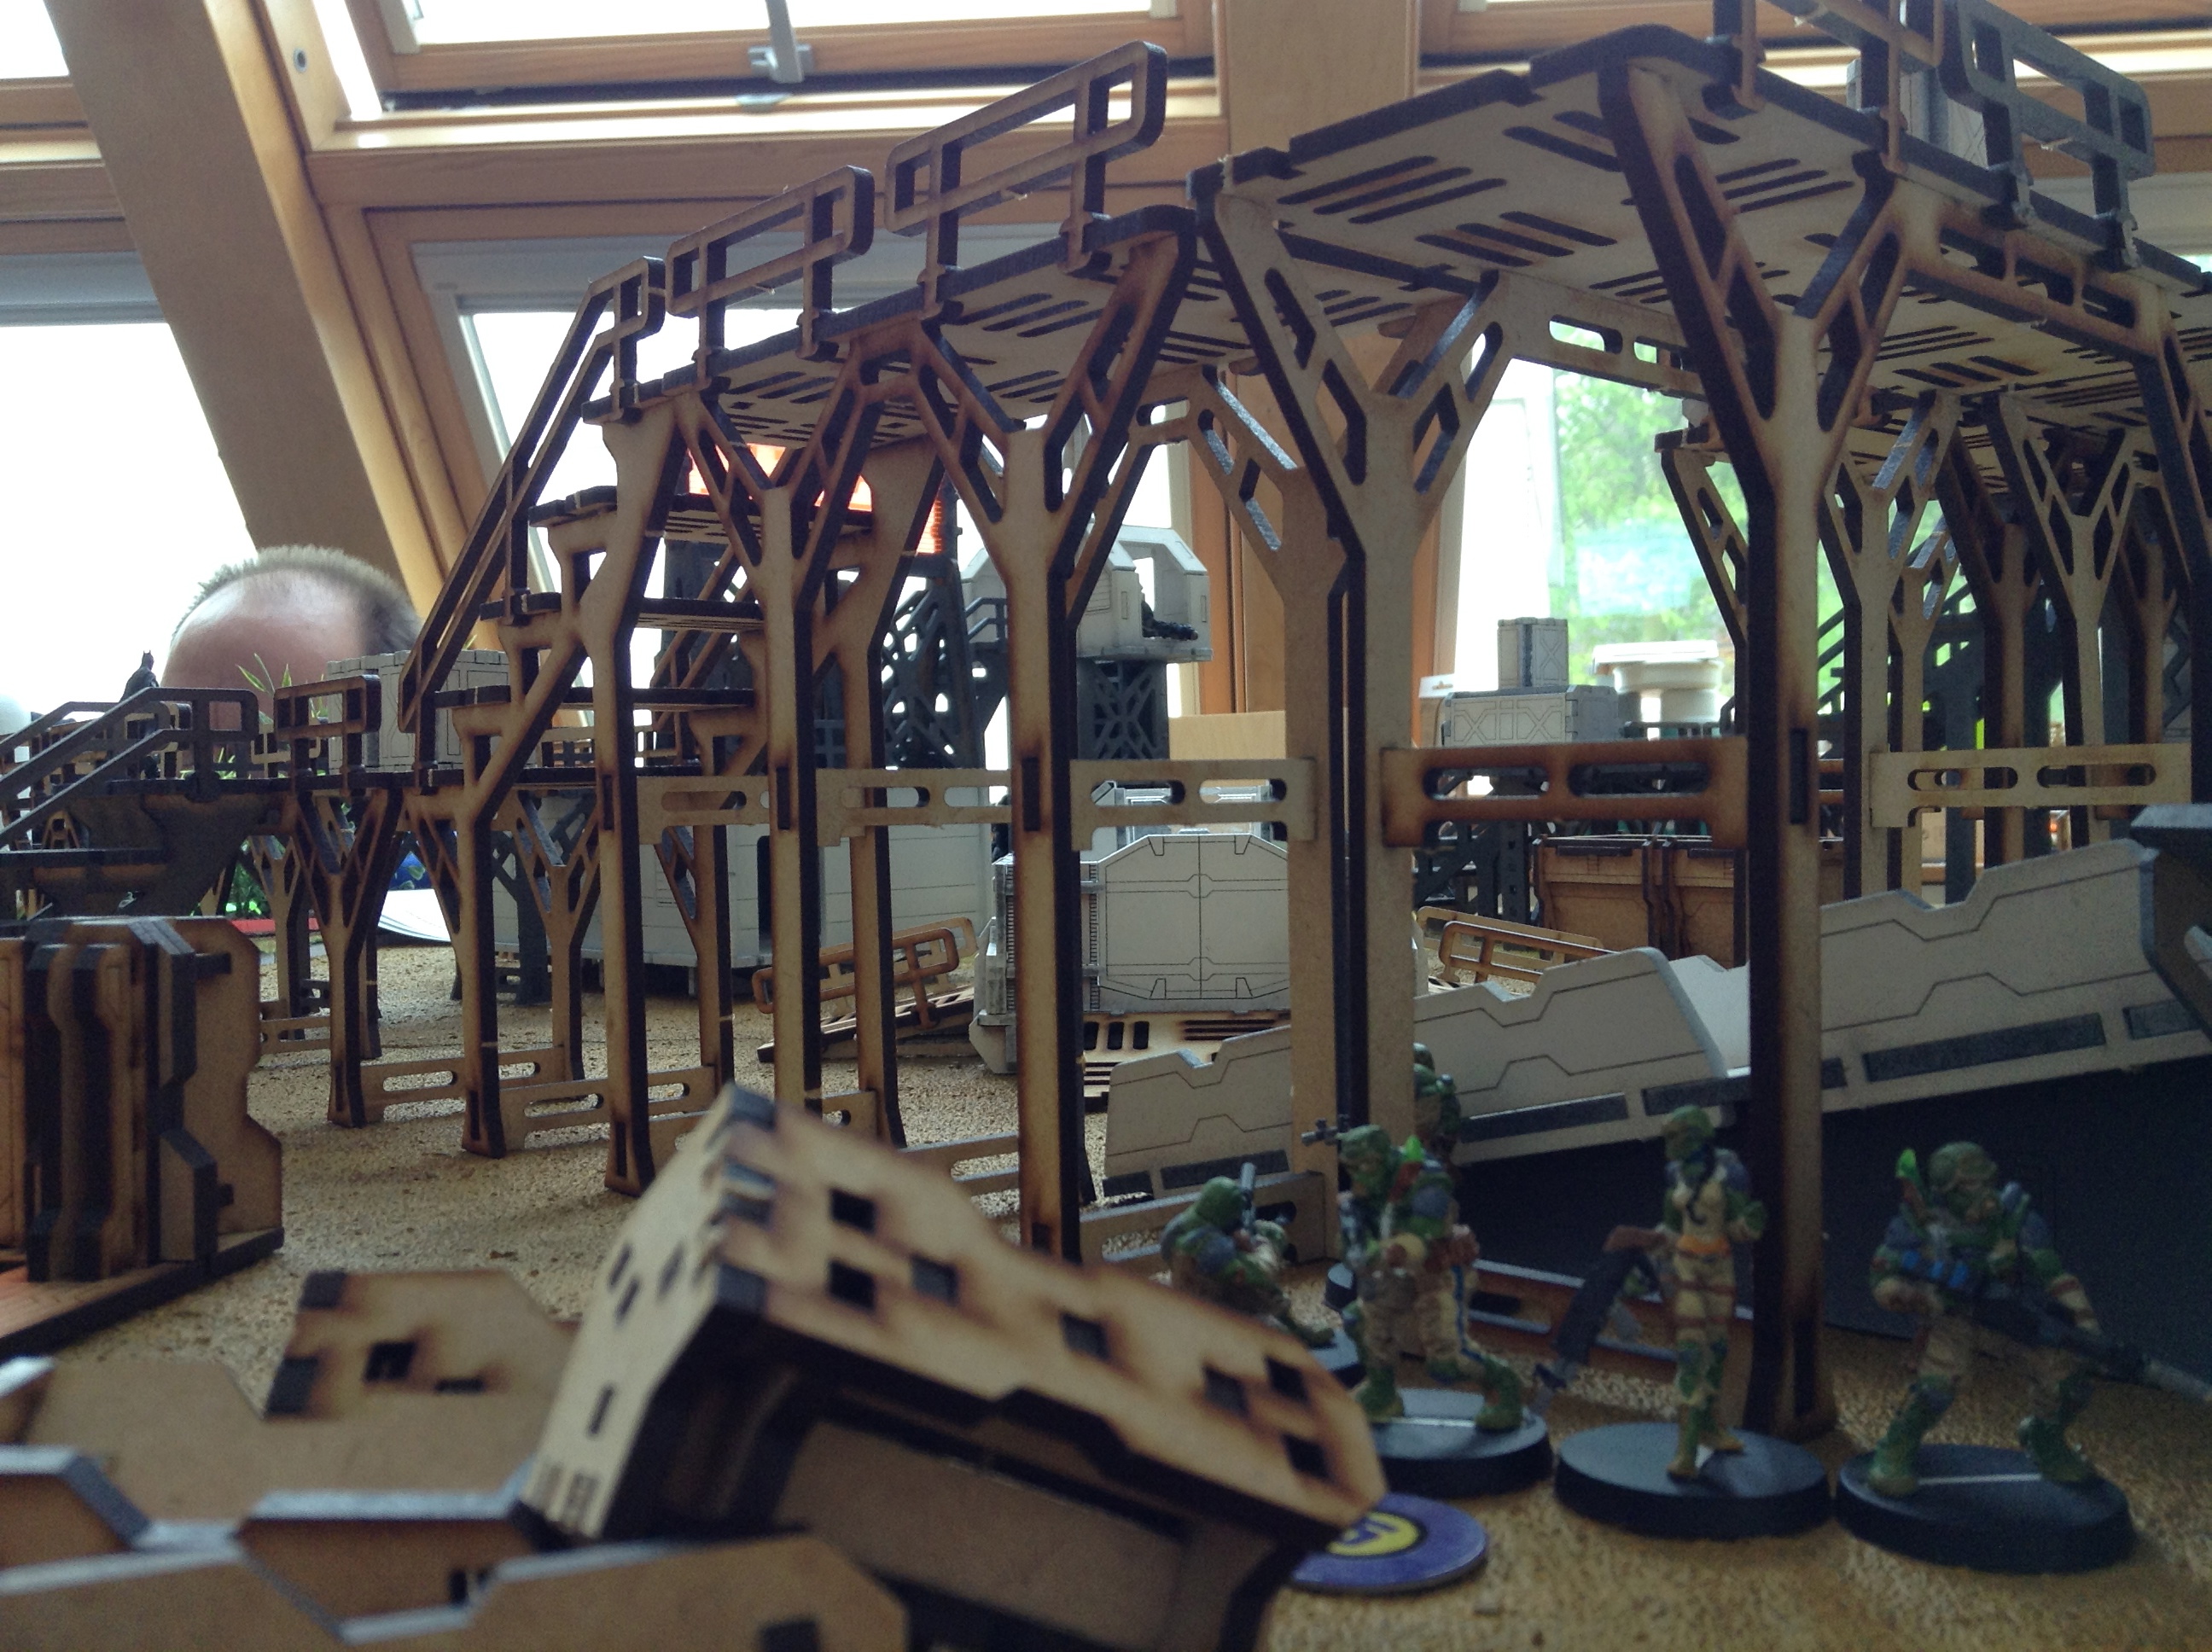
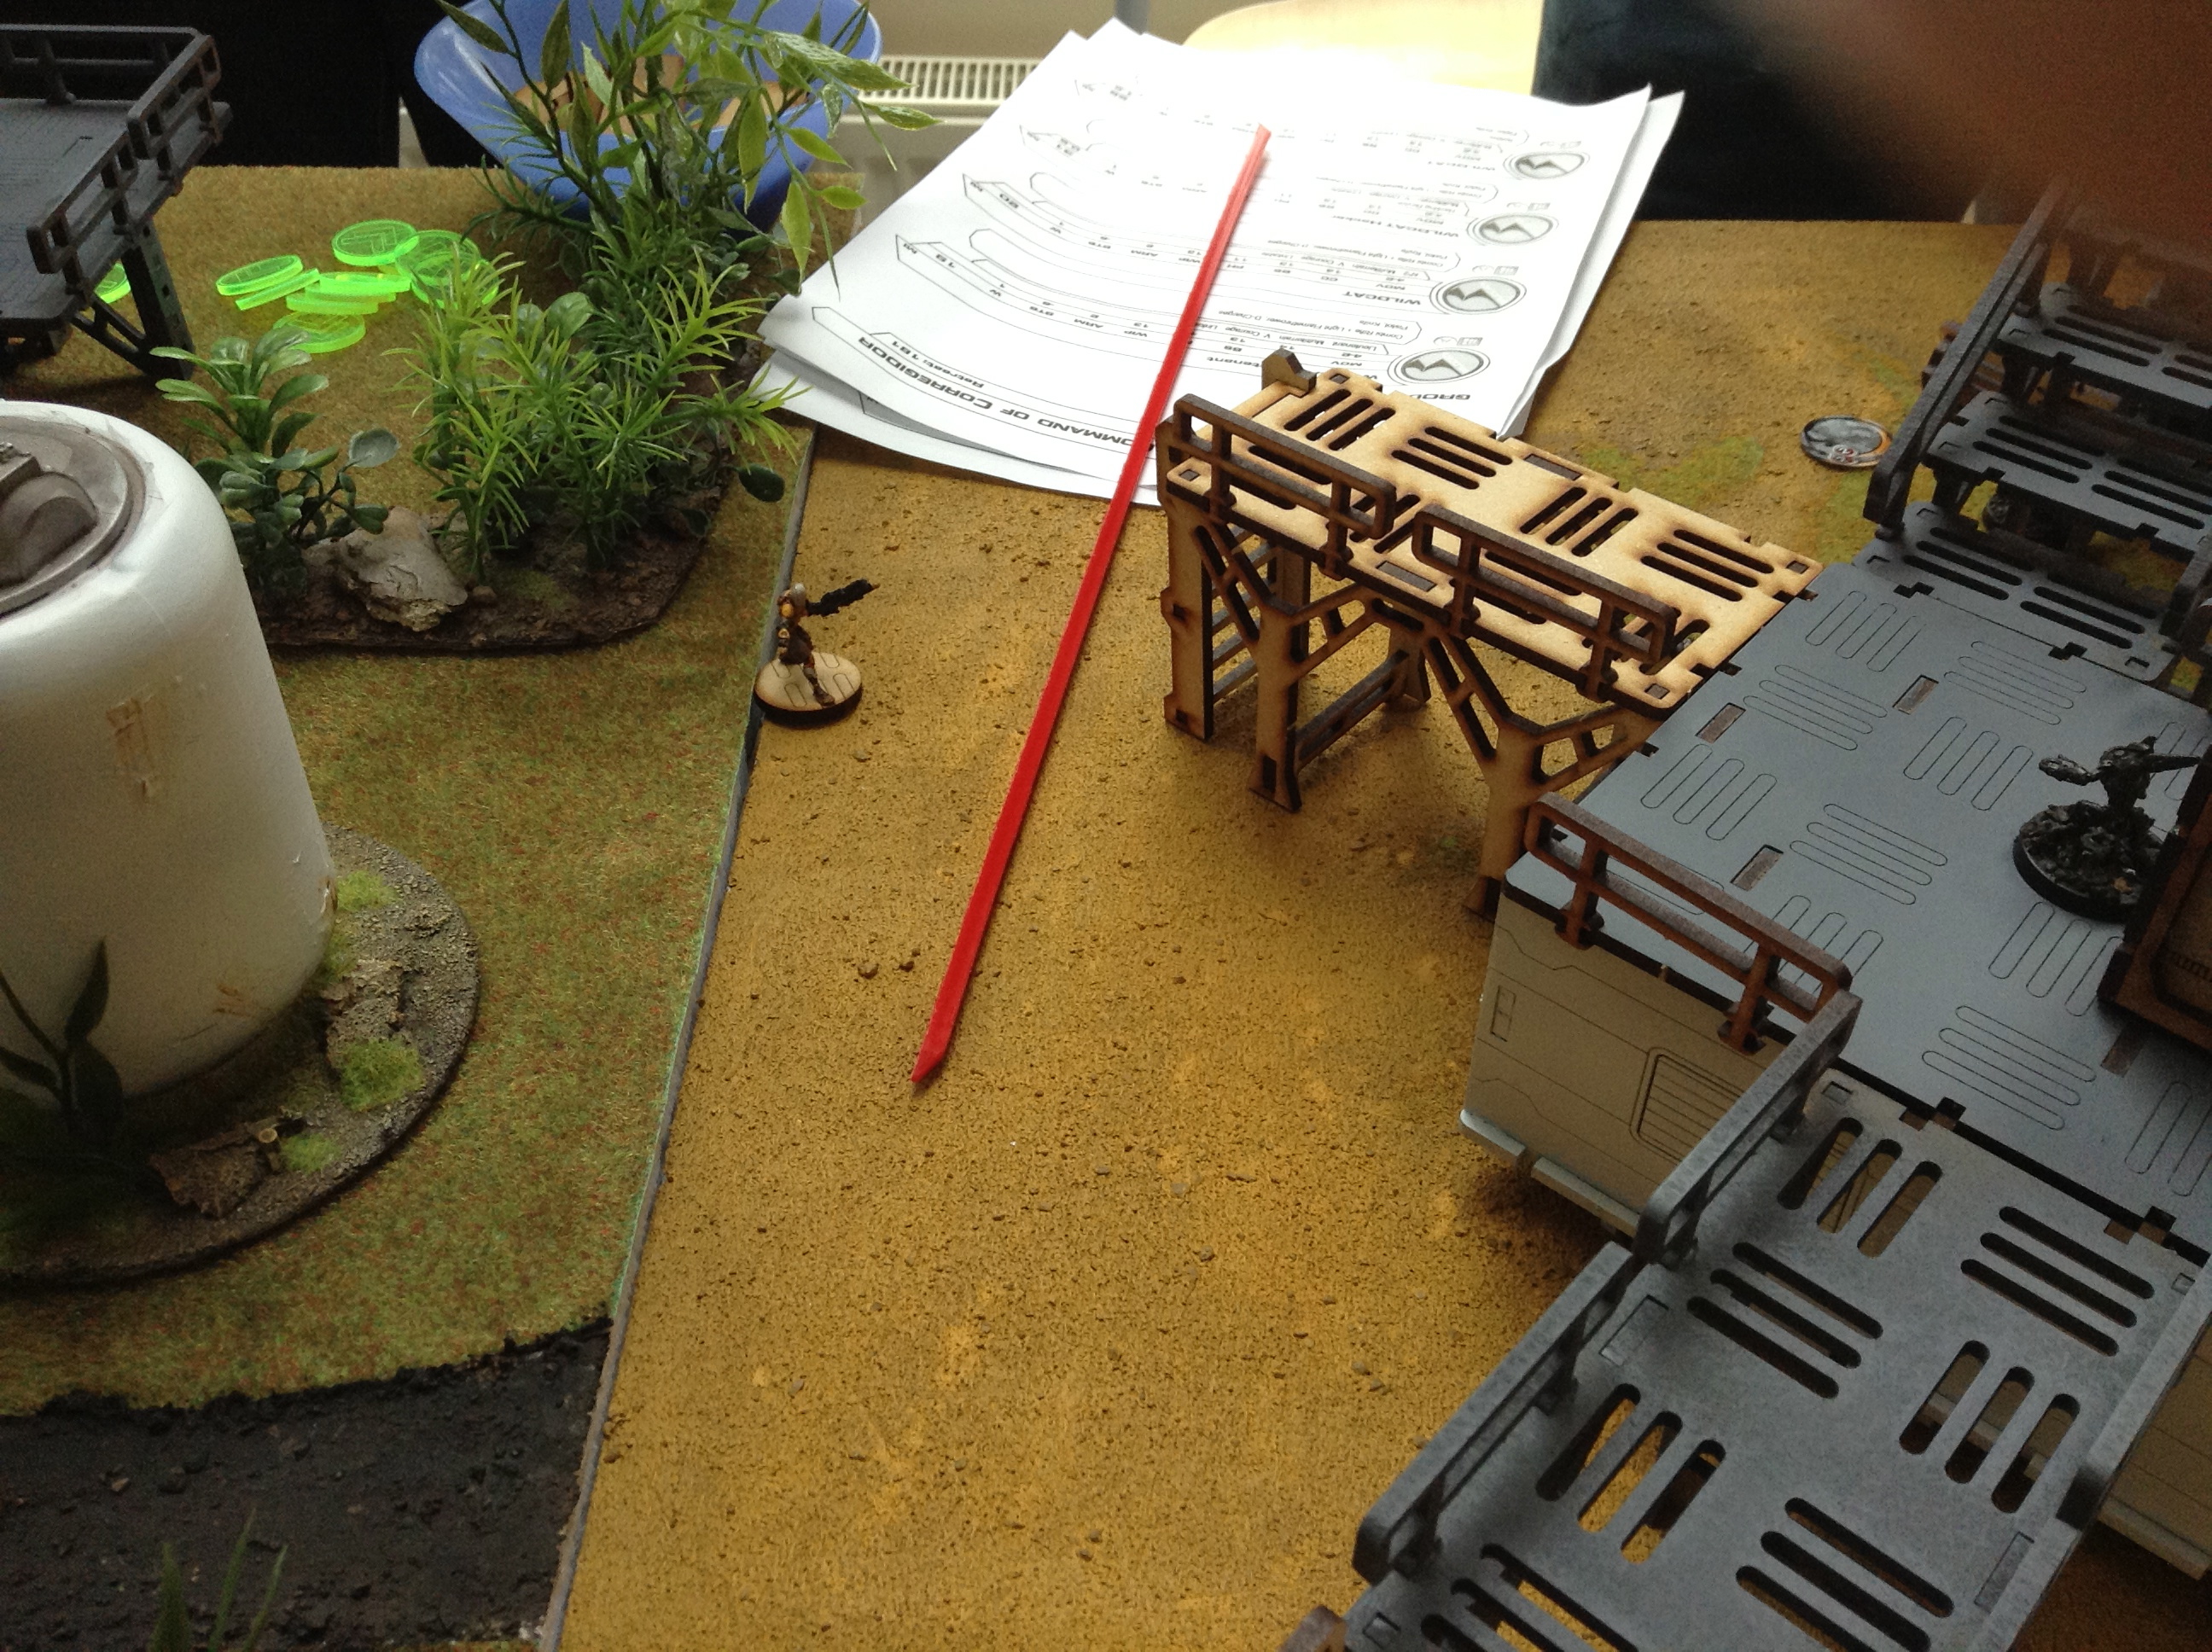
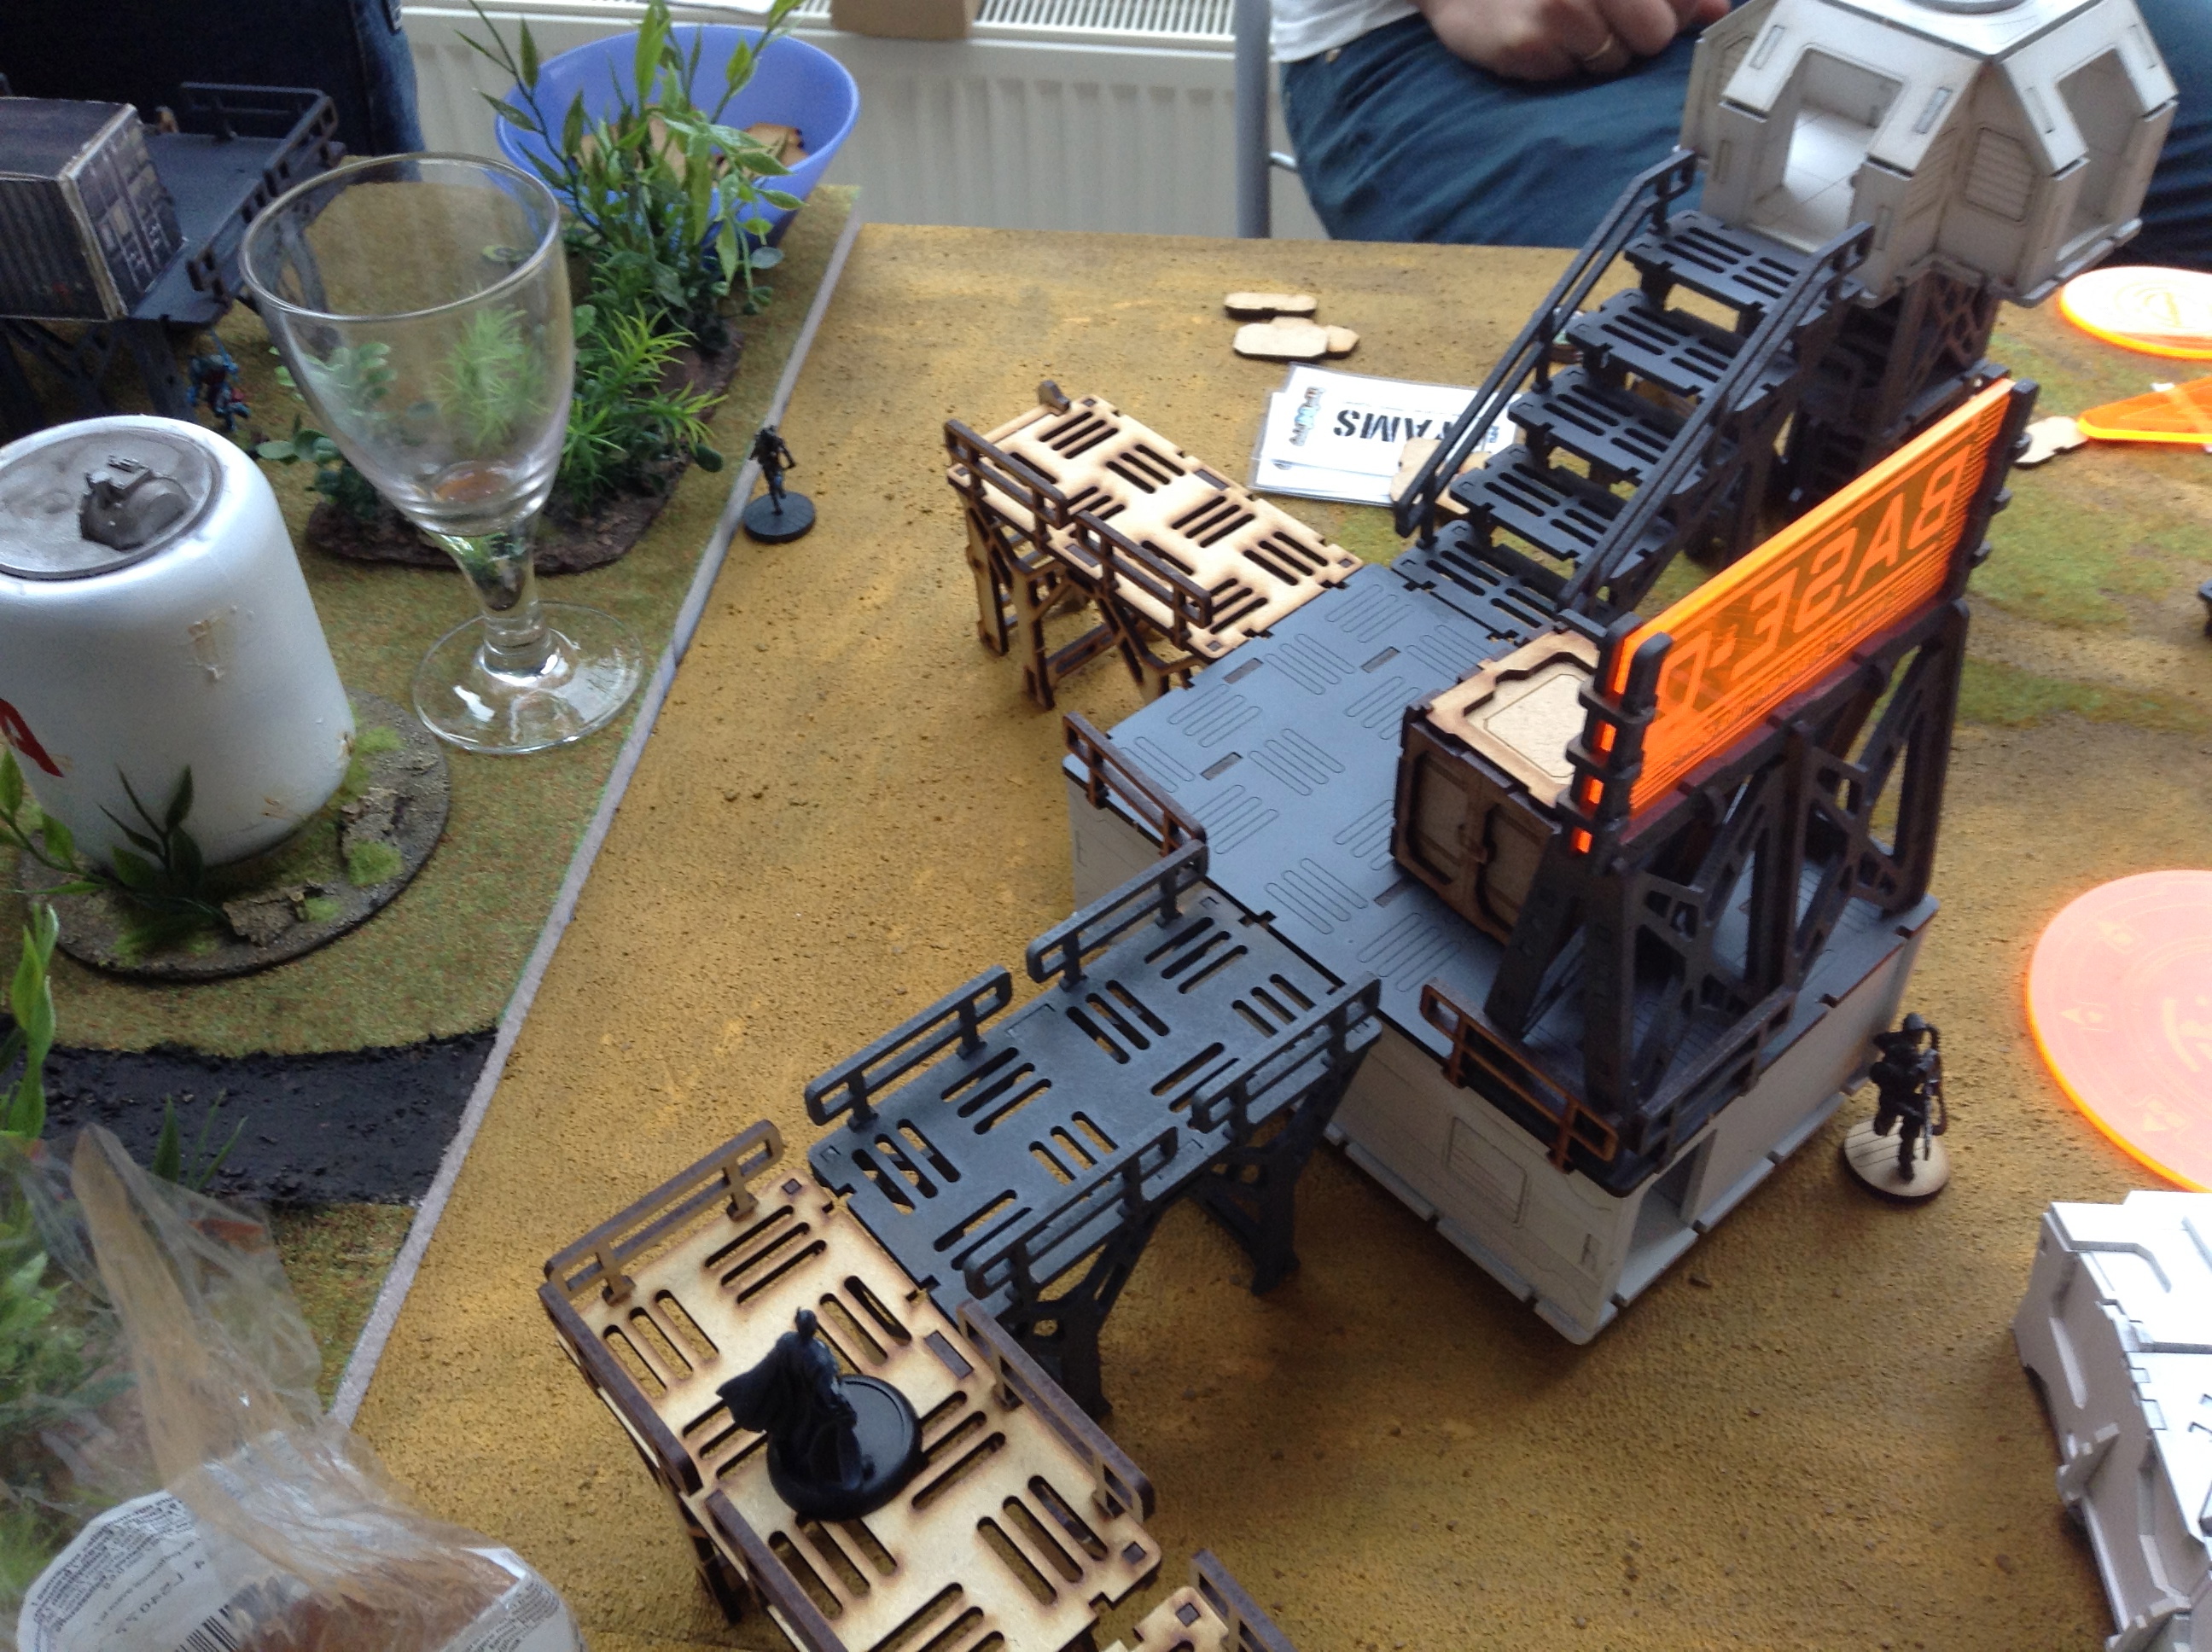
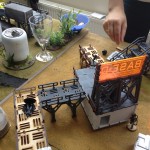
With N3 just around the corner, we say goodbye to 2nd Edition in BatRep style! Today we feature an oldy between Arachas and Scorch. This game was played after Lampyridae and Scorch had a showdown. It’s been a while since the game took place, and not all the information has survived. The table was set up with Systema Gaming Scenery’s Base-0 line, and the shuttle was a converted MKI Train Tractor. Unfortunately, we’ve lost sight of our YAMS objectives in play.
Gametype: YAMS
Story:
On a rocky plateau on Bourak one of the Silk refineries is under attack by a team of Corregidorean commandos. The Qapu Khalqi force stationed there to protect the facility isn’t sure what the Nomads want on their property, but they will not allow anything to happen to their precious Silk. They gear up for a fight…
But the Nomads aren’t after the Haqqislamites’s precious Silk. Instead they are trying to take out a spy carrying some of the access-codes of the Arachne Mainframe. Will they succeed in their mission before the Sultanate’s finest drive them away?
Arachas’s Objectives and List
List
Corregidor Jurisdictional Command (298/300 | 5.5/6)Group #1 | 10 Models | 10 0 0
Wildcats, Polyvalent Tactical Unit Lieutenant | Lieutenant, Combi Rifle, Light Flamethrower, Pistol / D-Charges, Knife (19)
Wildcats, Polyvalent Tactical Unit LFT | Combi Rifle, Light Flamethrower, Pistol / D-Charges, Knife (19) Wildcats, Polyvalent Tactical Unit Hacker | Hacker, Hacking Device, Combi Rifle, Light Flamethrower, Pistol / D-Charges, Knife (0.5 | 31)
Wildcats, Polyvalent Tactical Unit Spitfire | Spitfire, Pistol / Knife (1.5 | 25)
Wildcats, Polyvalent Tactical Unit LFT | Combi Rifle, Light Flamethrower, Pistol / D-Charges, Knife (19)
Intruders HMG | HMG, Grenades, Pistol / CCW (1.5 | 44)
Hellcats Boarding Shotgun | Boarding Shotgun, Pistol / Knife (20)
Tomcats E/Mitter | E/Mitter, Antipersonnel Mines, Combi Rifle, Pistol / Knife (19)
Iguana Squadron | HMG, Heavy Flamethrower (2 | 73)
Lunokhod Sputniks | Heavy Flamethrower, CrazyKoala (2), Boarding Shotgun / Electric Pulse (29)
Scorch’s Objectives and List
List
Qapu Khalqi (297/300 | 4.5/6)Group #1 | 6 Models | 6 0 0
Djanbazan Rifle | Rifle, Light Shotgun, Pistol / CCW (28)
Djanbazan Rifle | Rifle, Light Shotgun, Pistol / CCW (28)
Djanbazan Doctor | Doctor, Rifle, Light Shotgun, Pistol / CCW (32)
Djanbazan Sniper | Sniper Rifle, Pistol / CCW (1 | 33)
Djanbazan HMG | HMG, Pistol / CCW (1.5 | 36)
Al Hawwa’ Unit Observer | Forward Observer, Boarding Shotgun, Pistol / D-Charges, Knife (24)
Group #2 | 5 Models | 5 0 0
Odalisques SMG | Submachine Gun, Contender, Nanopulser, Pistol / Knife (25)
Odalisques Spitfire | Spitfire, Nanopulser, Pistol / Knife (1 | 31)
Odalisques Haris | Fireteam: Haris L1, Rifle, Light Shotgun, Nanopulser, Pistol / Knife (1 | 26)
Ghulam Doctor | Doctor, Rifle, Light Shotgun, Pistol / Knife (17)
Hafza Unit Lieutenant | Lieutenant, Rifle, Light Shotgun, Pistol / Knife (17)
Initiative Roll
Scorch wins the initiative roll, and chooses to go first. Arachas deploys first.
Deployment
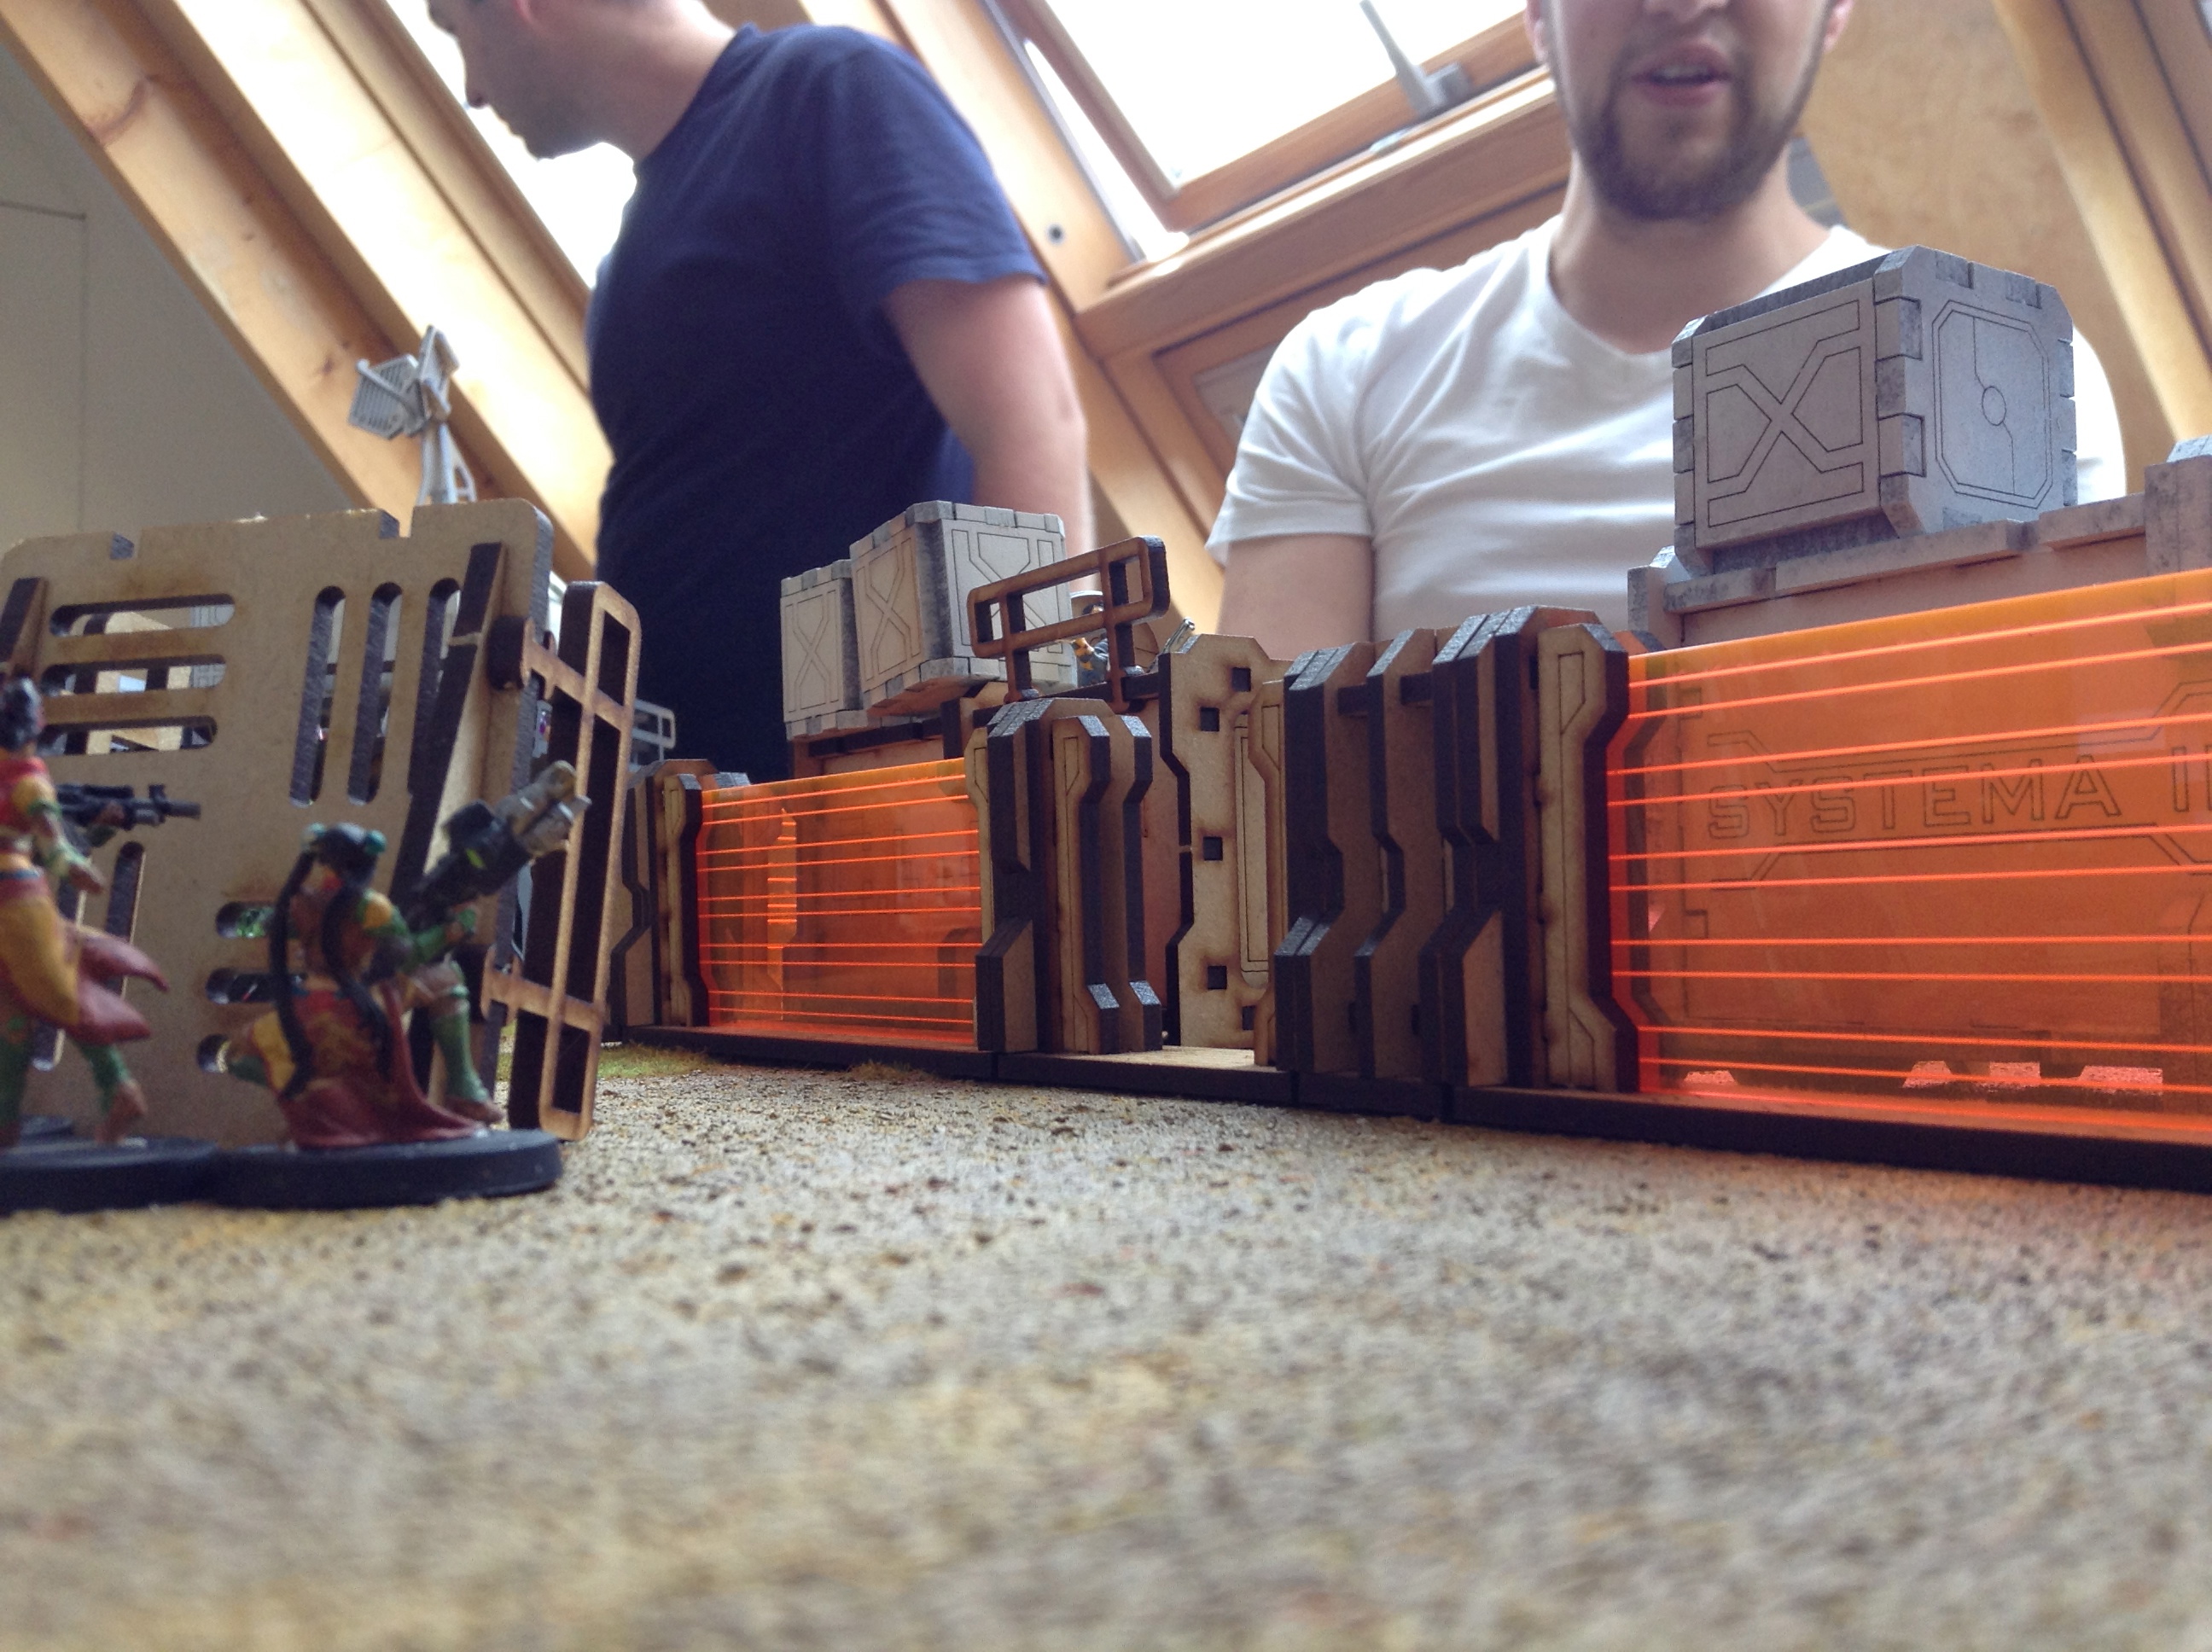
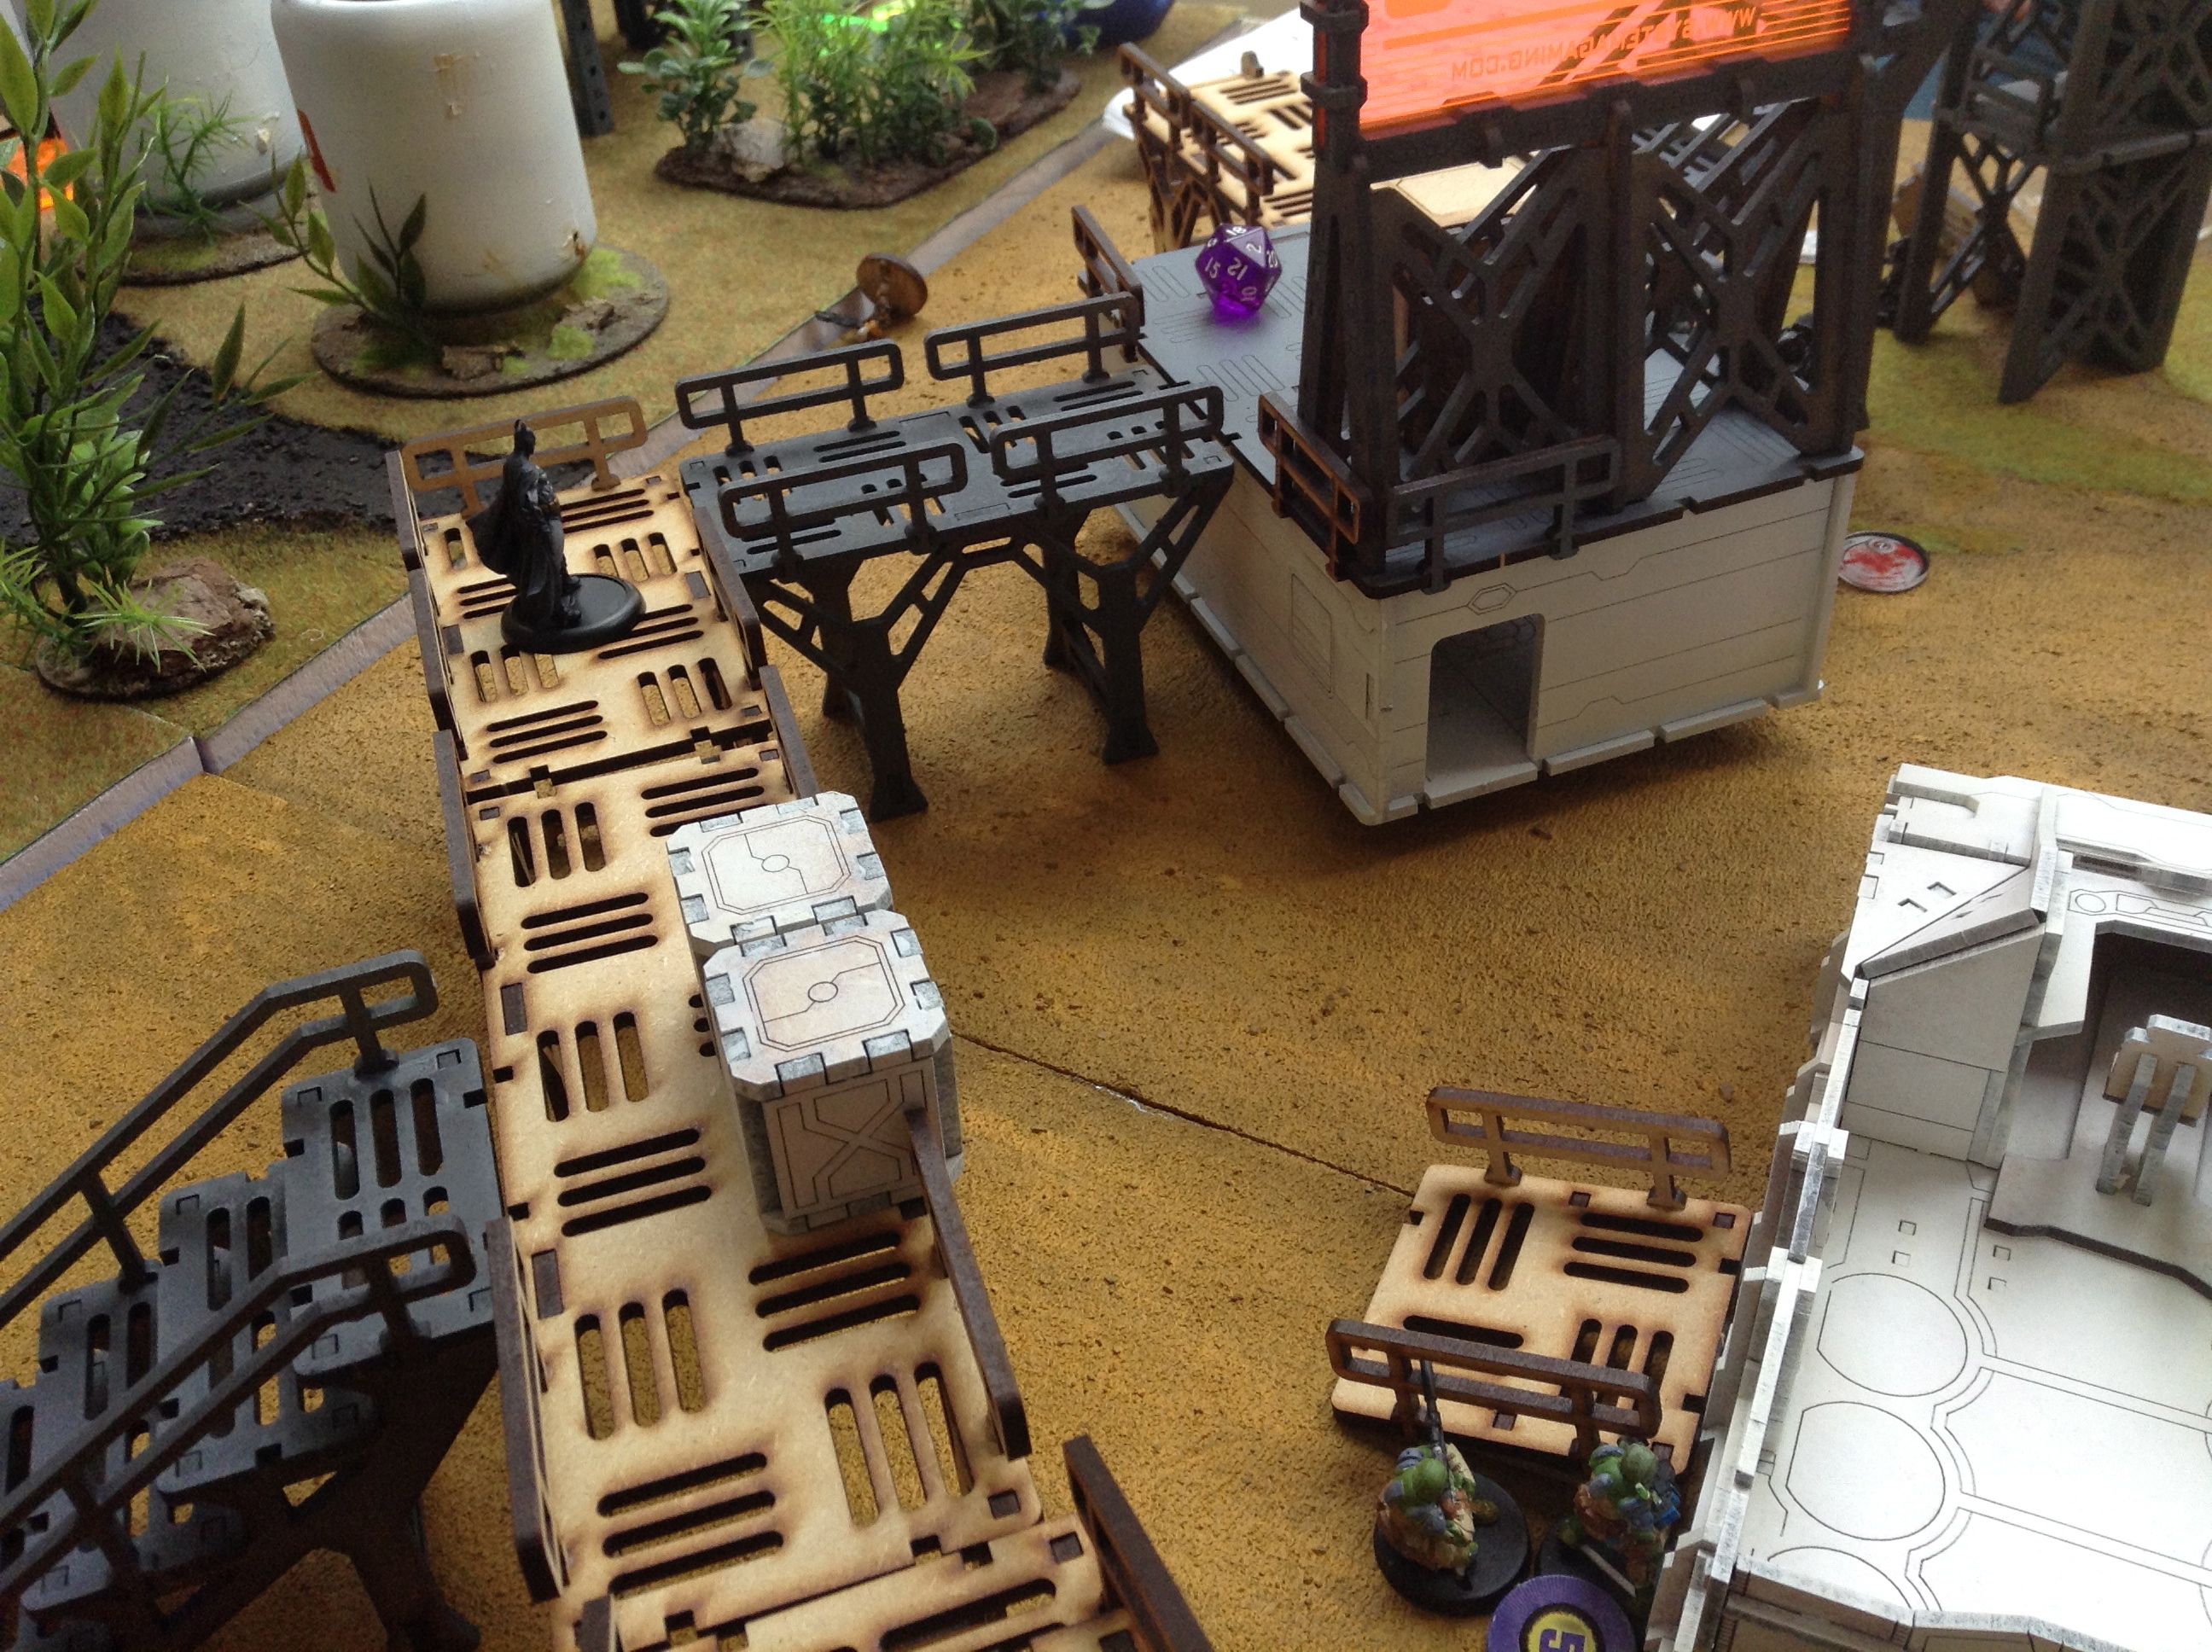
Arachas deployes his Wildcat linkteam behind the laserfences. His Intruder HMG takes a sniperspot in the control tower. The Iguana and Lunokhod are deployed behinde the building, close to each other, allowing the Koalas to guard the Iguana’s legs. The Hellcat and Tomcat stay in Hidden Deployment, ready to be used later in the game.
Scorch deployes his Djanbazan linkteam hidden behind the landing platforms. The Hafza disguises himself as a Azra’il, and is guarded by the Ghulam Doctor. The Odalisques take a spot on the other side of the platform, hidden behind the ramp. The Al Hawwa infiltrates behind the shuttle in the center.
Scorch
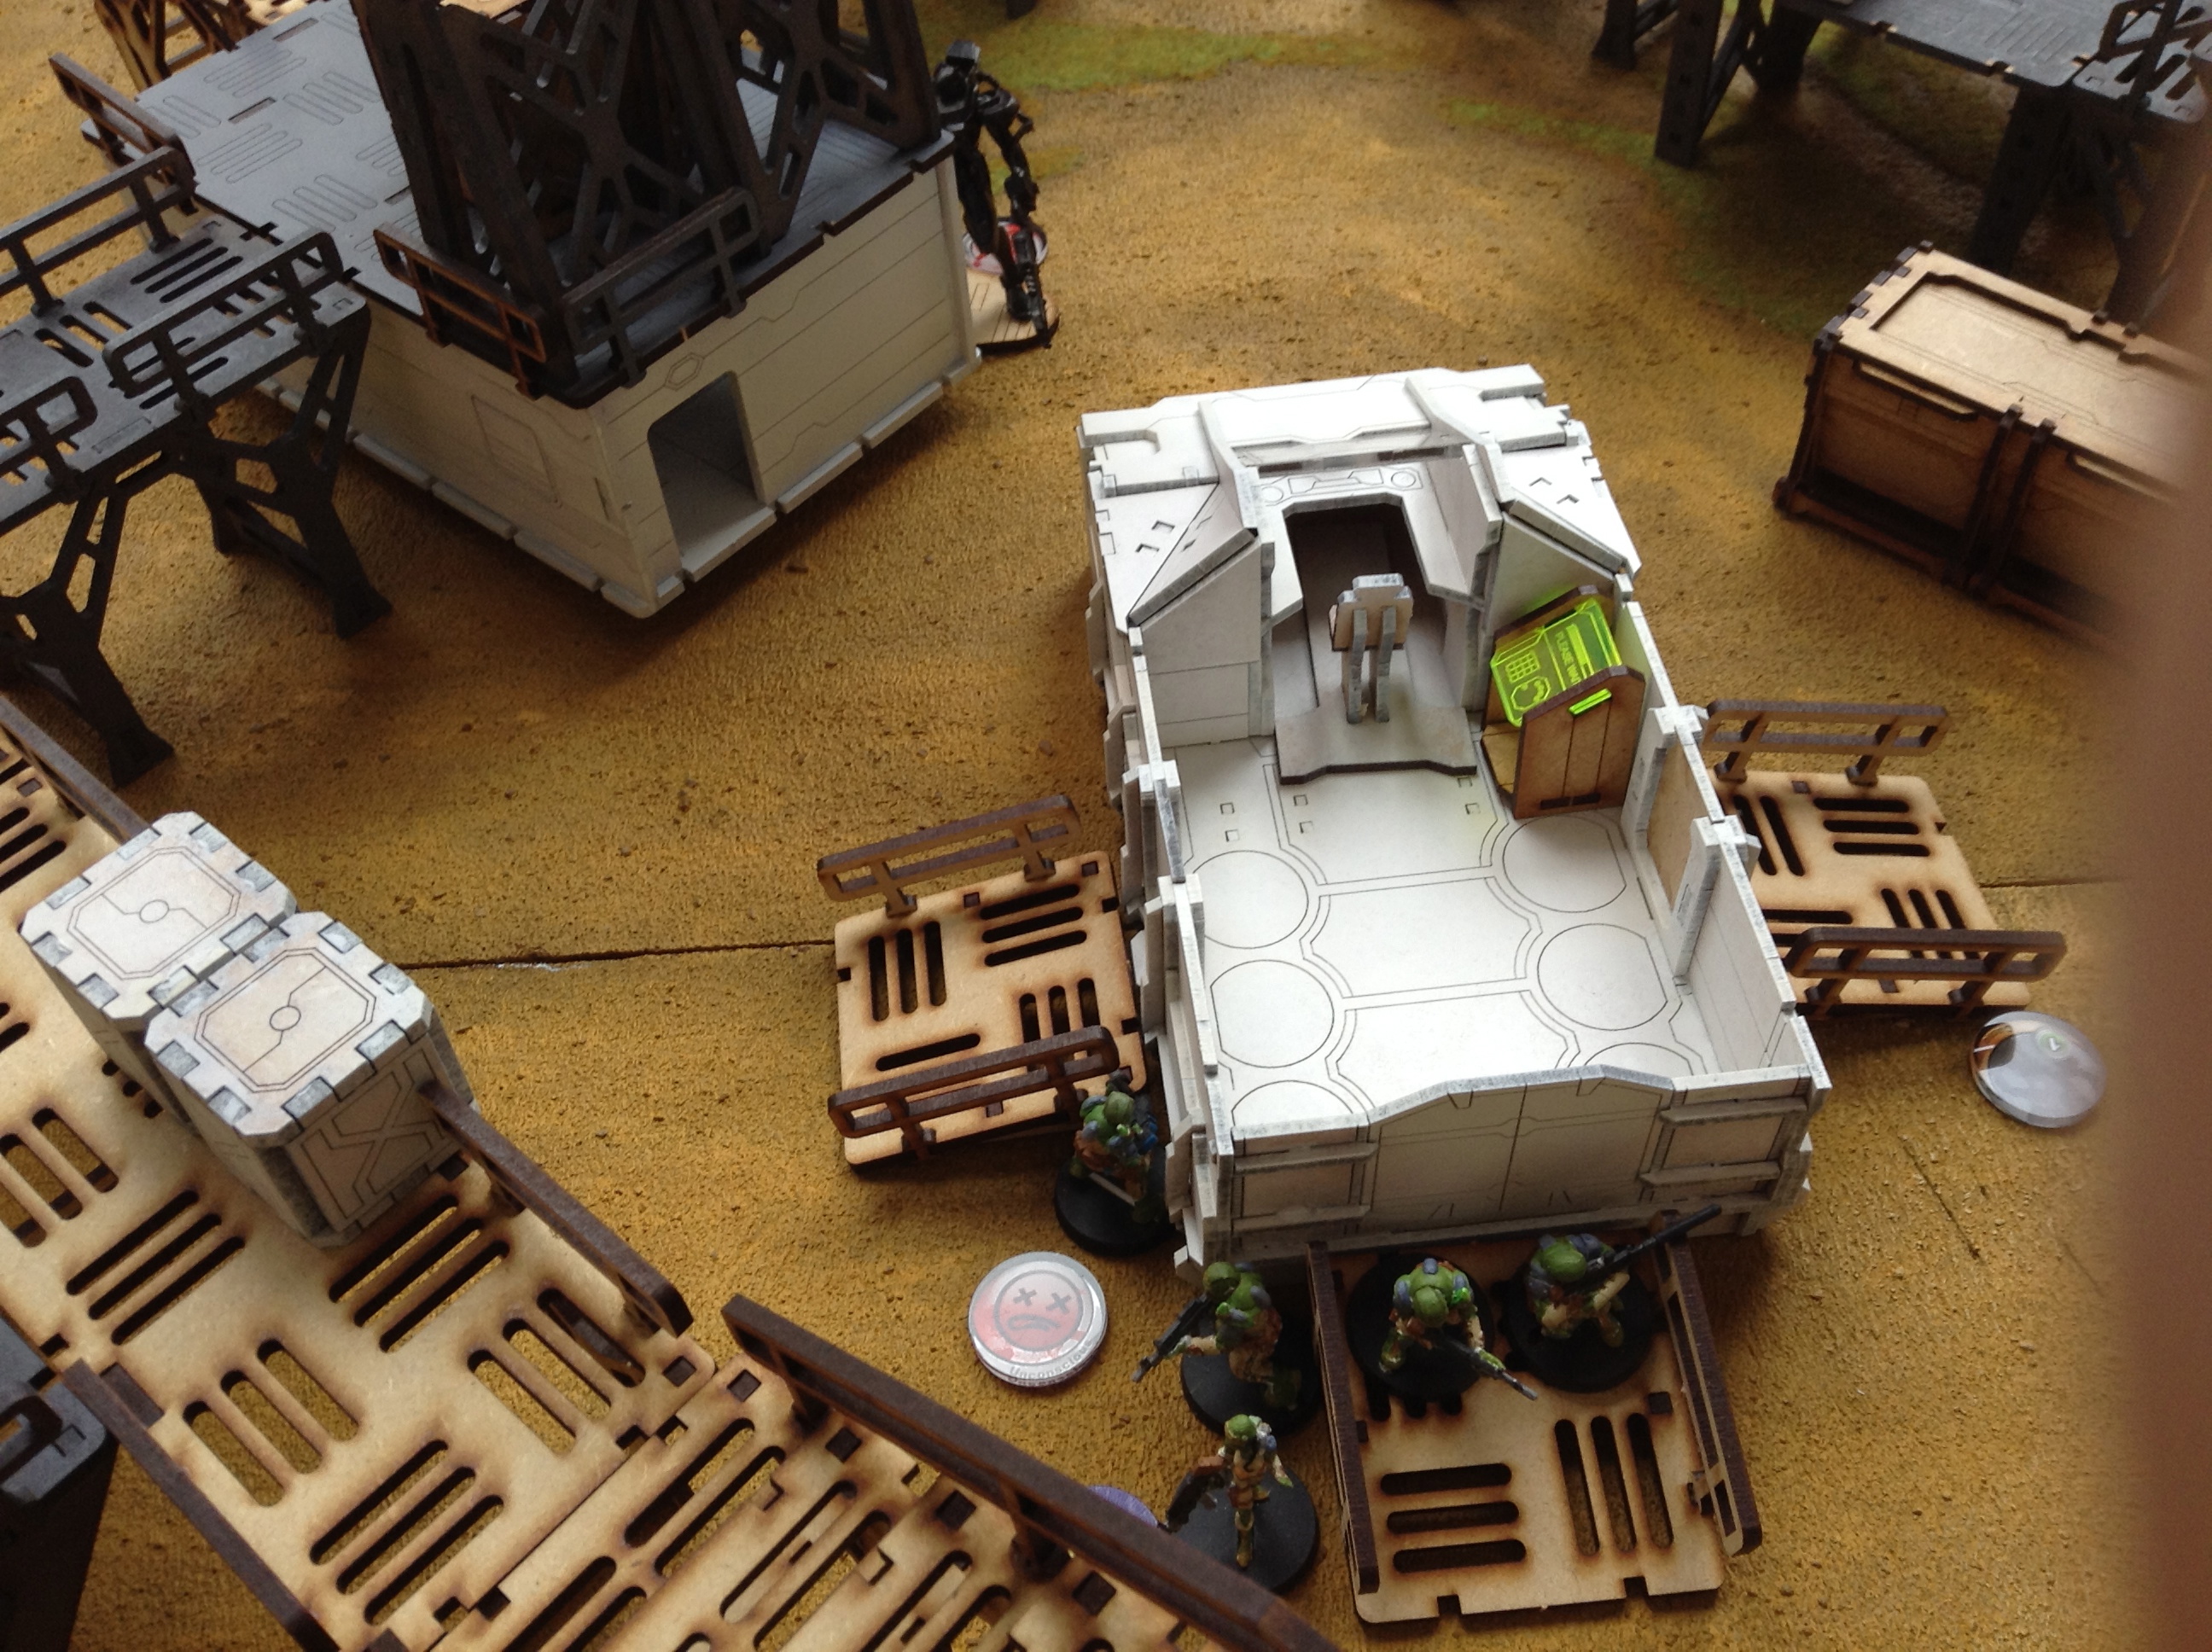
The Al Hawwa reveals himself and puts a D-charge on the centerline object, a Shuttle used for the transport of Silk, to sabotage it. BOOM! Now the Qapu Khalqi have secured the Silk, no Nomad can get away with the precious resource now! He recloaks himself in camo again.
The Djanbazan sniper takes out the Intruder HMG
Then the Djanbazan linkteam shoots the camoed Intruder in the tower with their sniper, their MSV2 revealing him. (Yes, we made a rule error here, treating the MSV2 as a MSV3, but for Camo only. The intruder should have been able to surprise shoot the Djan link.)
The Odalisque Haris moves from behind the ramp and they kill a Wildcat, shooting her through the fence gate from behind some garbage, laying around in the facility.
The Odalisques lock the Wildcats in place, guarding the only exit from their fenced compound.
The Djanbazan linkteam moves up the table and lodge themselves in some good cover behind the disabled shuttle. It will be though to get them out of their place there.

The Djanbazans set themselves up in cover behind the disabled shuttle
Arachas
The Iguana moves towards the Djanbazan linkteam and shoots the only Djanbazan he can see. It’s tough since the Djanbazans are in good cover but the Iguana’s HMG finally manage to inflict a wound on the Djanbazan and he goes unconscious. Arachas next move is spent on the Lunokhod, and he shuffles around the tower.
Best way to unset Djanbazans: lots of dakka!
The Wildcats are cornered between the laser walls, since the Odalisque cover the fence gate. His linkteam locked in place, Arachas lets his Tomcat drop in to the rescue. Unfortunately, the Tomcat is deployed at the other side of the table.
The Tomcat drops in in an attempt to rescue the Wildcats.
Scorch
The Djanbazan makes his roll and regenerates. He gets up again. He takes his HMG to the incoming Tomcat at the edge of the table and shoots him in the face. The unfortunate Tomcat goes down.
The Djanbazans shoot the Tomcat that just dropped in.
The Al Hawwa moves up past the tractor and gets a clear shot on the Iguana. He aims his Boarding Shotgun and while the Iguana is saved by his armour, the ensuing template wrecks the Lunokhod behind it. The Al Hawwa takes two more shots and after two criticals, the Iguana goes down. The Iguana Operator ejects but he disperses and lands right in front of the full Djanbazan link. Talk about bad luck. Fortunately for the Operator, the Djanbazans are out of orders.
-
- Lunokhod goes down
-

- Double crit, the Iguana goes down
-
- The Operator disperses and lands in front of the Djanbazans
The last orders go to the Ghulam Doctor who manages to get near the Haris Odalisque team for doctor support in case the Wildcats kill one of them. The Odalisques just stand guard for this turn.
Arachas
A Hellcat drops in and learning from the fate of the Tomcat, he stays out of sight from the Djanbazans. The Hellcat runs up the stairs and moves upon the roof. He then shoots the civvie, who is disguised as Batman. The Hellcat has taken out the carrier of the Arachne codes! He calls in his kill.
-

- Hellcat drops in…
-
- and kills the Civvie

One of the Wildcats moves up to get a shot at the Odalisques in an attempt to get his team out of their confinement, but the Odalisque kills him with a double crit before he inflicts any real damage.
Double CRIT!

Wildcat goes down!
The Iguana Operator opens fire on the Djanbazan, but he fails all his rolls and the boosted Burst of the Djanbazan kills the Operator in one go!

Bad luck, the dispersed Operator goes down too…
Arachas’s army is now in retreat! The Nomads have secured the Arachne codes and there is nothing left to do for them any more. They’ve lost to many man already.
Scorch chooses not to spend more orders to kill off the remaining force and we count our points. Luckily for Arachas, none of the Qapu Khalqi managed to get into the building were the Hellcat was taking cover, it gave him 1 extra point resulting in a draw between the players.
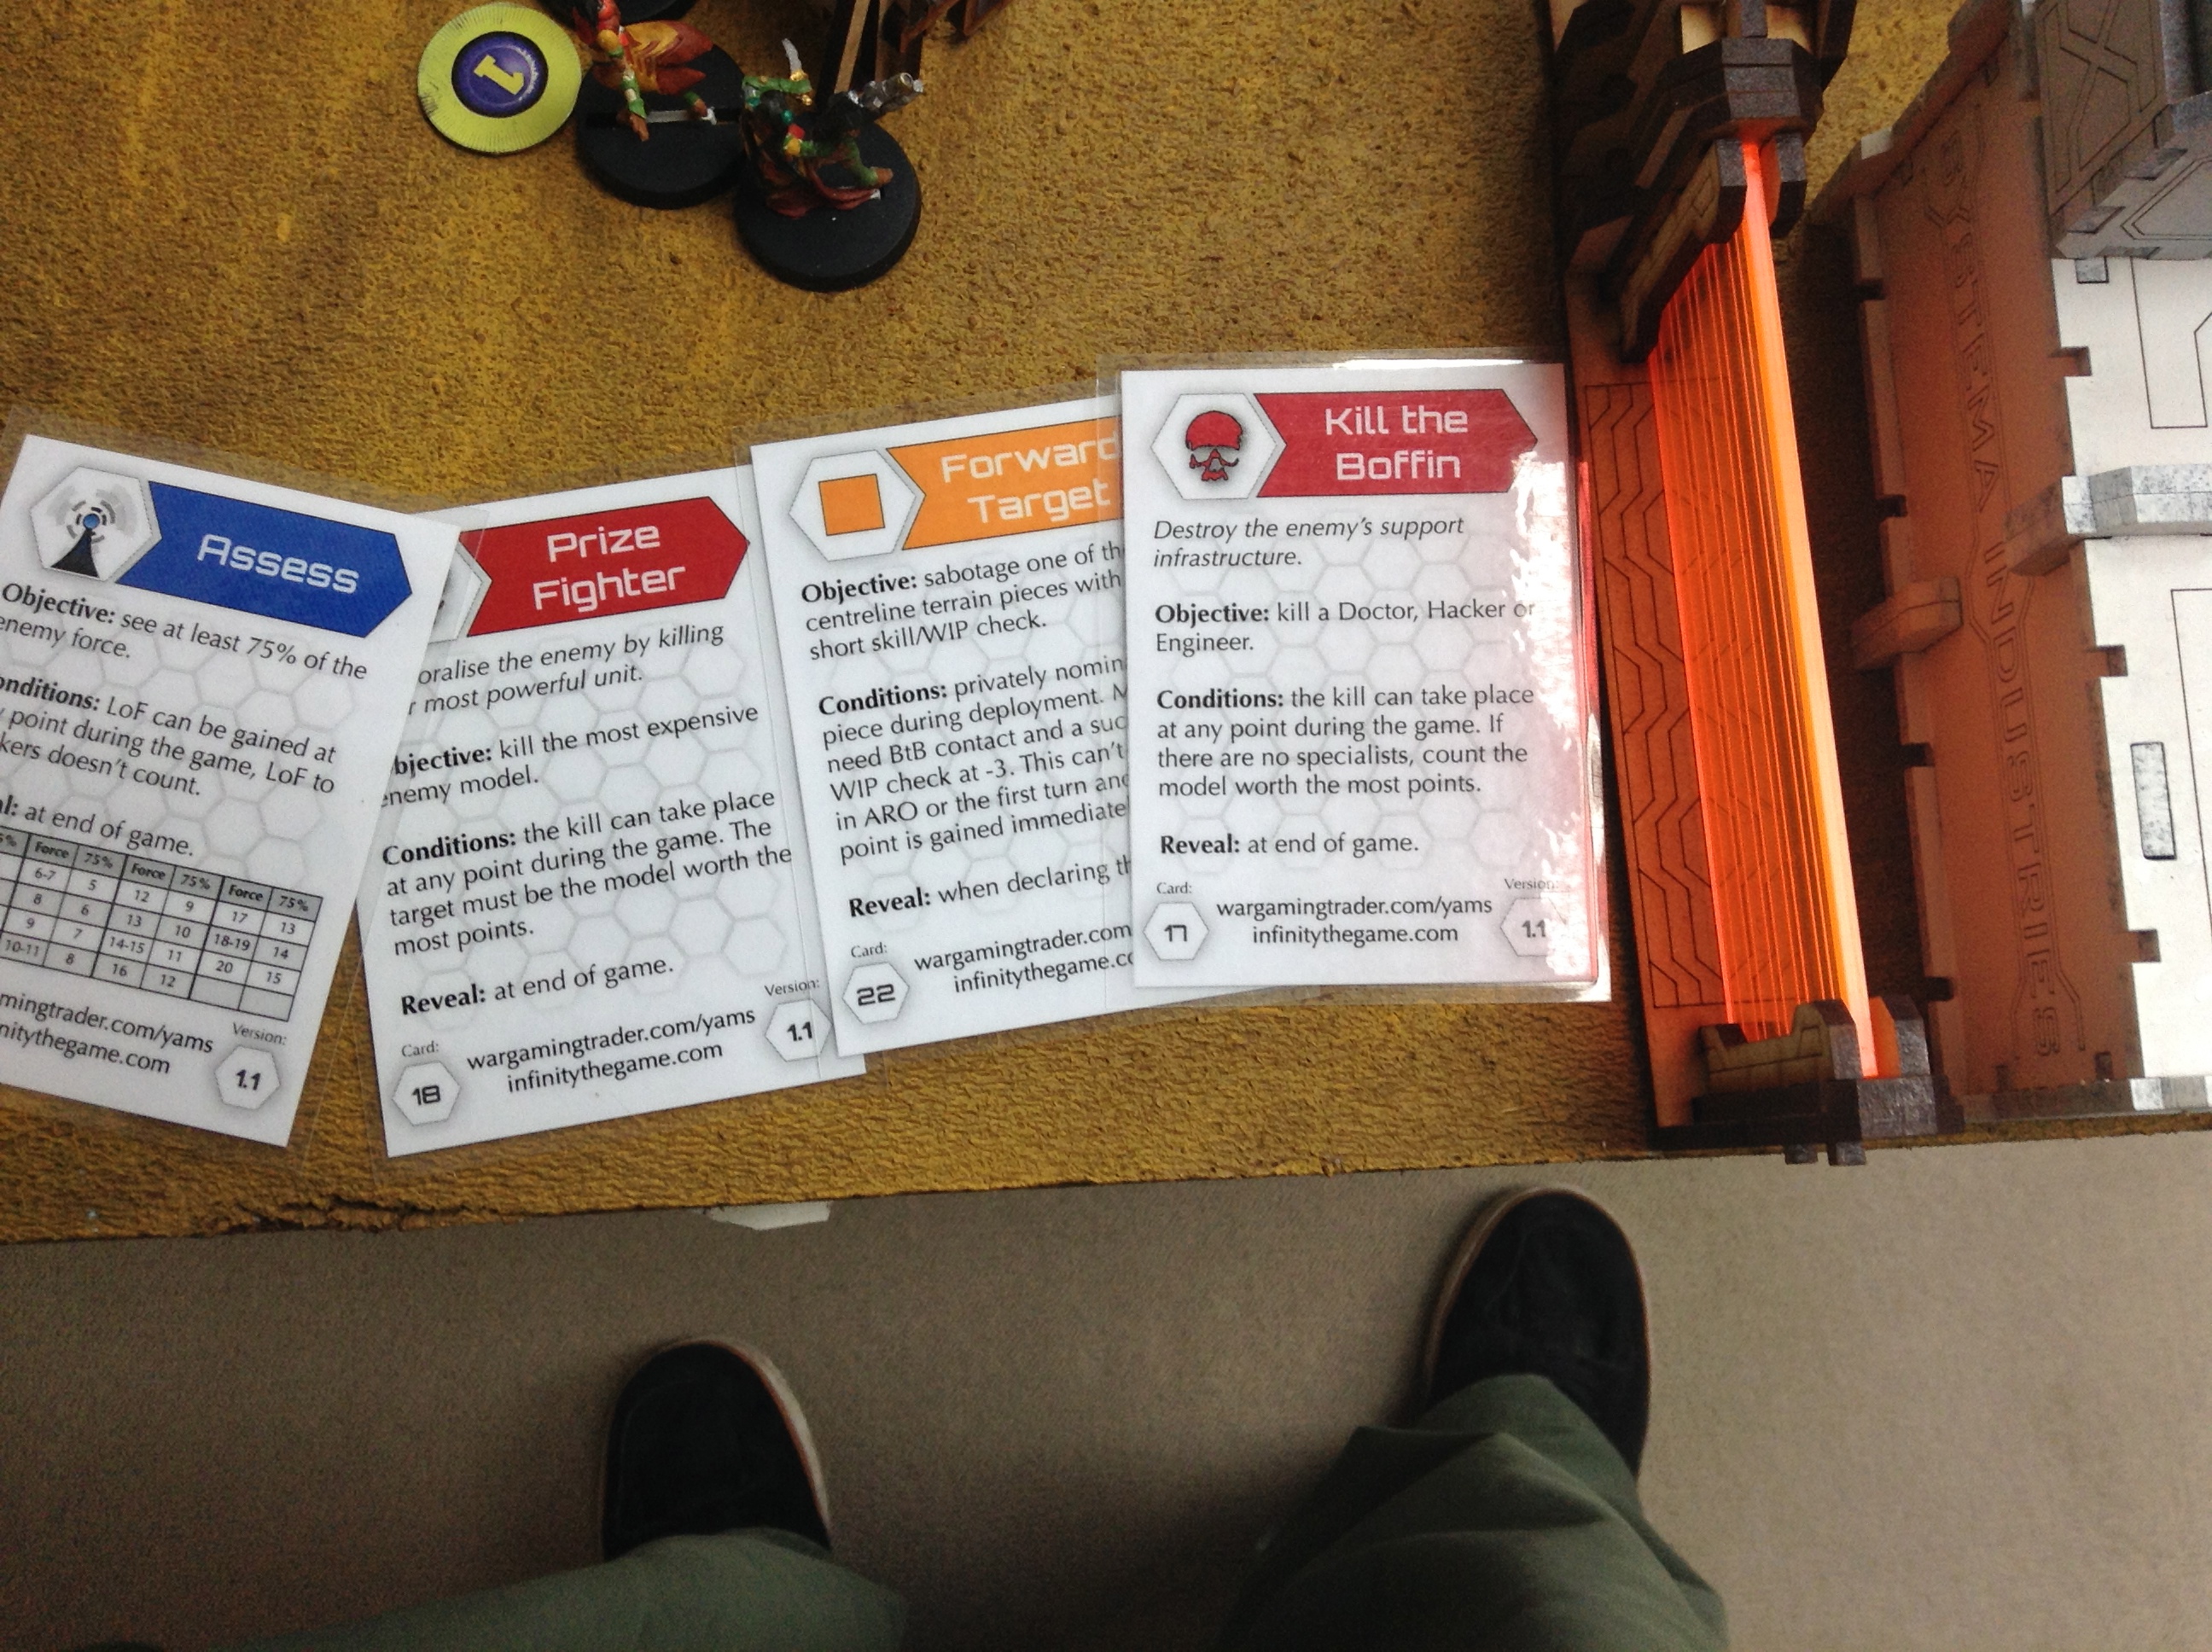
A couple of the objectives in play.
Like I said in the beginning, we lost sight on our YAMS objectives, but seeing as Scorch killed the prized Iguana of Arachas’ force and destroyed a central objective in the game, those were claimed. Arachas got hold of a single building with his Hellcat, which gave him a point, plus he got sight on 75% of Scorch’s force
2-2 Draw.


I find it a littel disapointing to see the errors in your batreps? Why don´t you do the games again and made it correct?
I also miss a overview of the table.
ps: the tomcat can freely chose its entrance point 😉
There’s a lot more to come! So this one won’t stick out as much in the future! 😉 This game was my second game ever, so I am actually quite glad we only made one rule-error. Nothing wrong with an error in my mind, as long as you talk about it and don’t say ‘this is how A works!’
We all err and learn, right? Haha!
AFAIK the Tomcat chooses at the start of the game whether he goes left or right. Not sure why Arachas decided to drop it near his machines Iguana and Lunokhod seeing it’s not an engineer, but hey, that’s up to him! 😛 But when his Wildcats got locked up, he had to try and save them. Got unlucky with the sniper shot.
Thx for your Statement. ITS Not about making an error but about cleaning IT out in the batrep 😉 seems the game went a little different without IT.
Thx for your effort and i LL read the next batrep as well 🙂