
Underground Lasers Terrain Review

So a handful of weeks ago, I was provided some terrain by Underground Lasers for review. Included were the following:
1: Shipping
We’ll start from the top: shipping. Shipping was quick and involved no fuss. Took less than a week to arrive and everything was present in the shipment. It was all shipped in a nice brown paper parcel lined with bubble wrap. As well, each item listed above was shrink wrapped in plastic to separate them.
Score: Solid 9/10
Some labeling paper slips or similar might’ve helped identify items, though is fairly unnecessary considering points I’ll cover under Part 2: Building.
(Unfortunately, in my zeal to complete my first review as quick as I could, I forgot to snap pictures of the entire process. I only have what from post build onwards. I’m sorry, I’ll endeavor to be better about this in the future.)
2: Building
So here is a real big section as most of you will likely be the most interested in this.
To start with, after opening the package, you need to be careful about where and how you open that plastic. The cutting done by the guys at Underground Lasers is pretty thorough and some of those pieces will fall right out! There were a few points that were connected but I didn’t have to use a knife once. For those times, a firm push was all I needed to separate the pieces from the “sprue”.
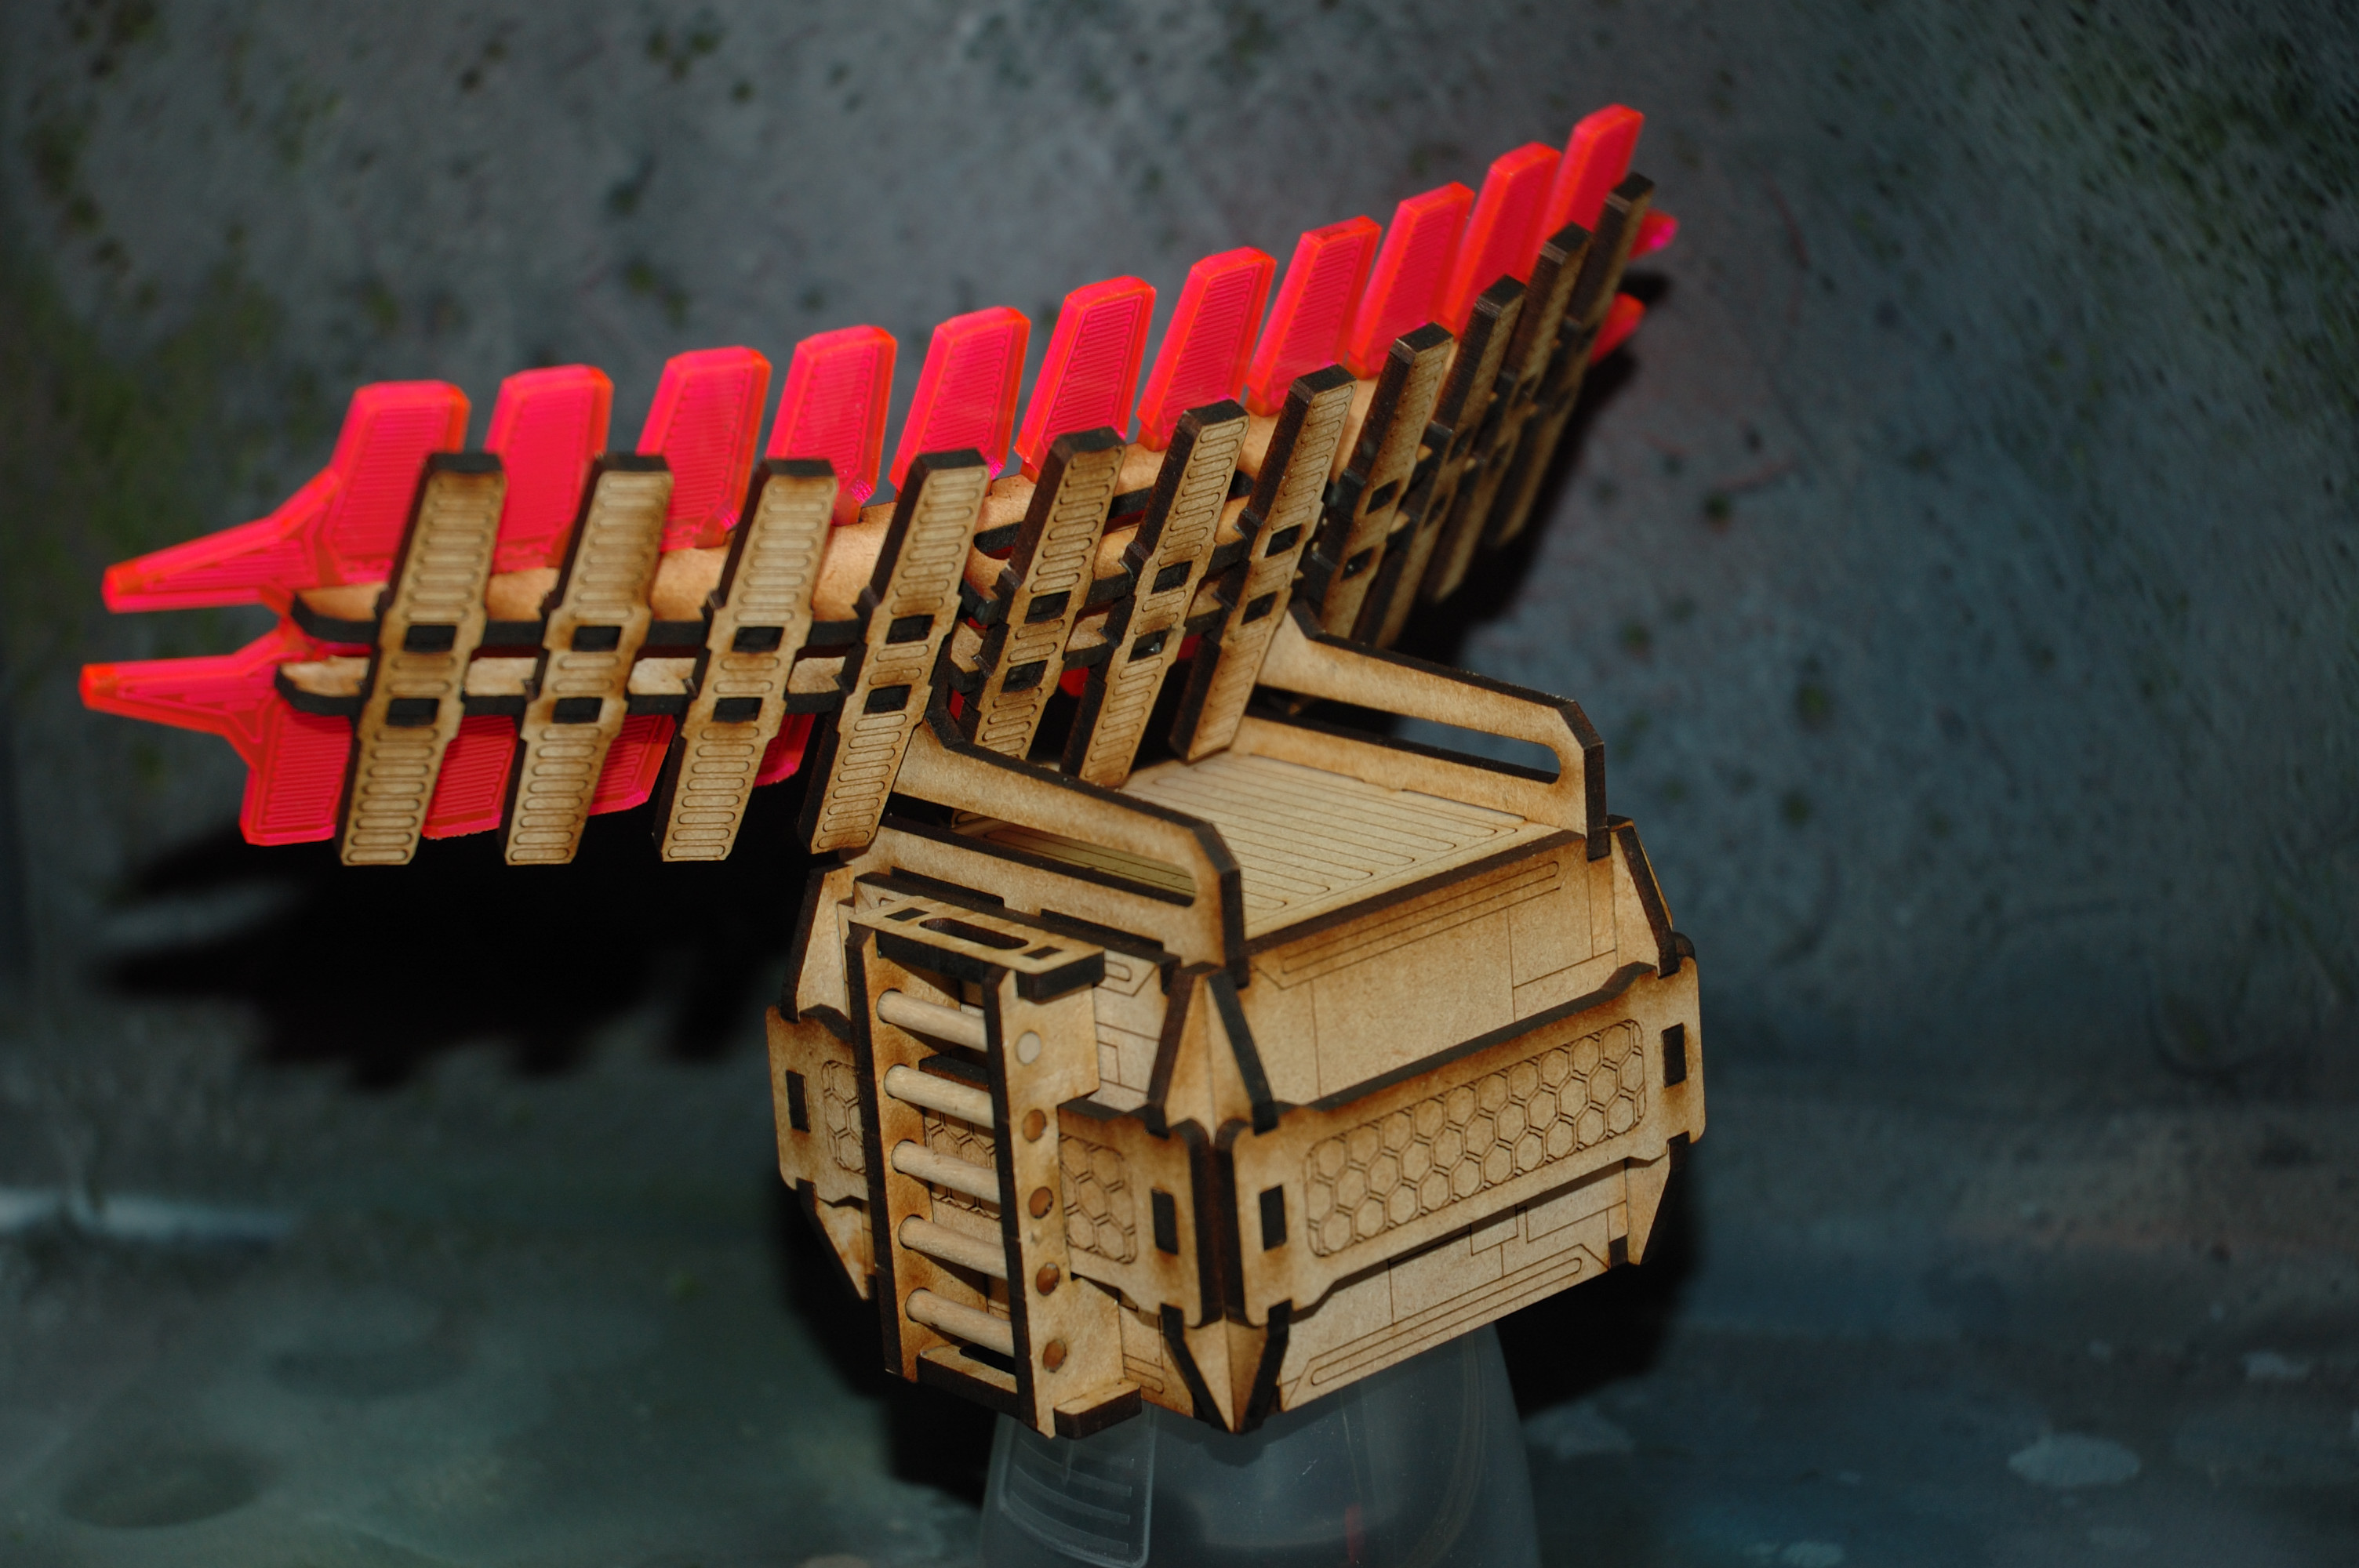
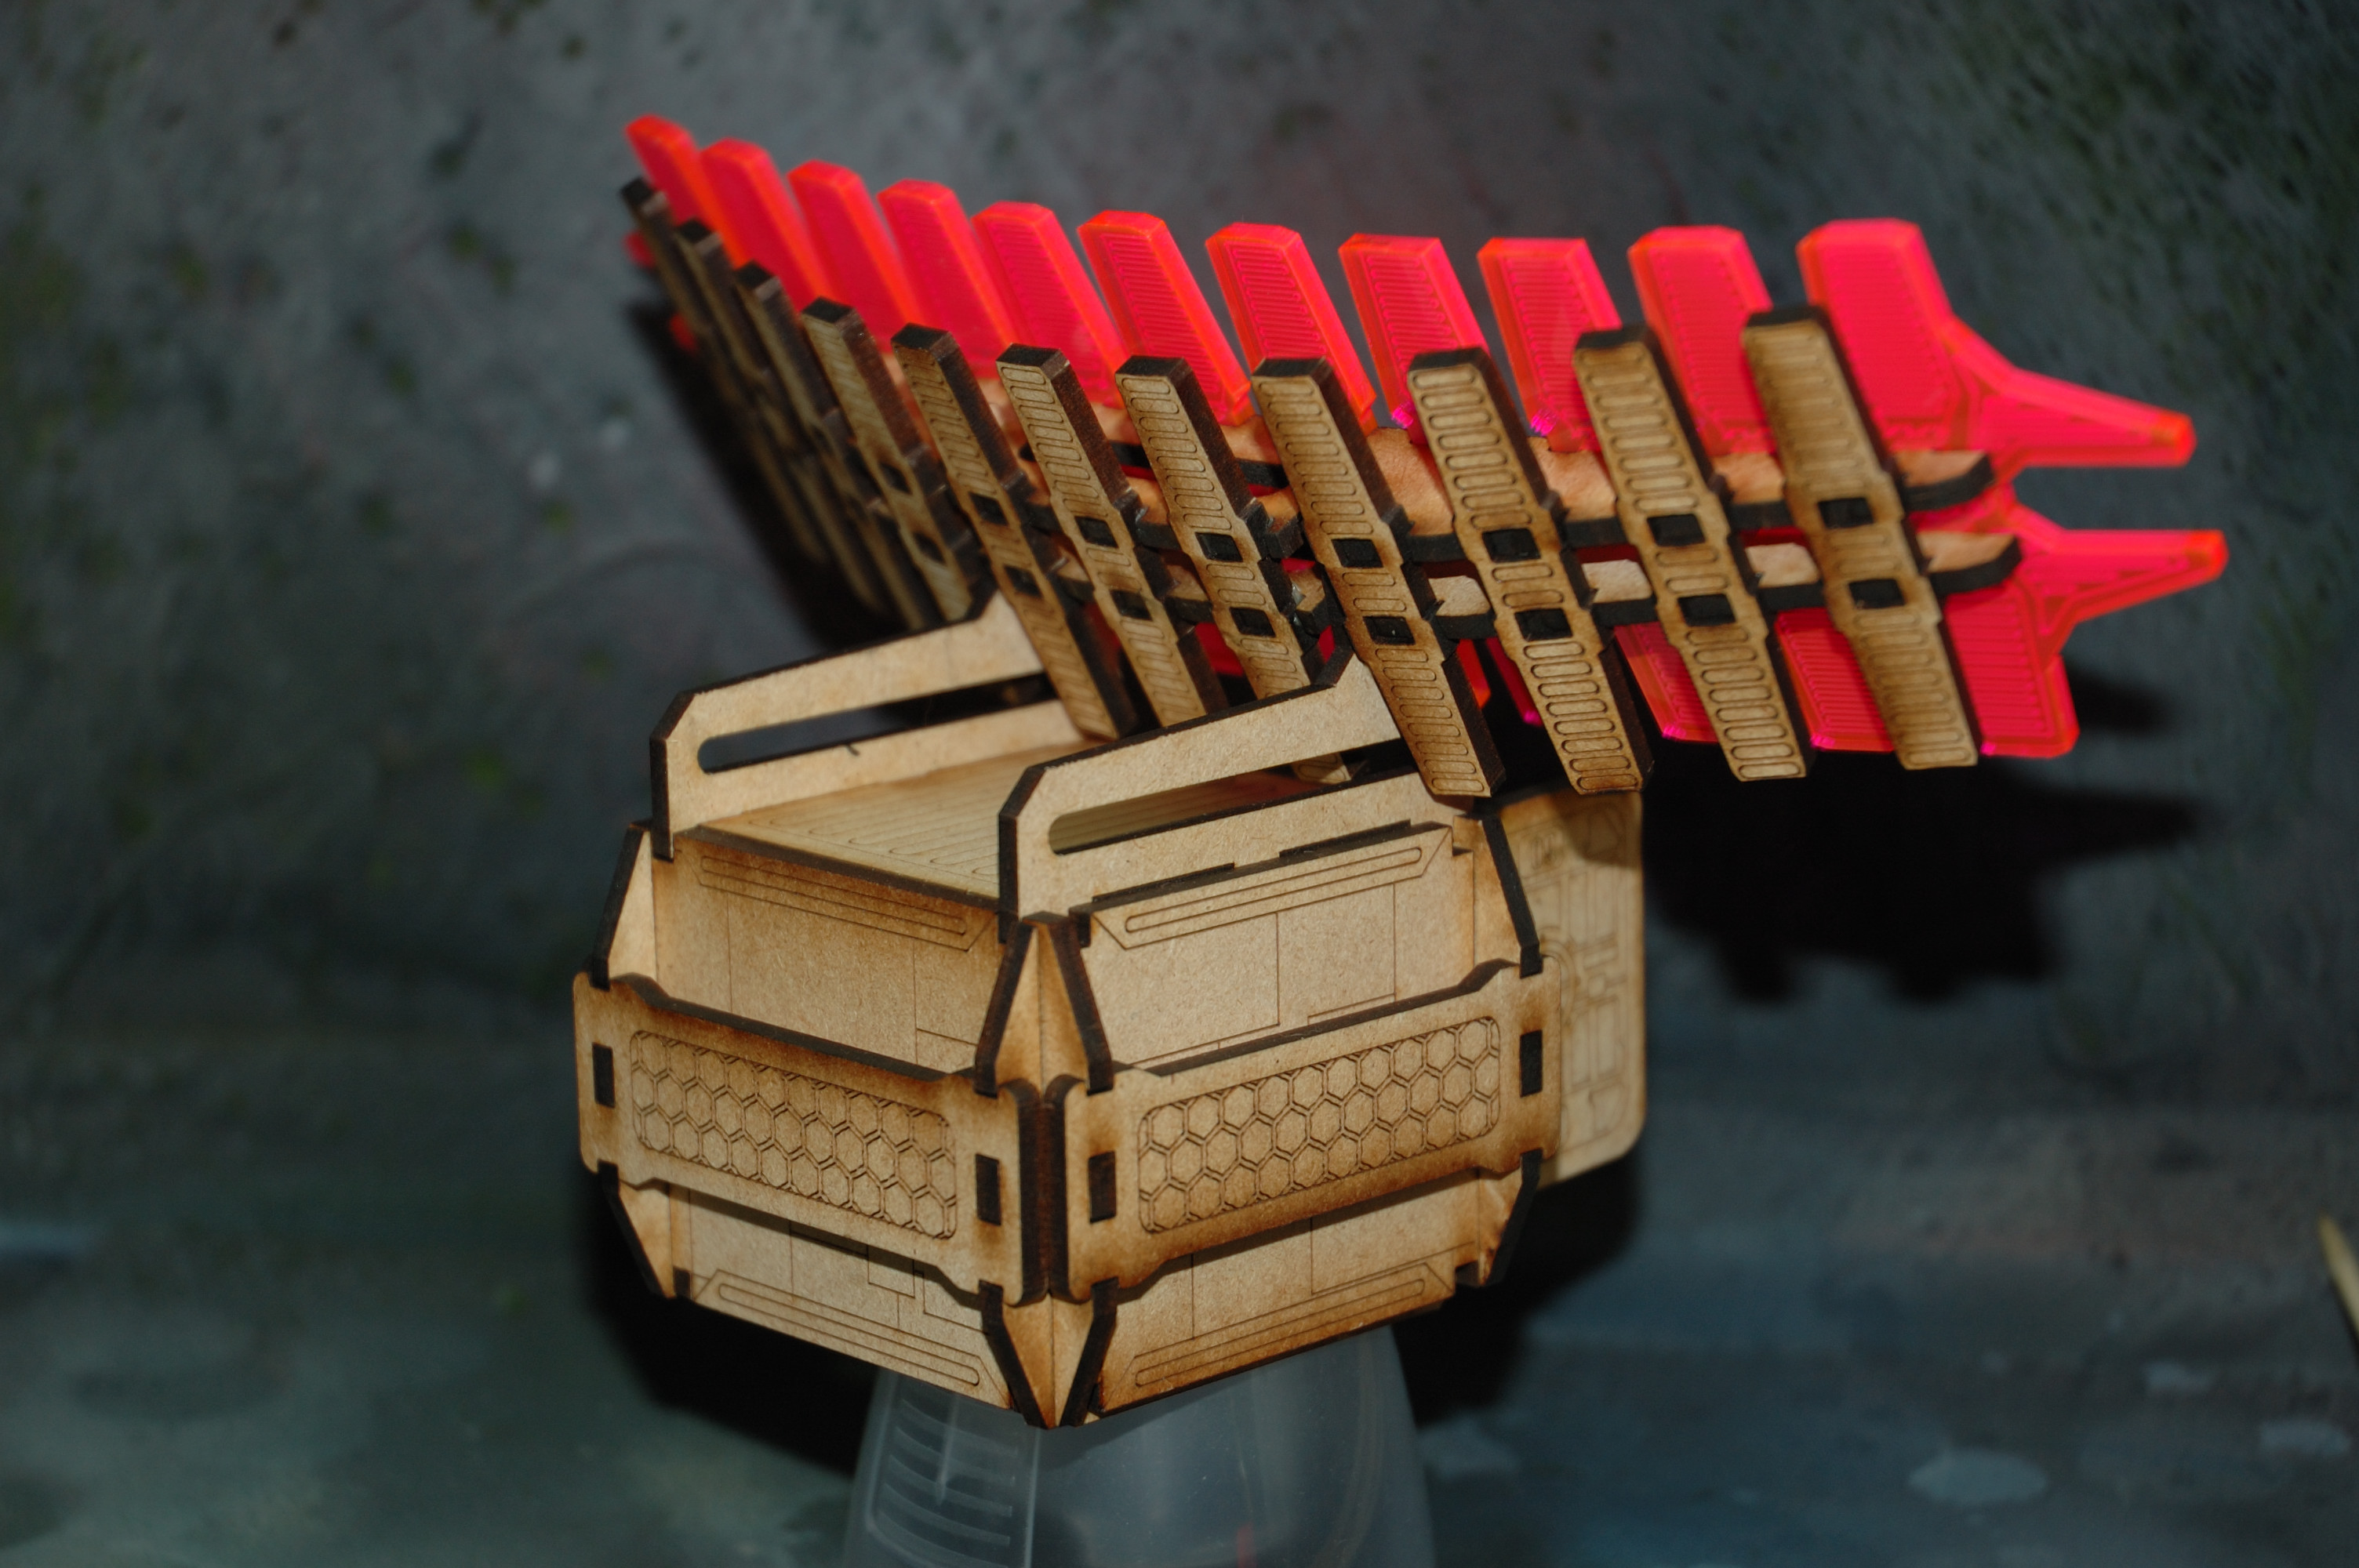
Once you’ve gotten the pieces out, it’s actually quite easy to put everything together. The various sprues are pretty obvious about which belongs to which and mostly things just slot into each other and the vast majority fits together without glue, even. During my test fits, it was rare to have pieces falling out of the put together terrain. There was an exception to that, though: The Radar dish acrylic doesn’t fit onto its pegs that well and will certainly require gluing.
That said, I wholly recommend gluing together the terrain. I don’t think it would all hold up to the rigors of play if you didn’t glue it. Personally, I used just Elmer’s Wood Glue in lines or beads along the “weld lines”. You can use PVA (white) glue but it doesn’t work as well, in my experience.
Oh, be sure to use “Cockpit Glass” glue when you’re putting the radar sections on the frame. If you don’t, you’ll end up fogging the acrylic.
If you’re curious about how things go together, Underground Lasers has/will have instructions on their website. Super helpful!
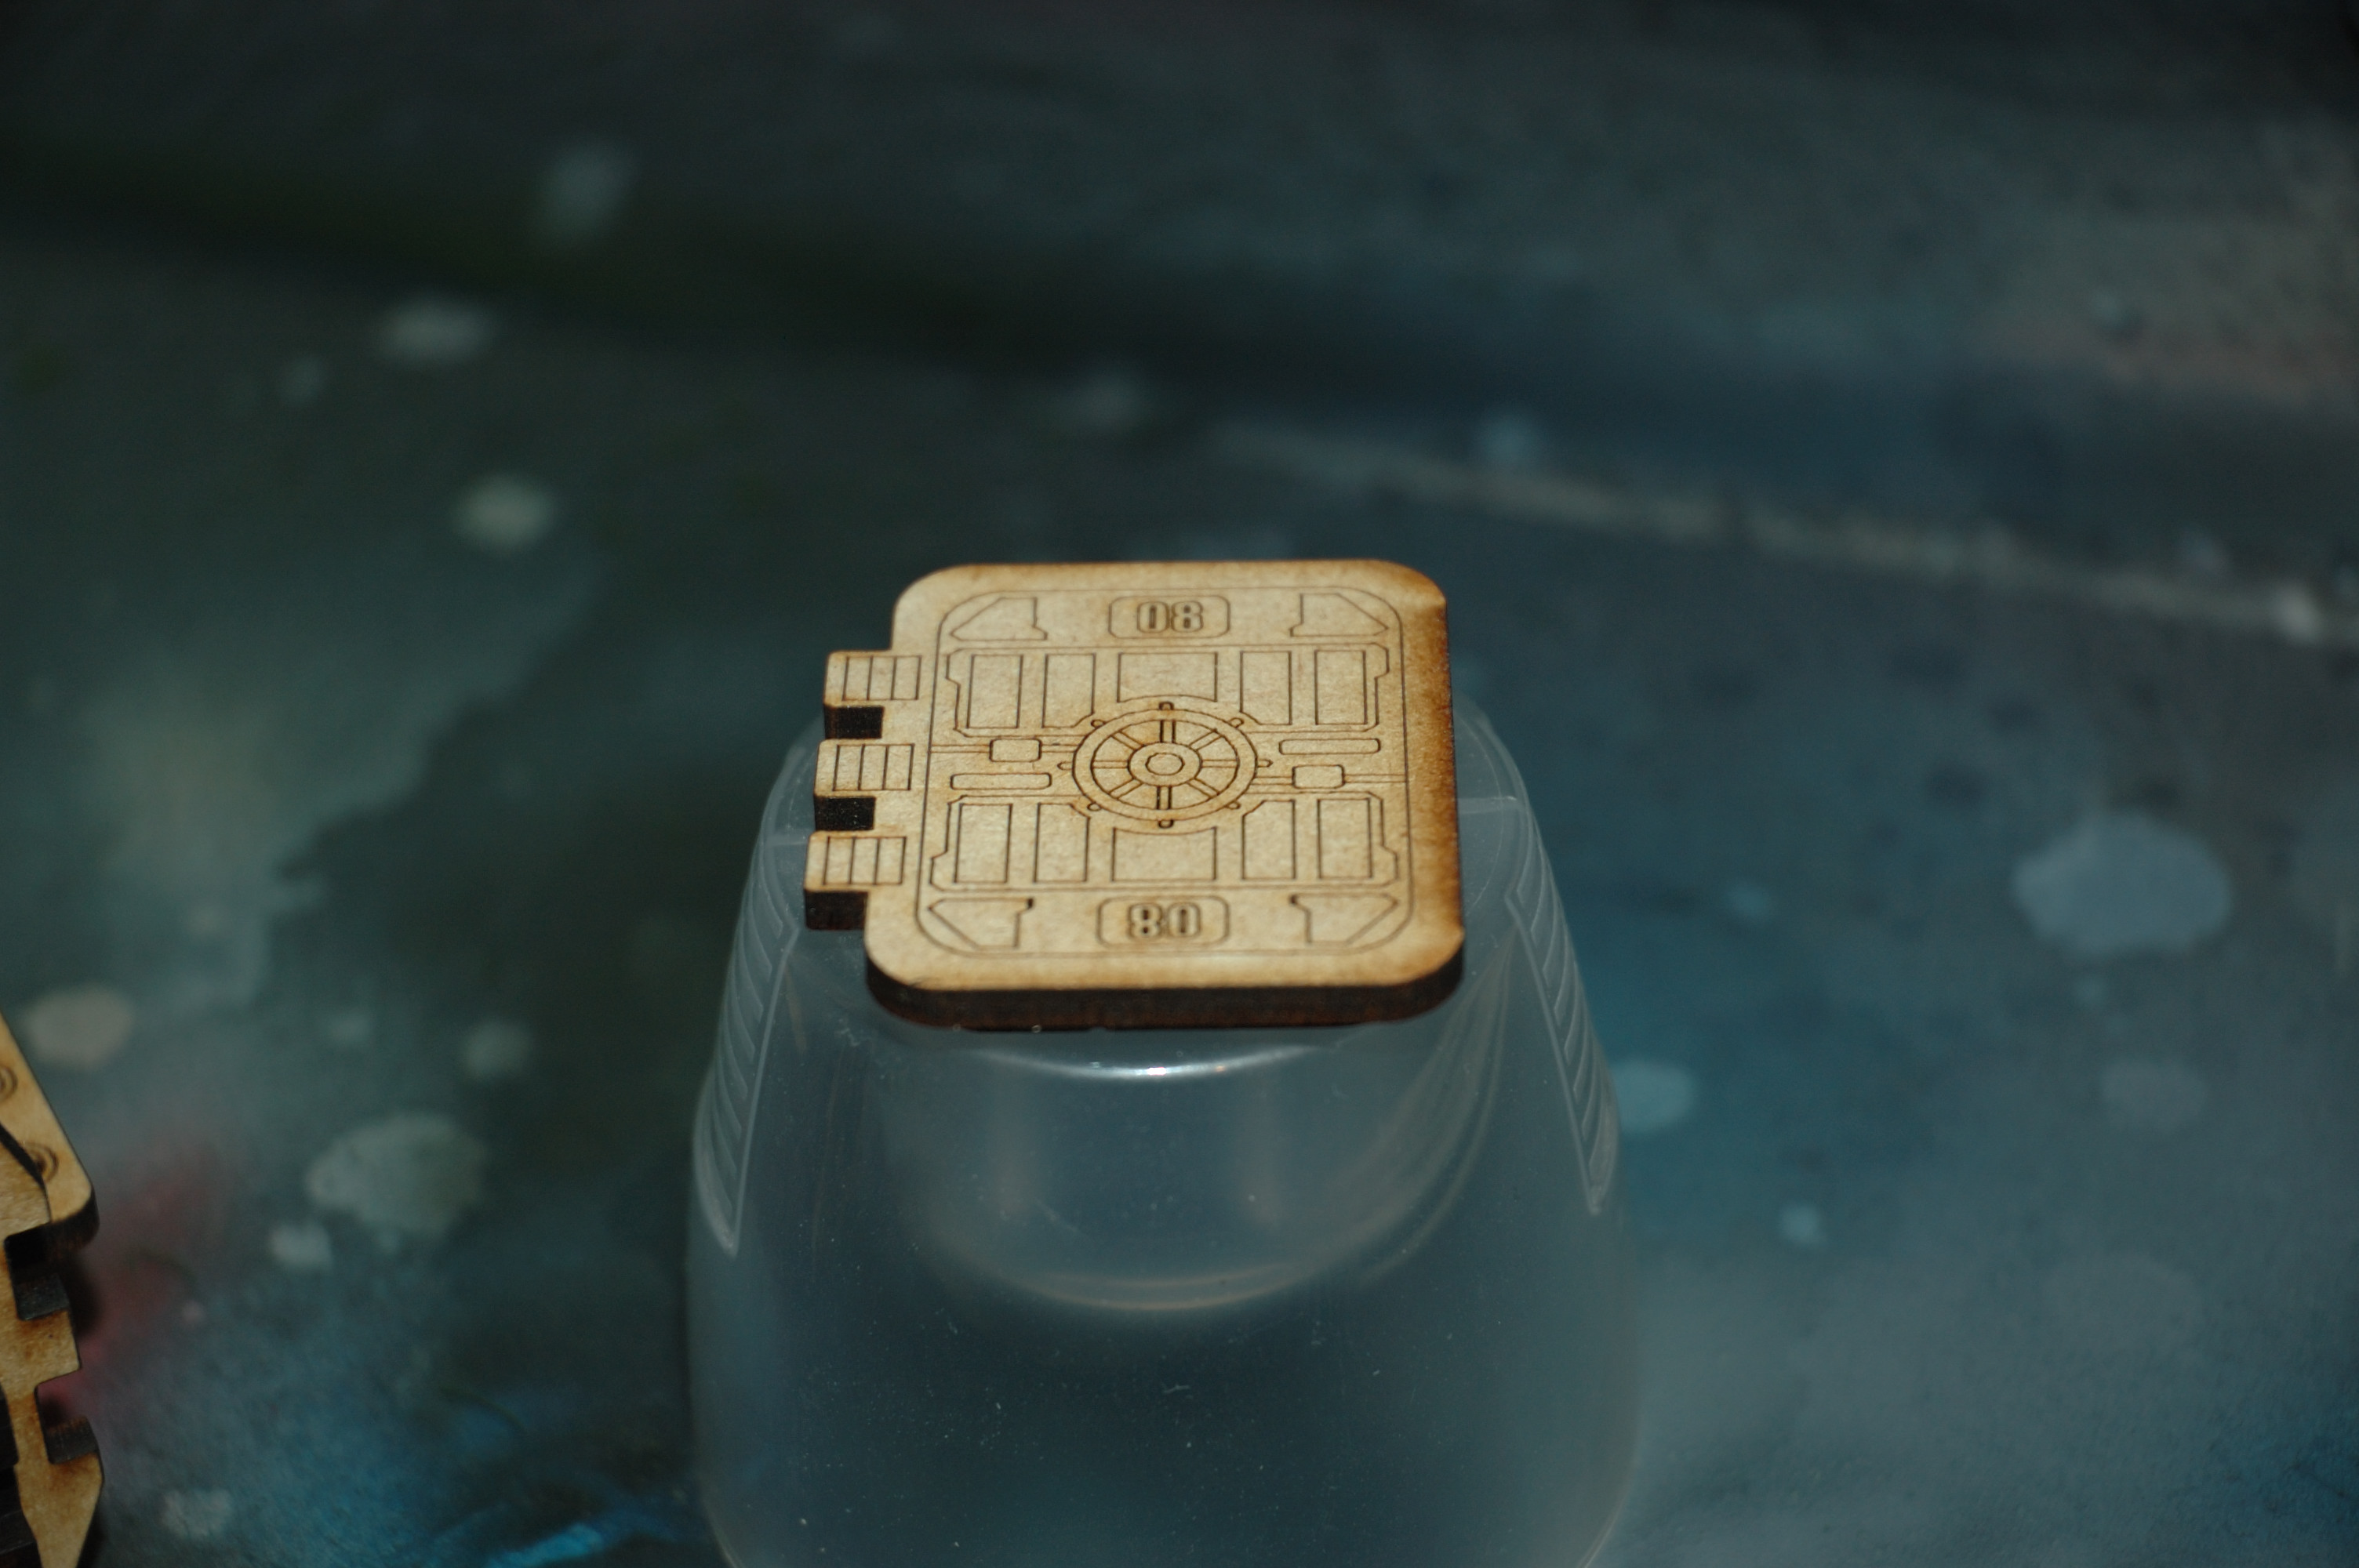
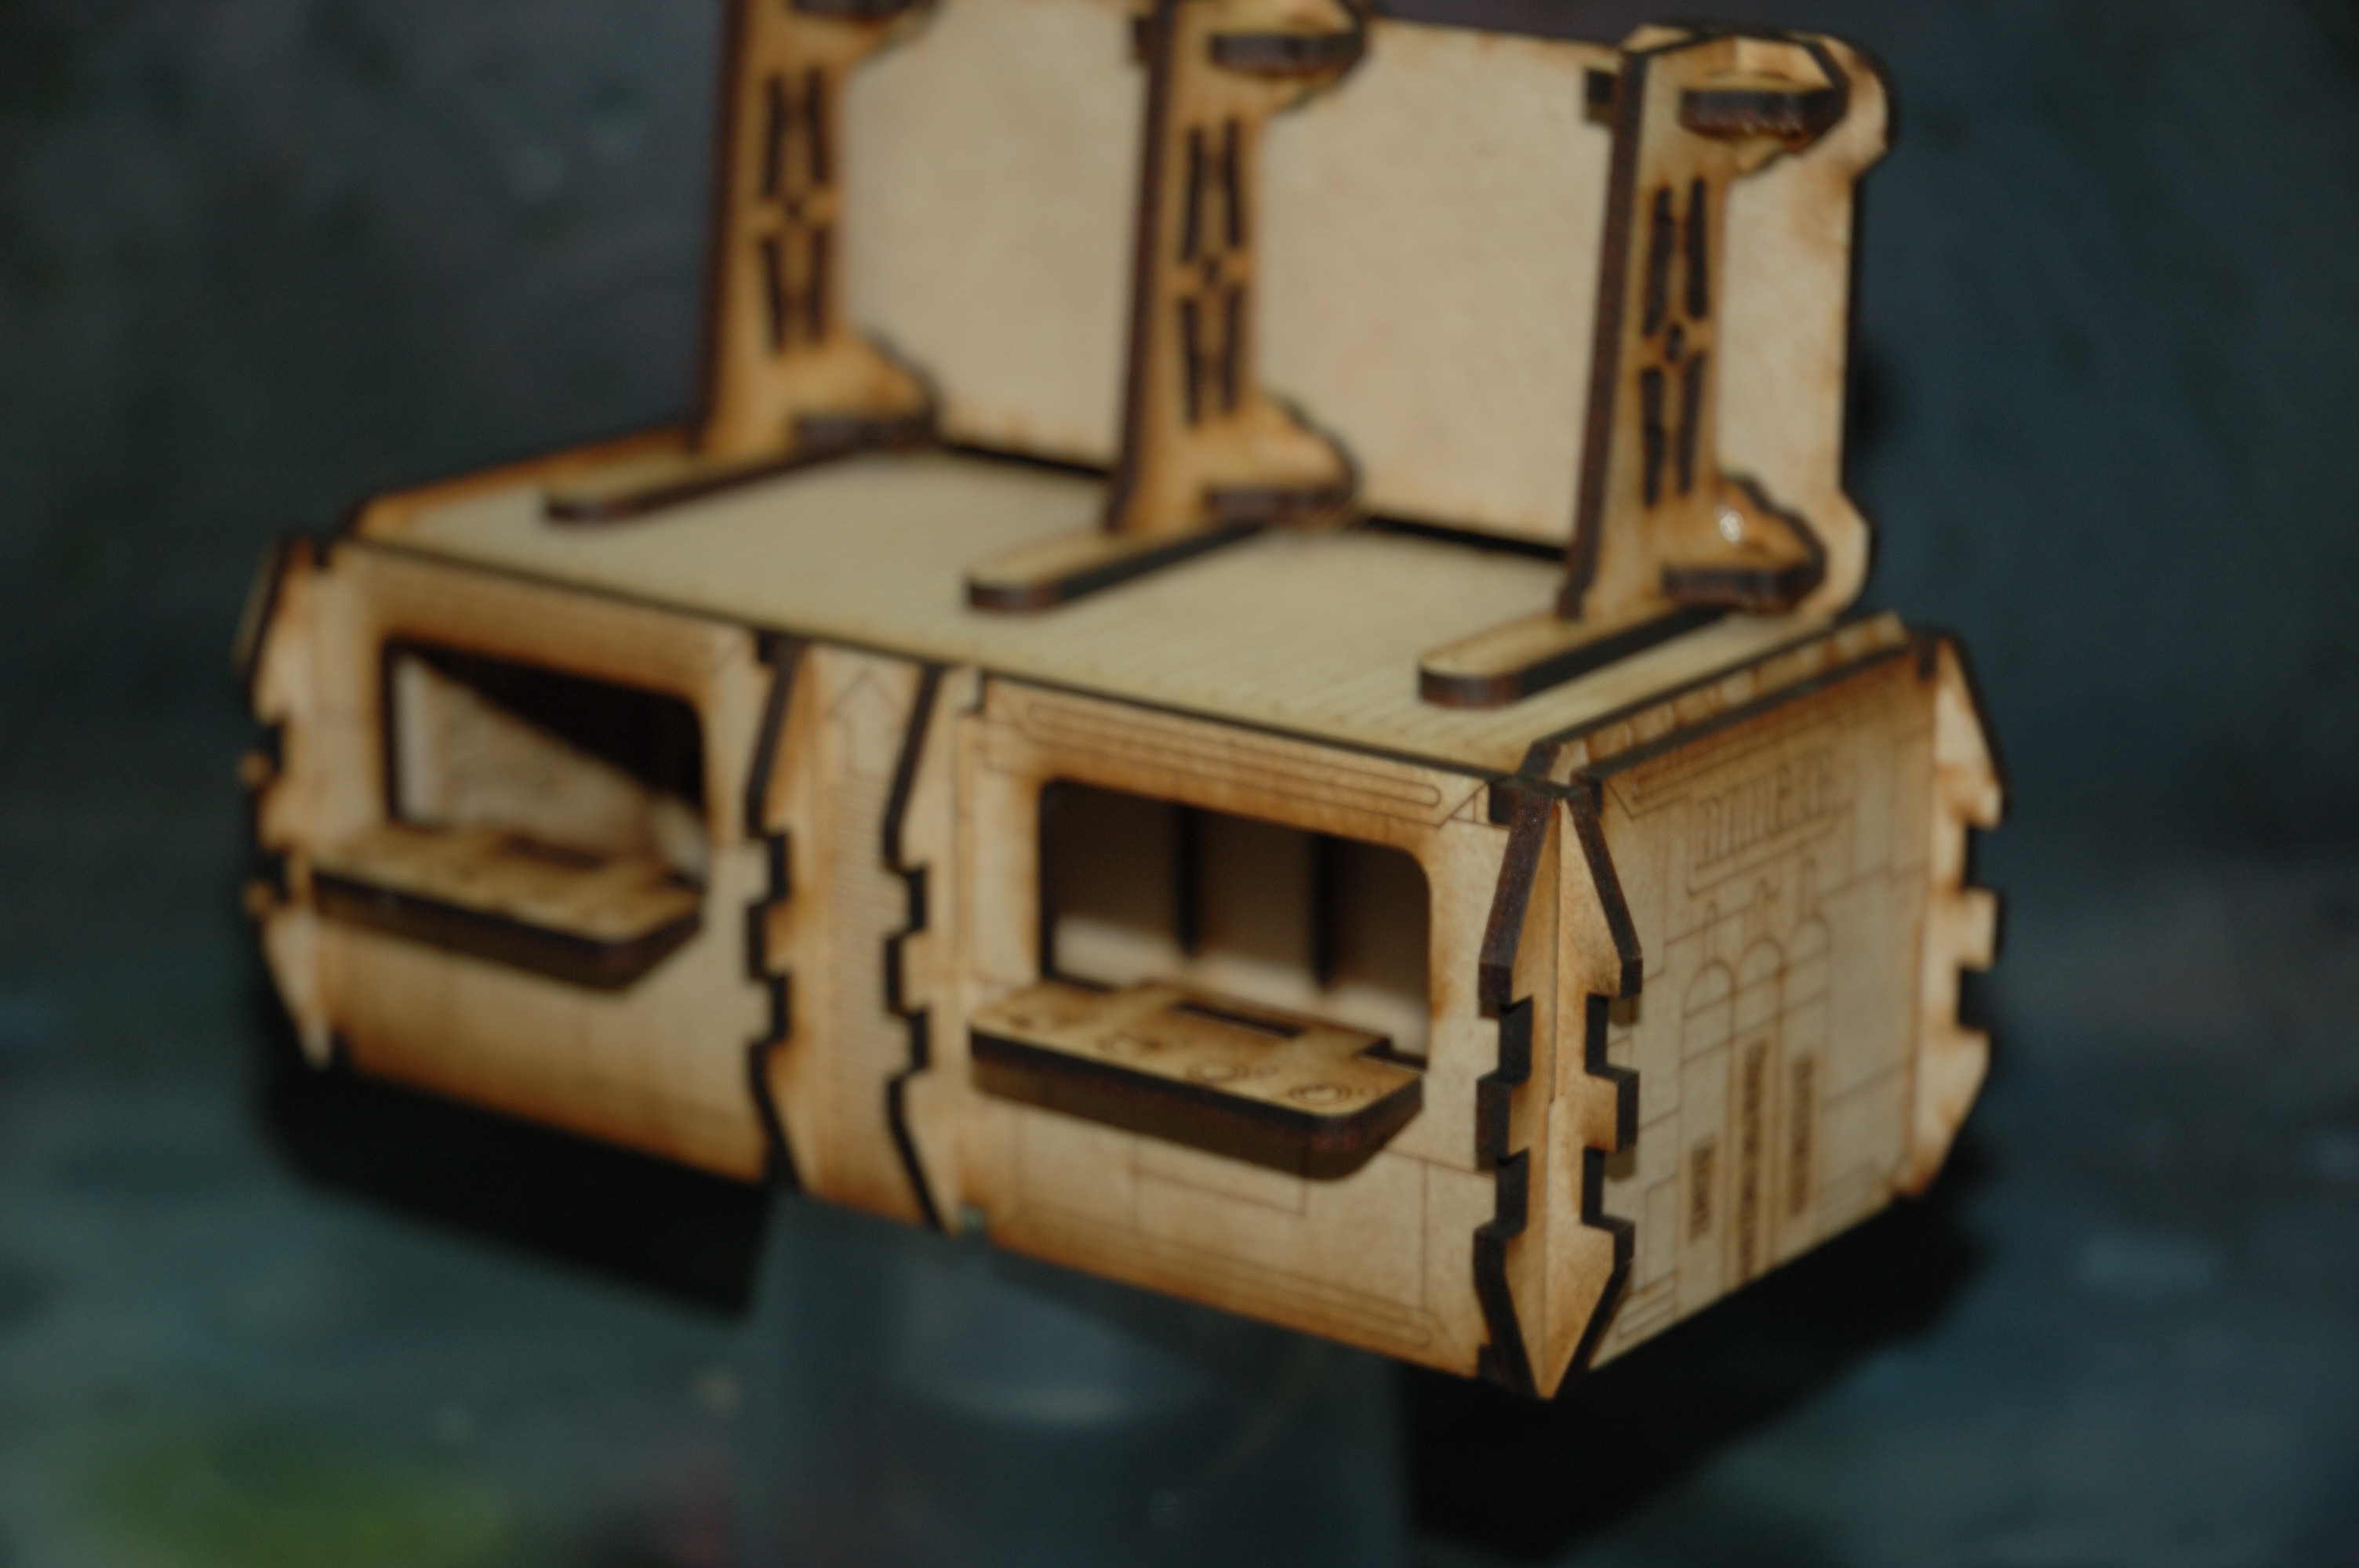
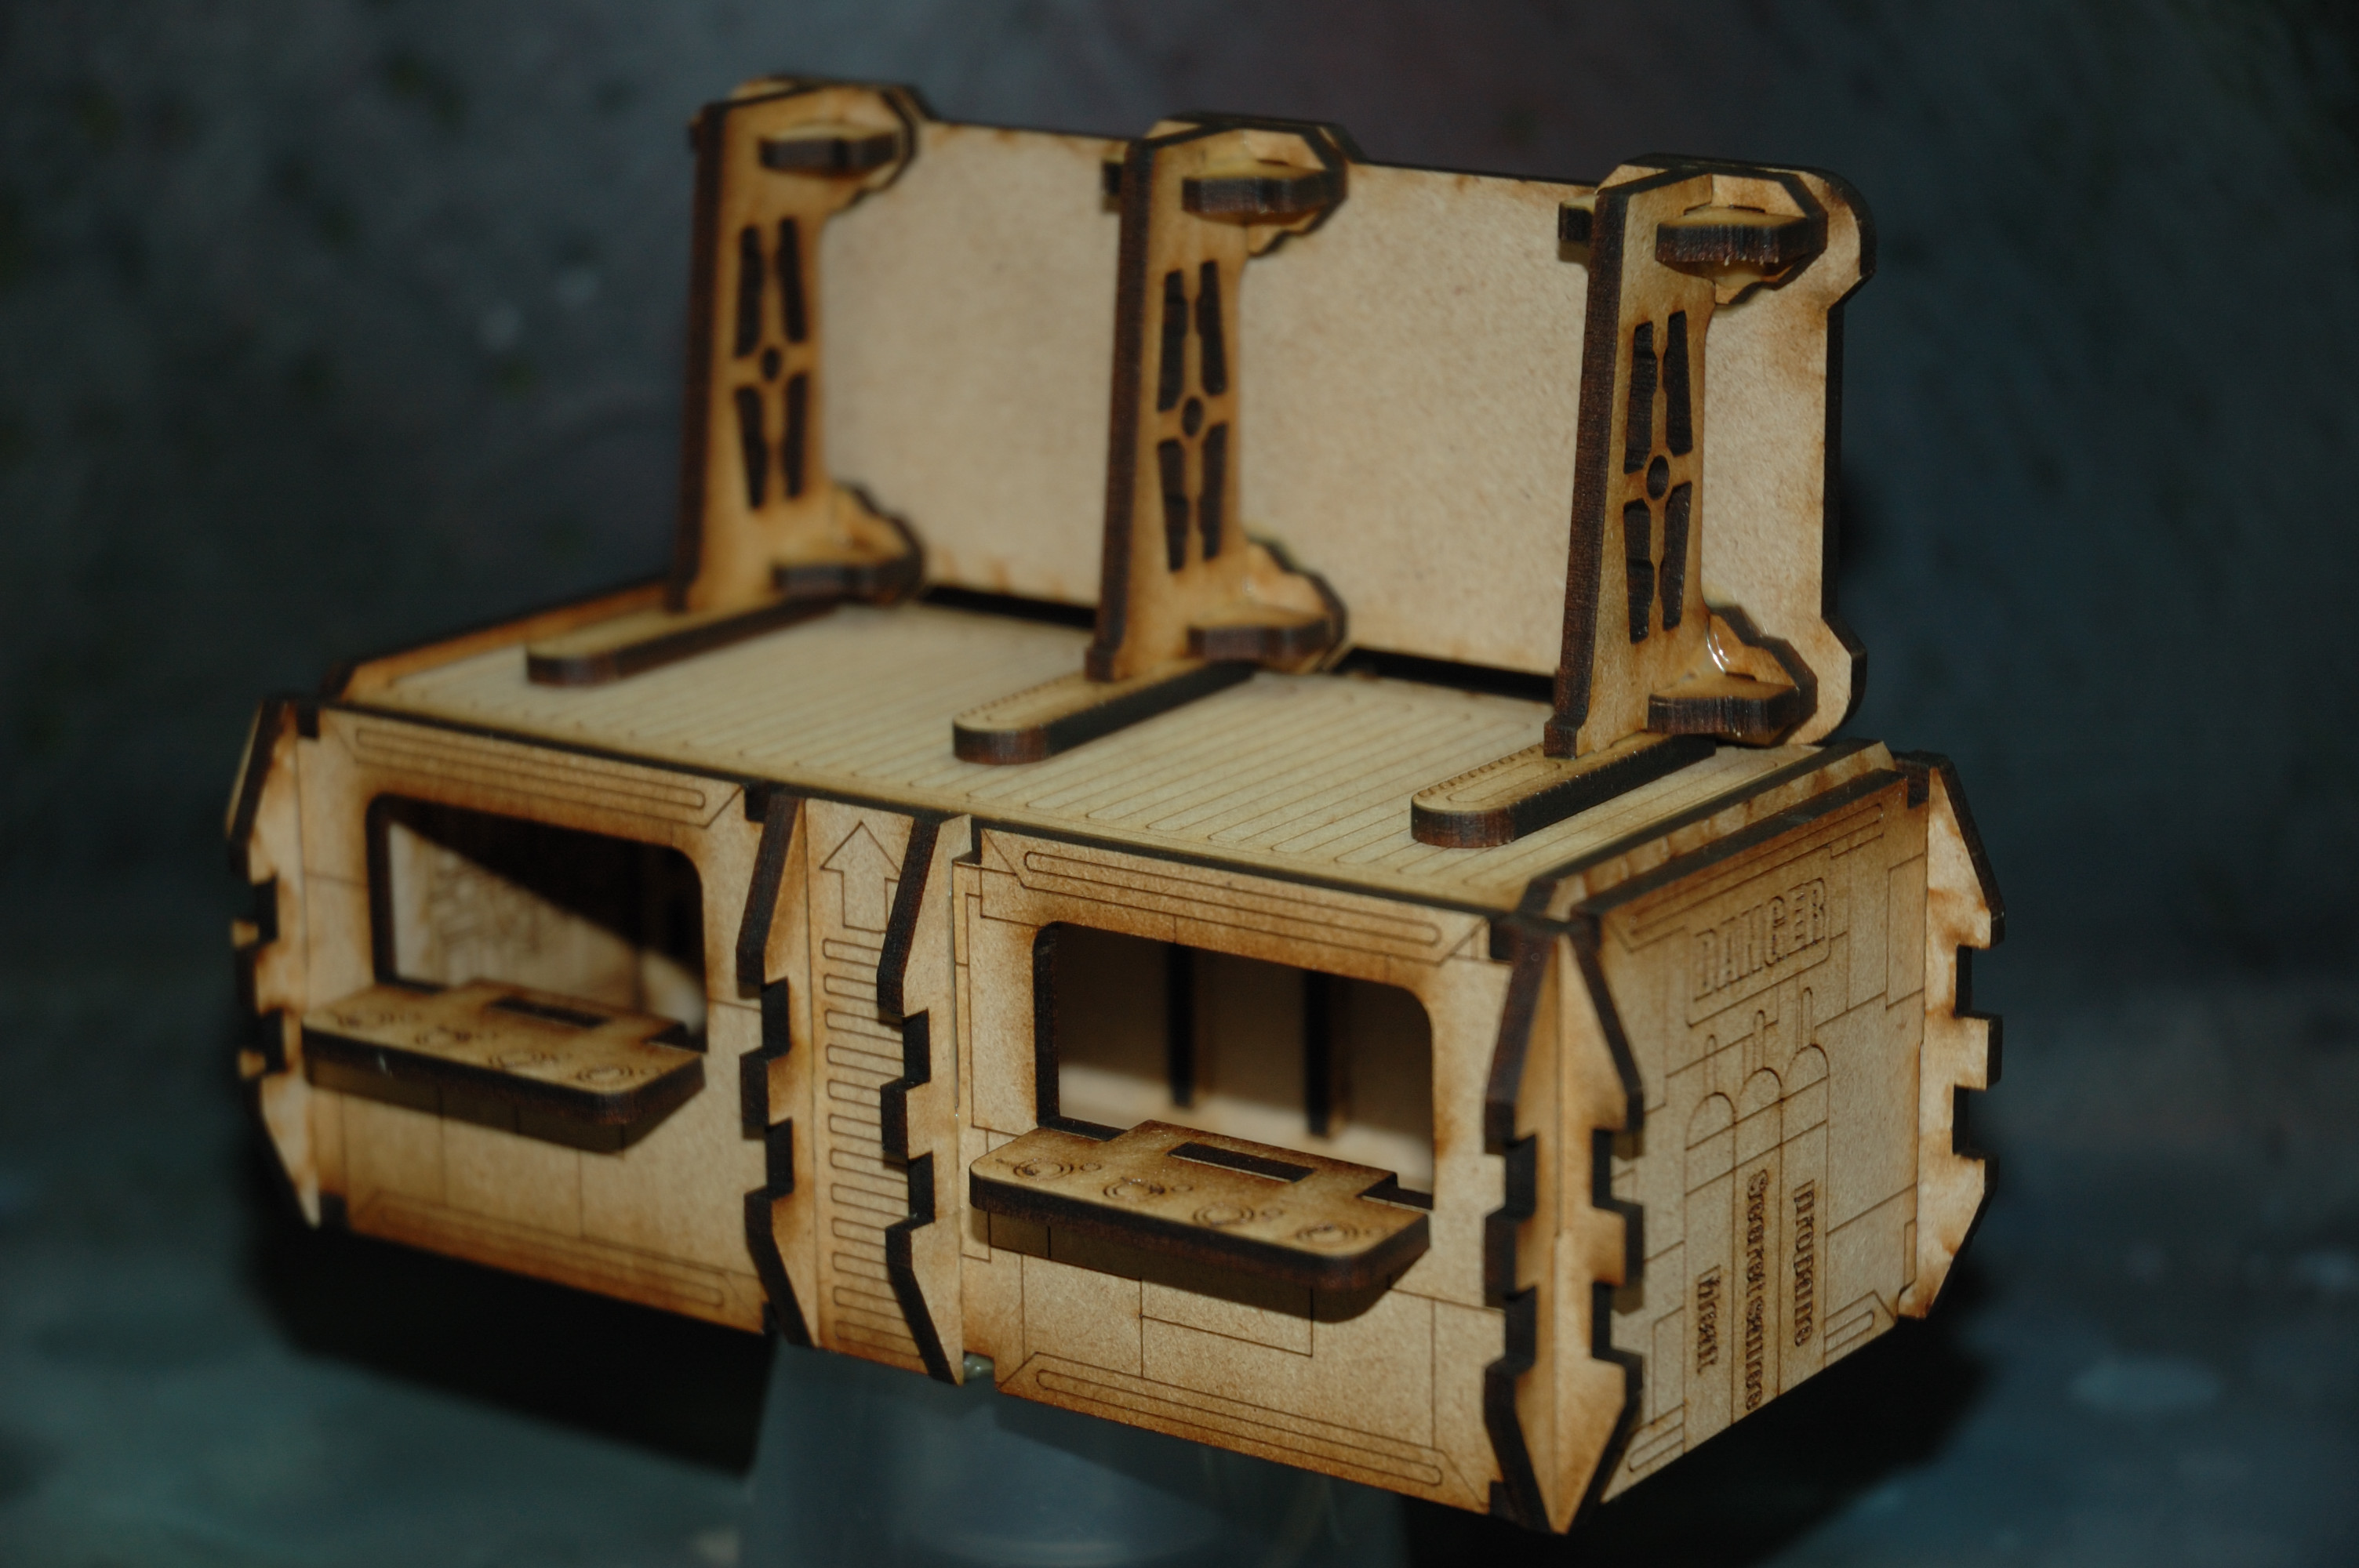
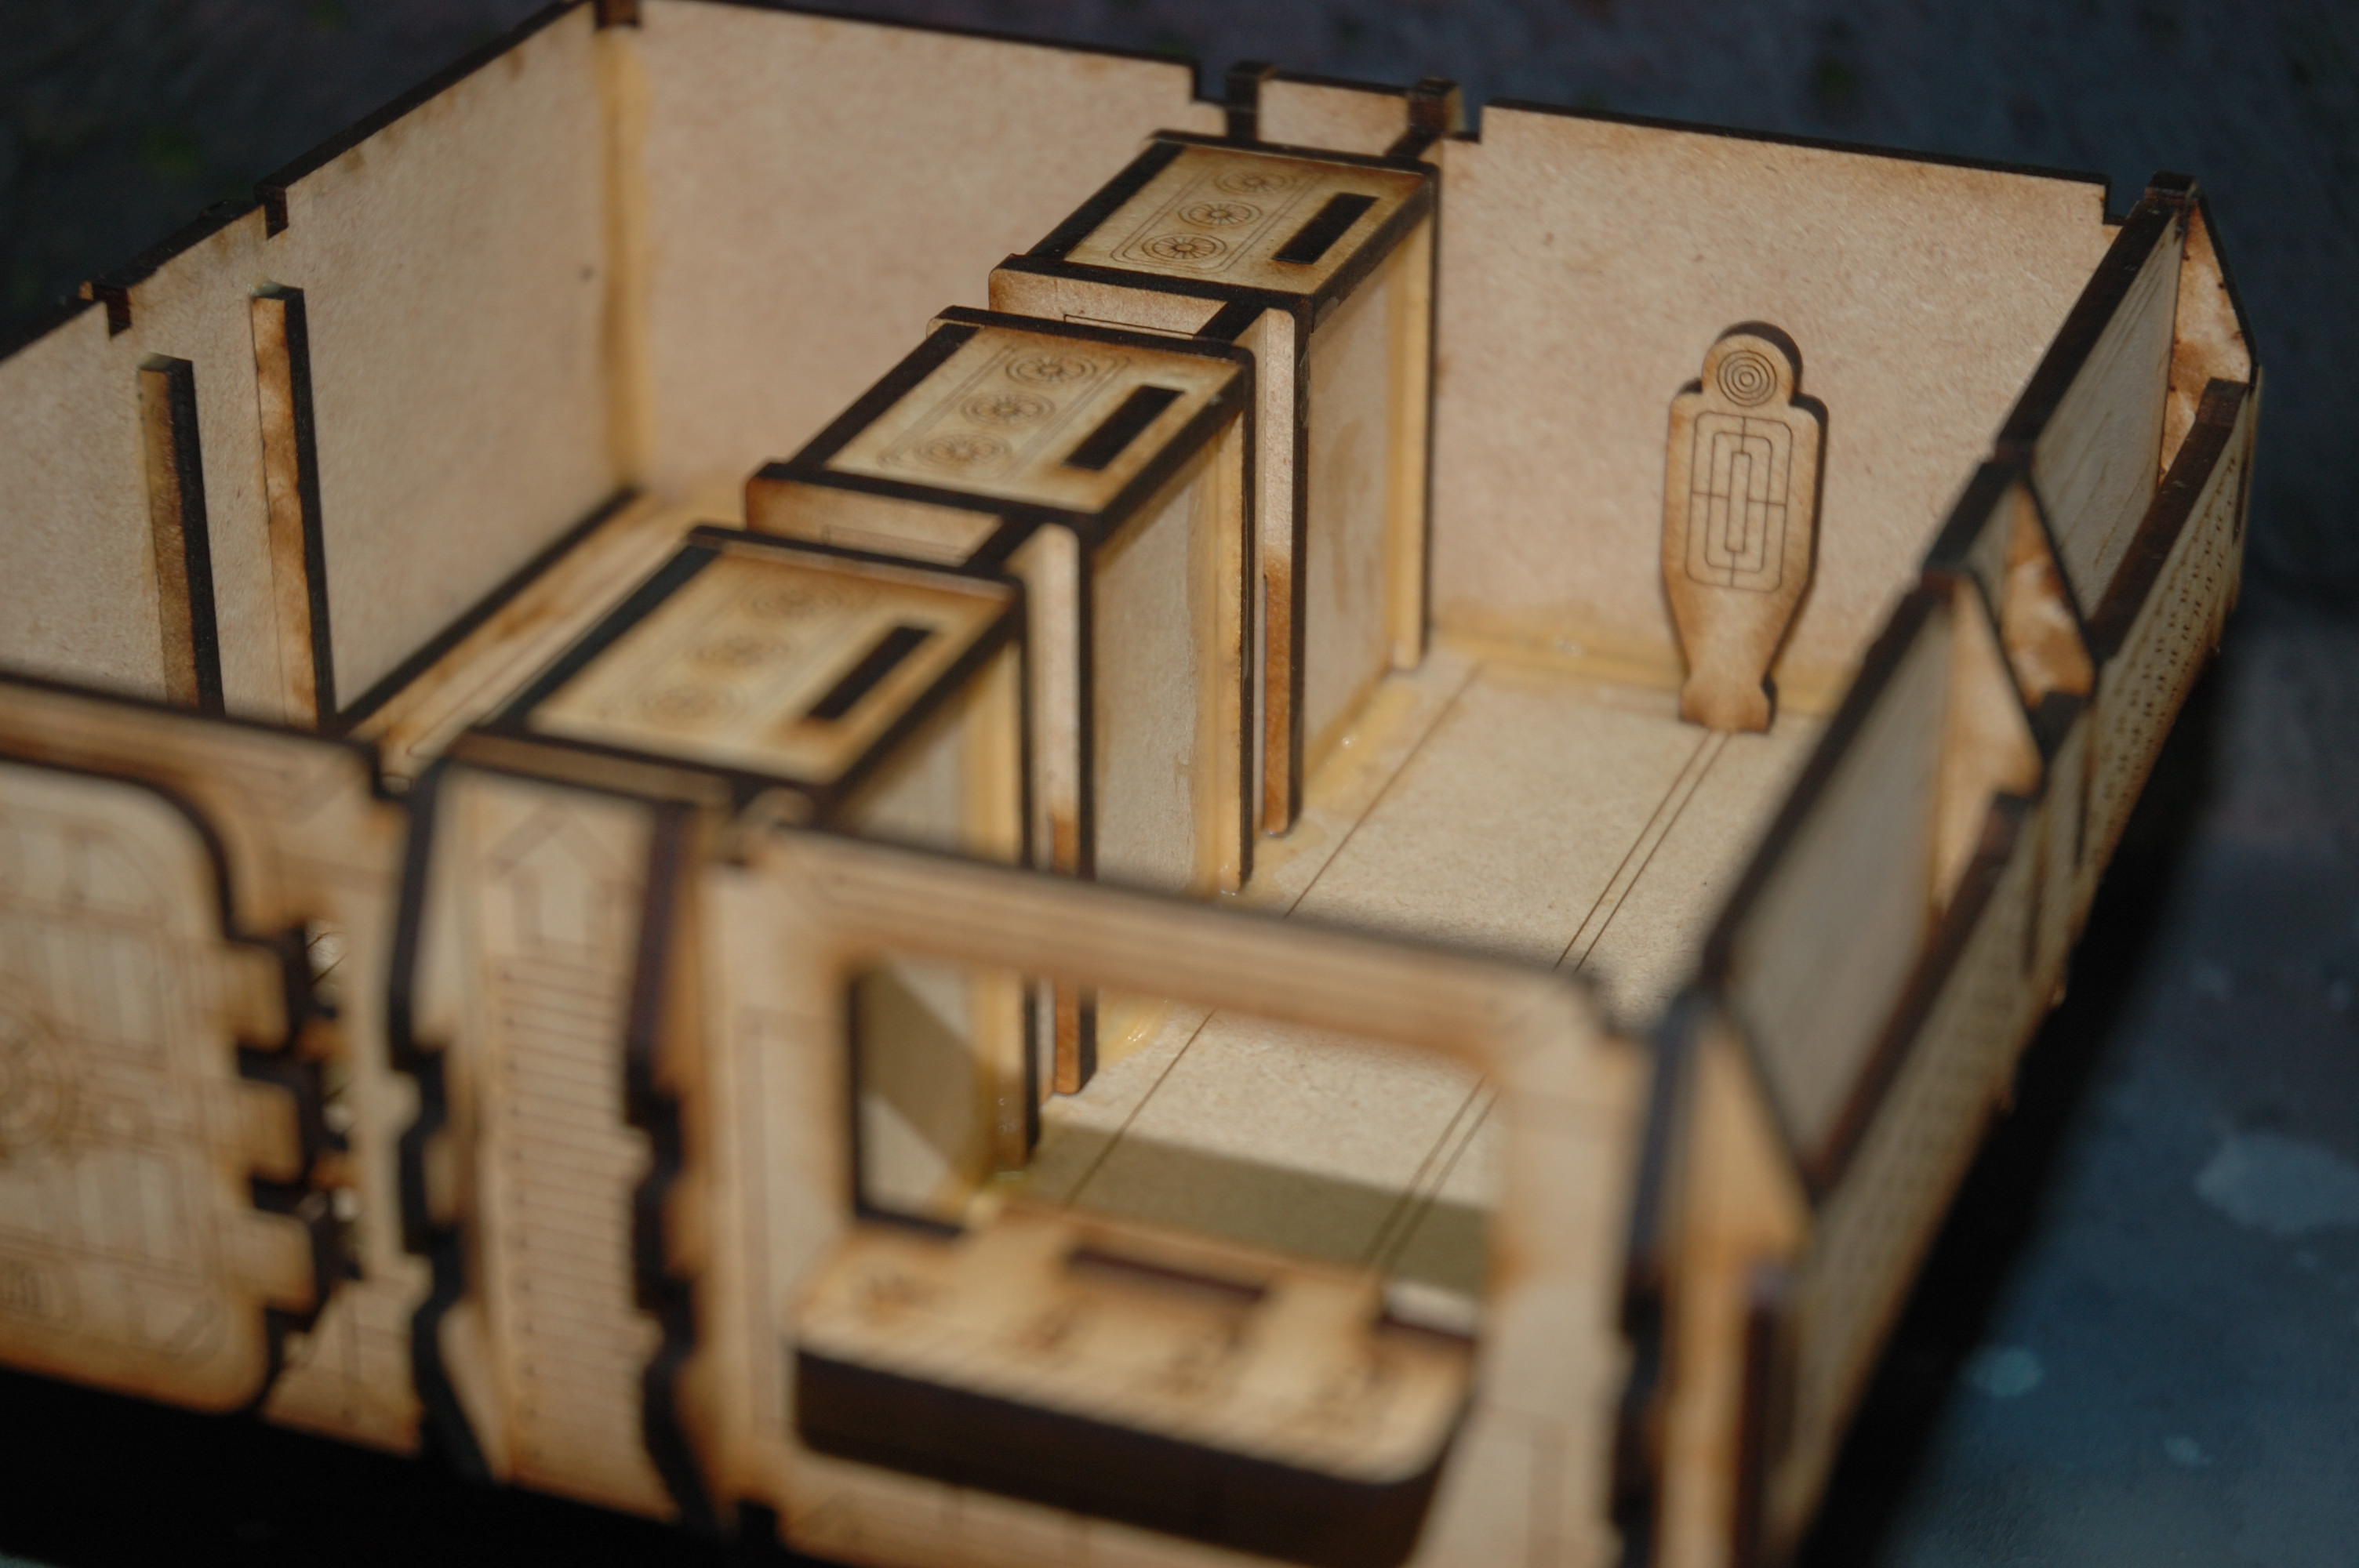
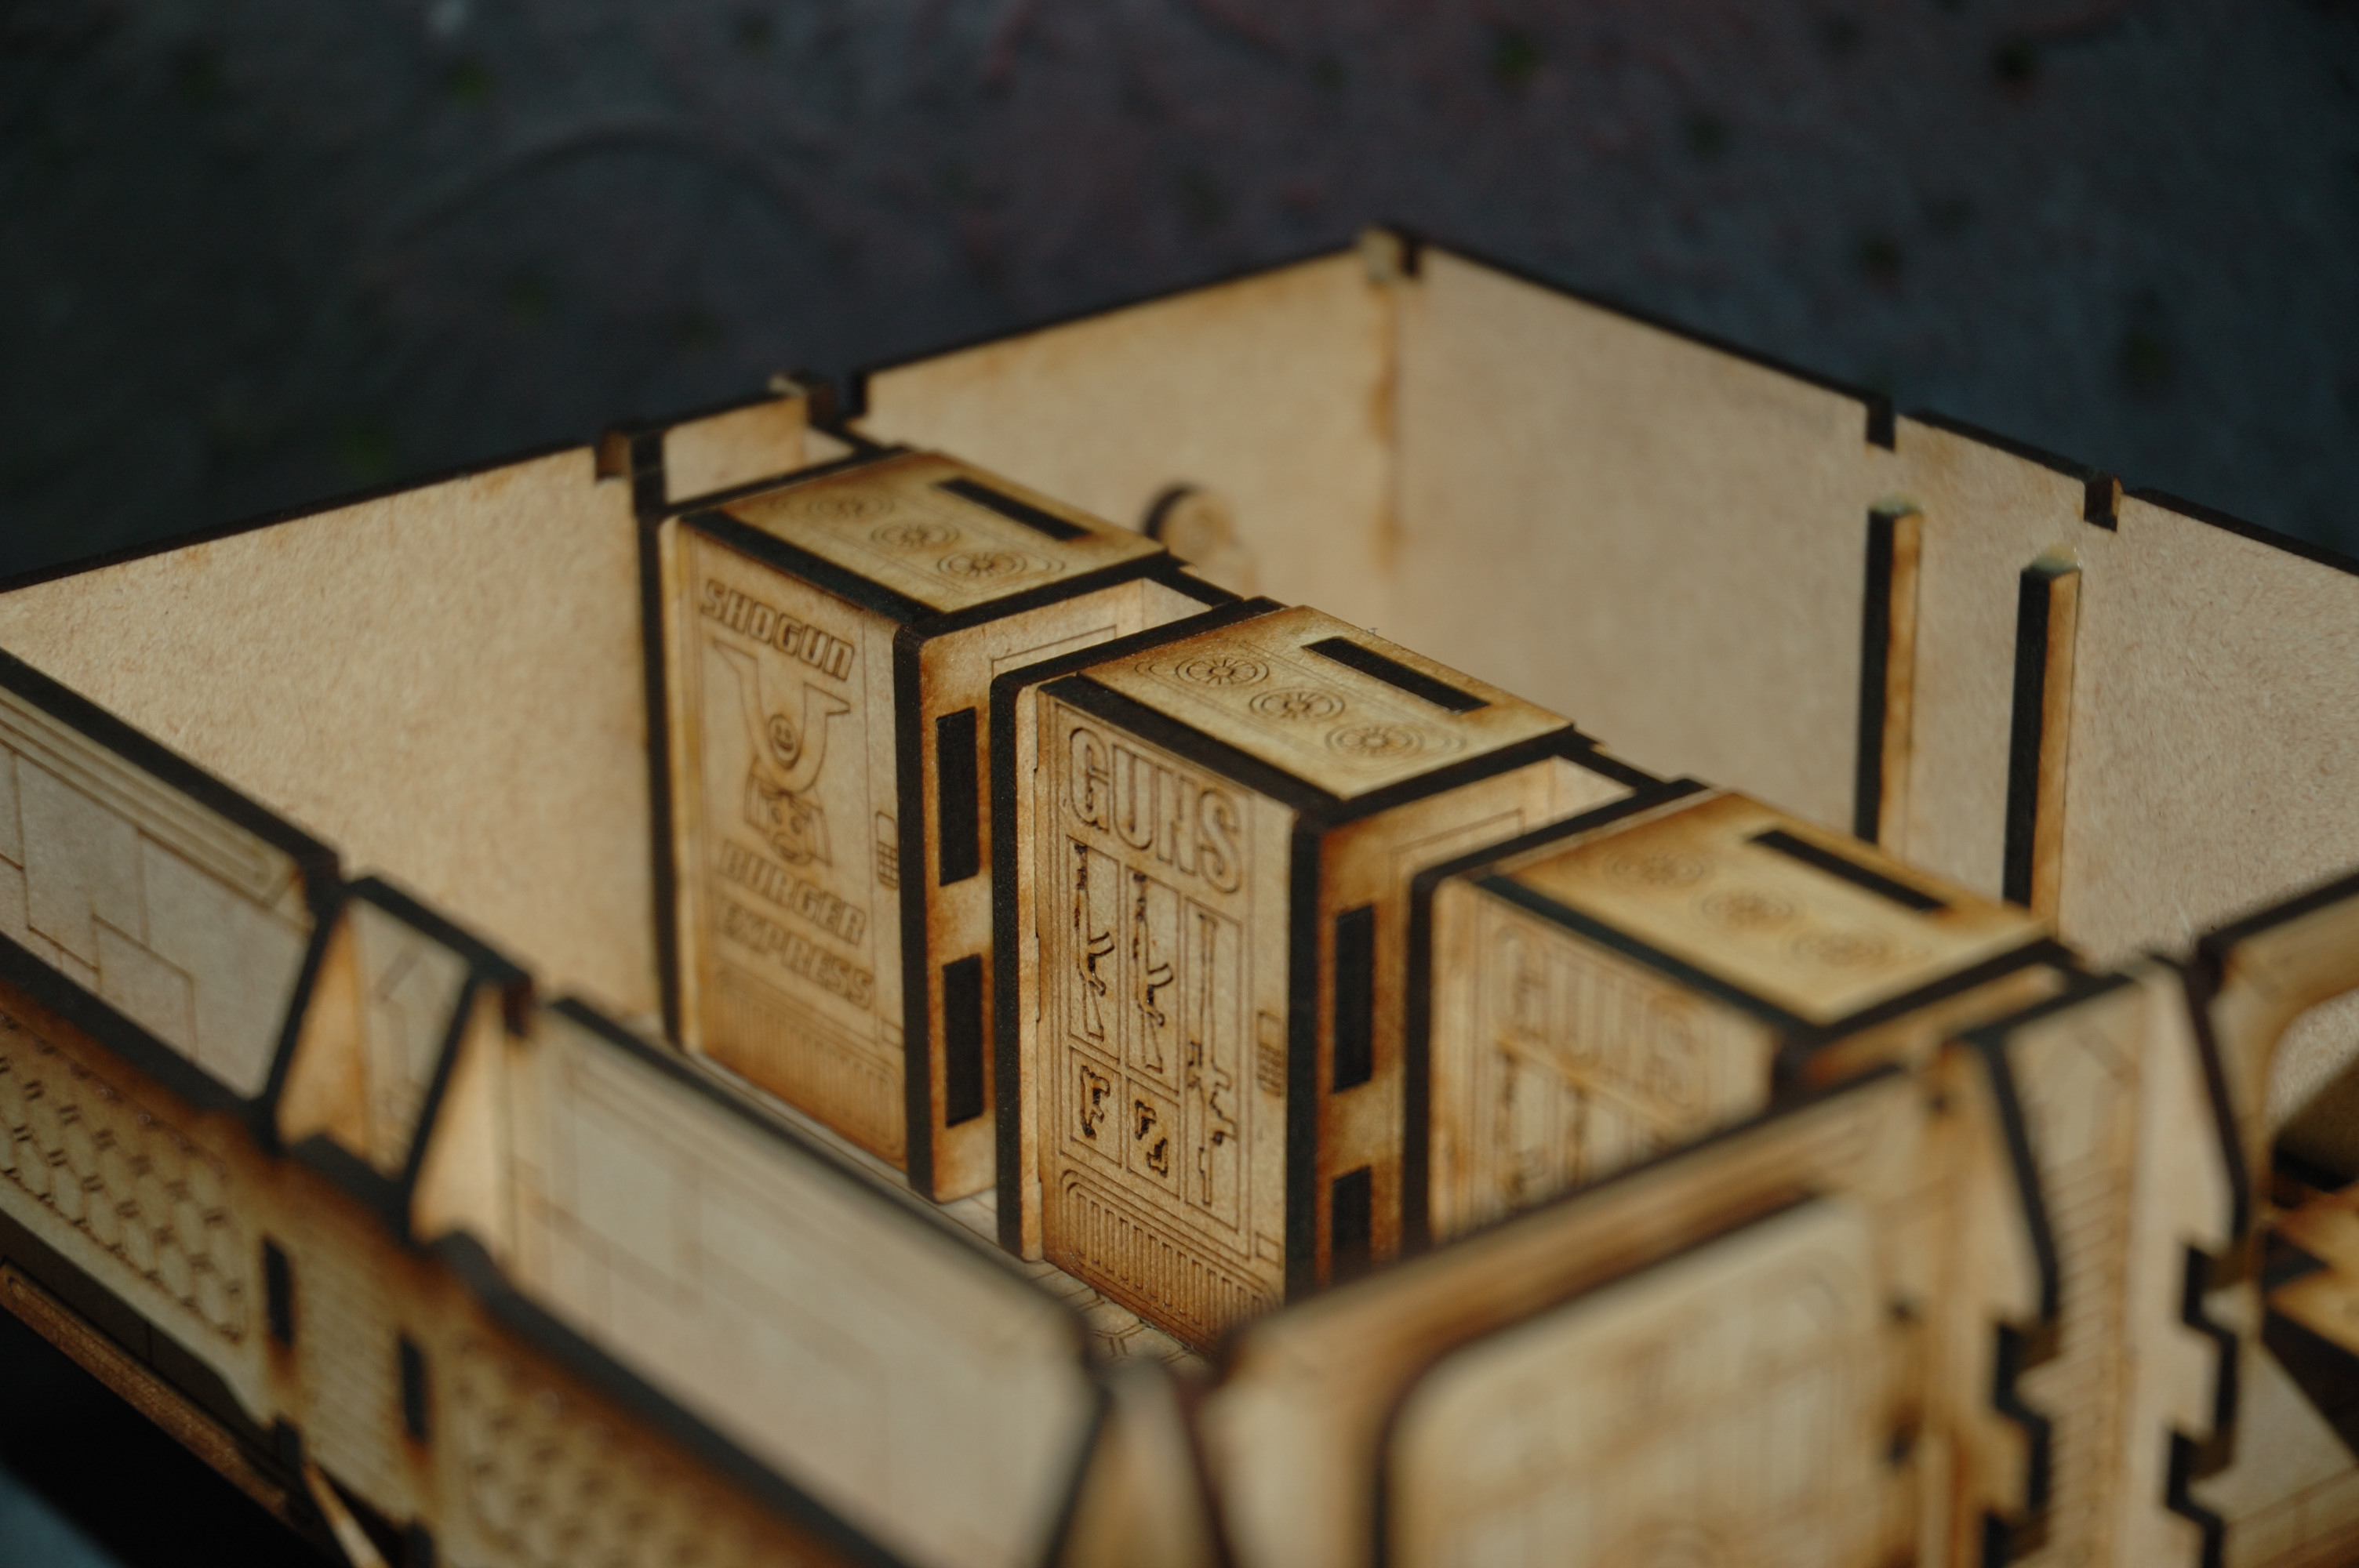
Some pictures of the pieces built pre-painting are available after the score.
Score: Standard 7/10
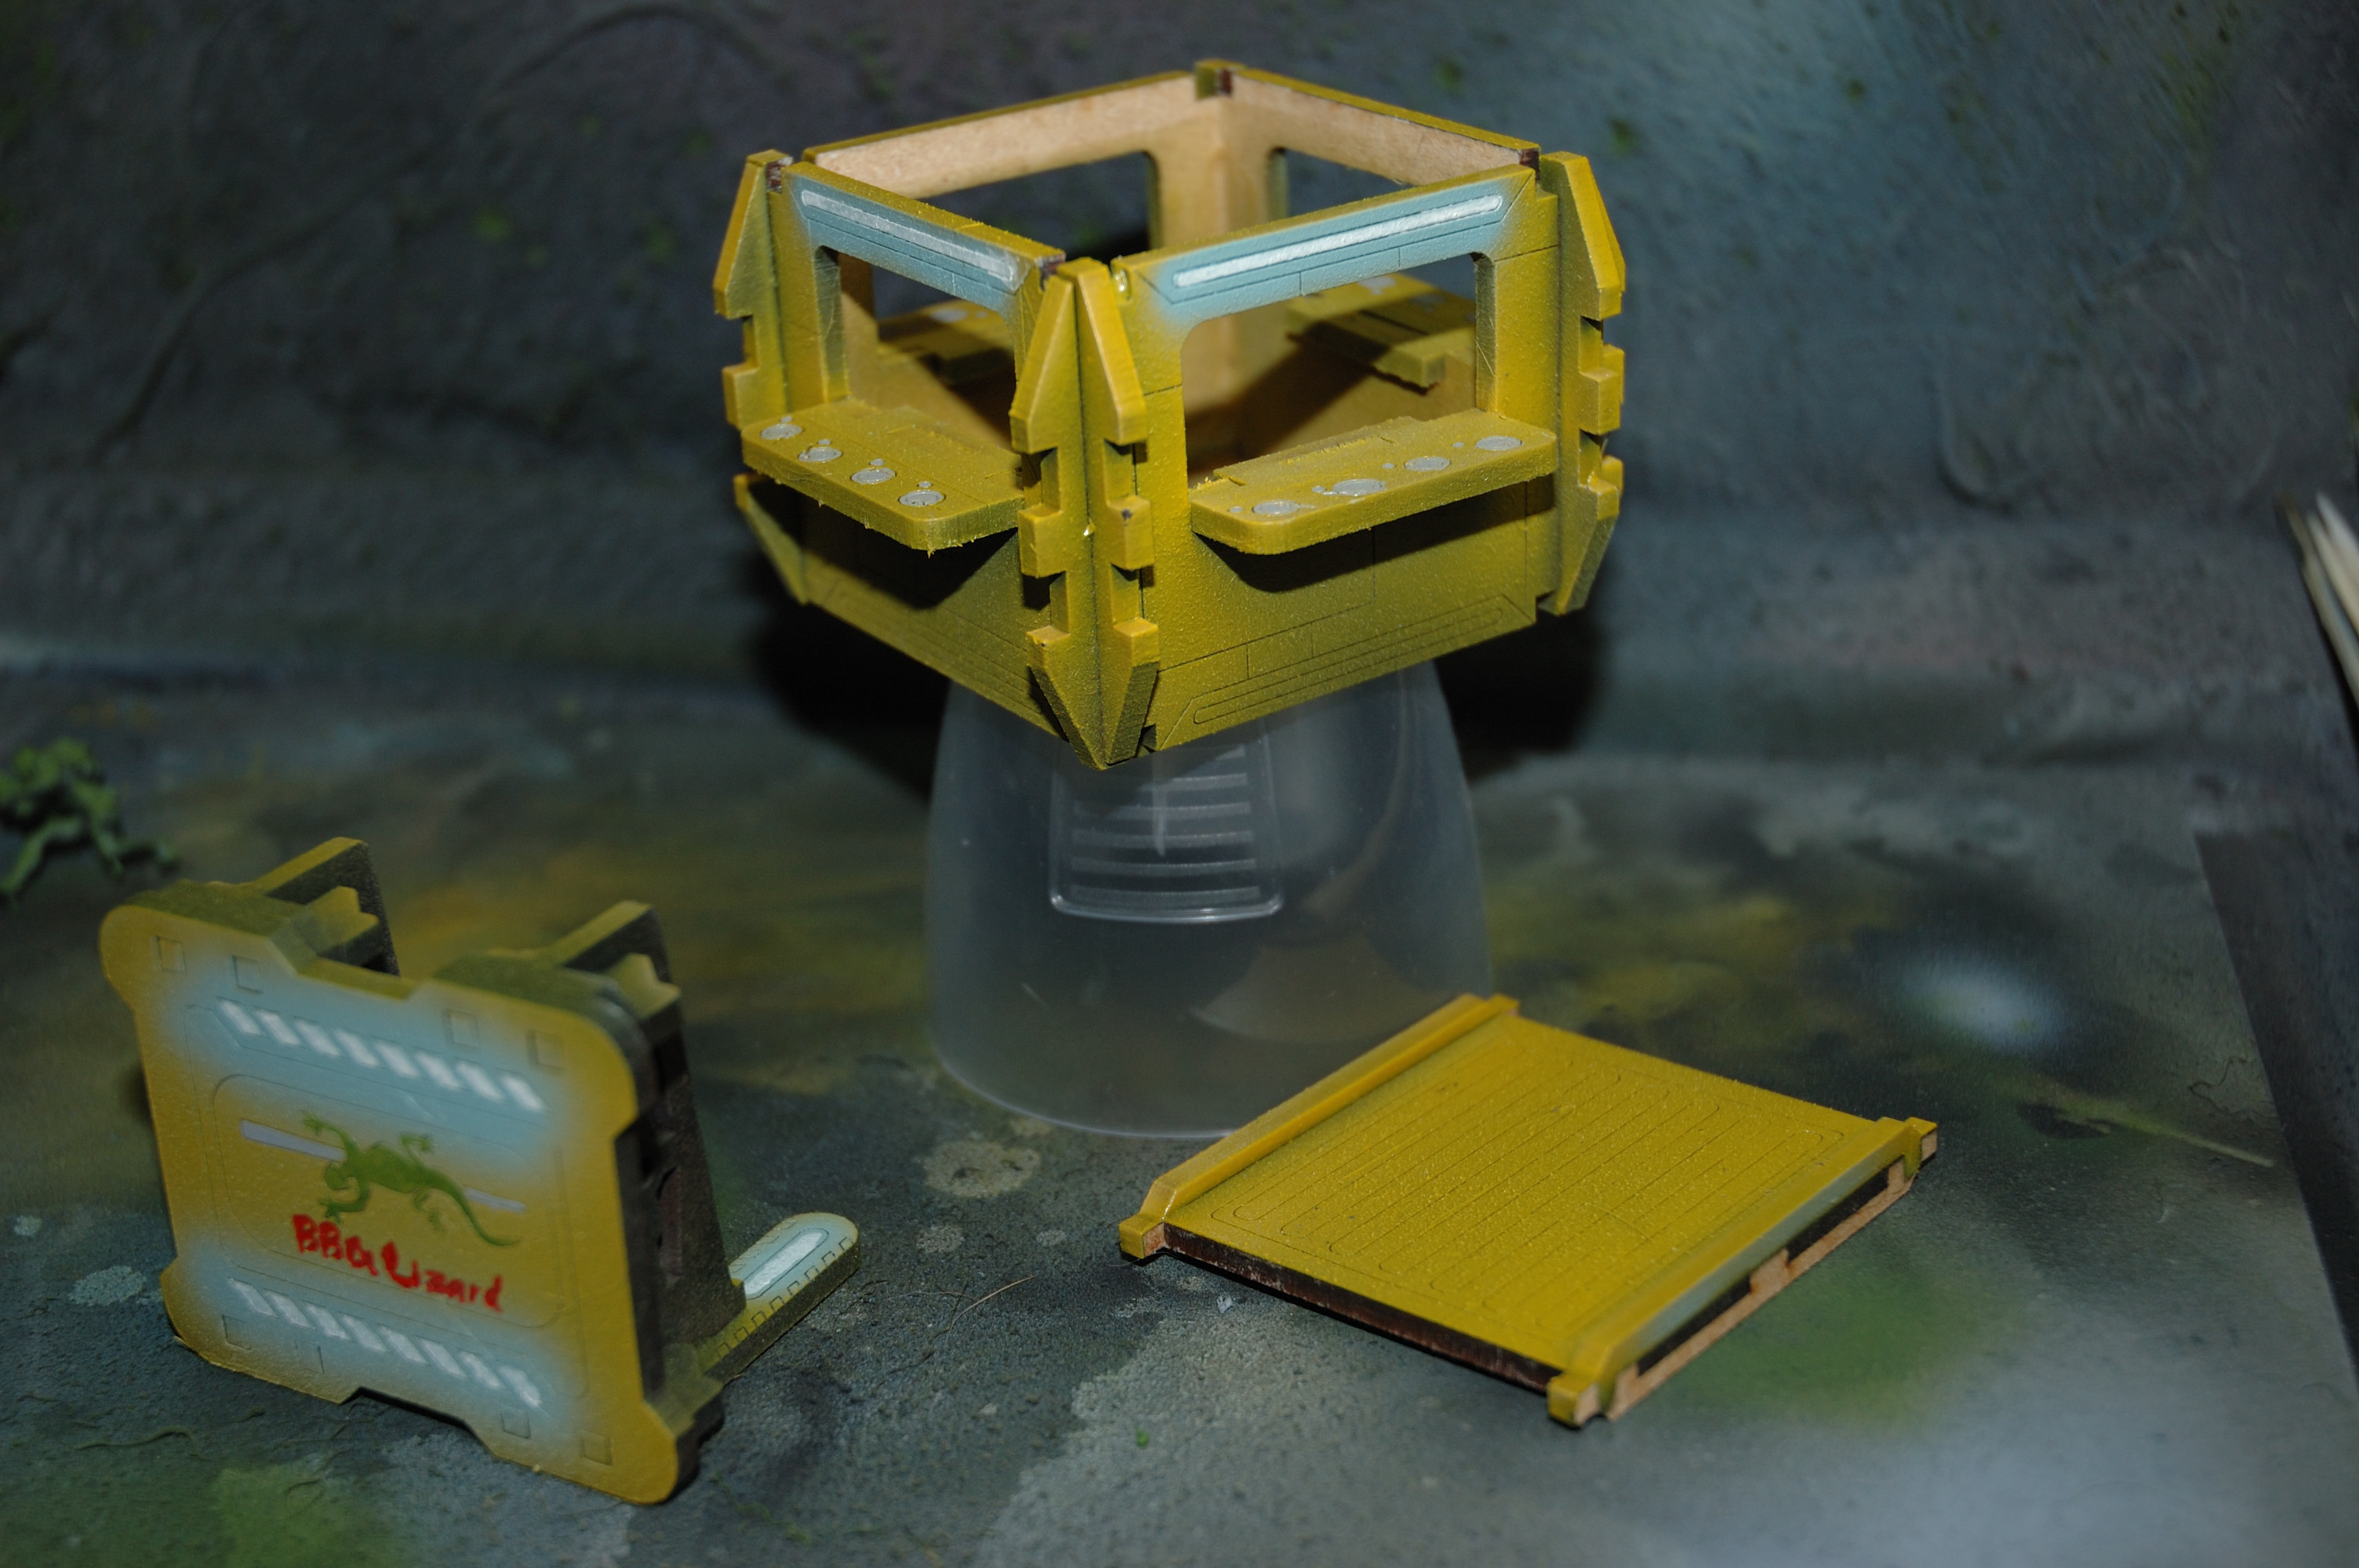
There were a couple points where I got lost on what went where, but figured it all out, eventually. For that, I had to deduct some points. I also accidentally constructed the Lizard BBQ Stands incorrectly. While my fault, I felt it could’ve been possibly addressed during the design.
-

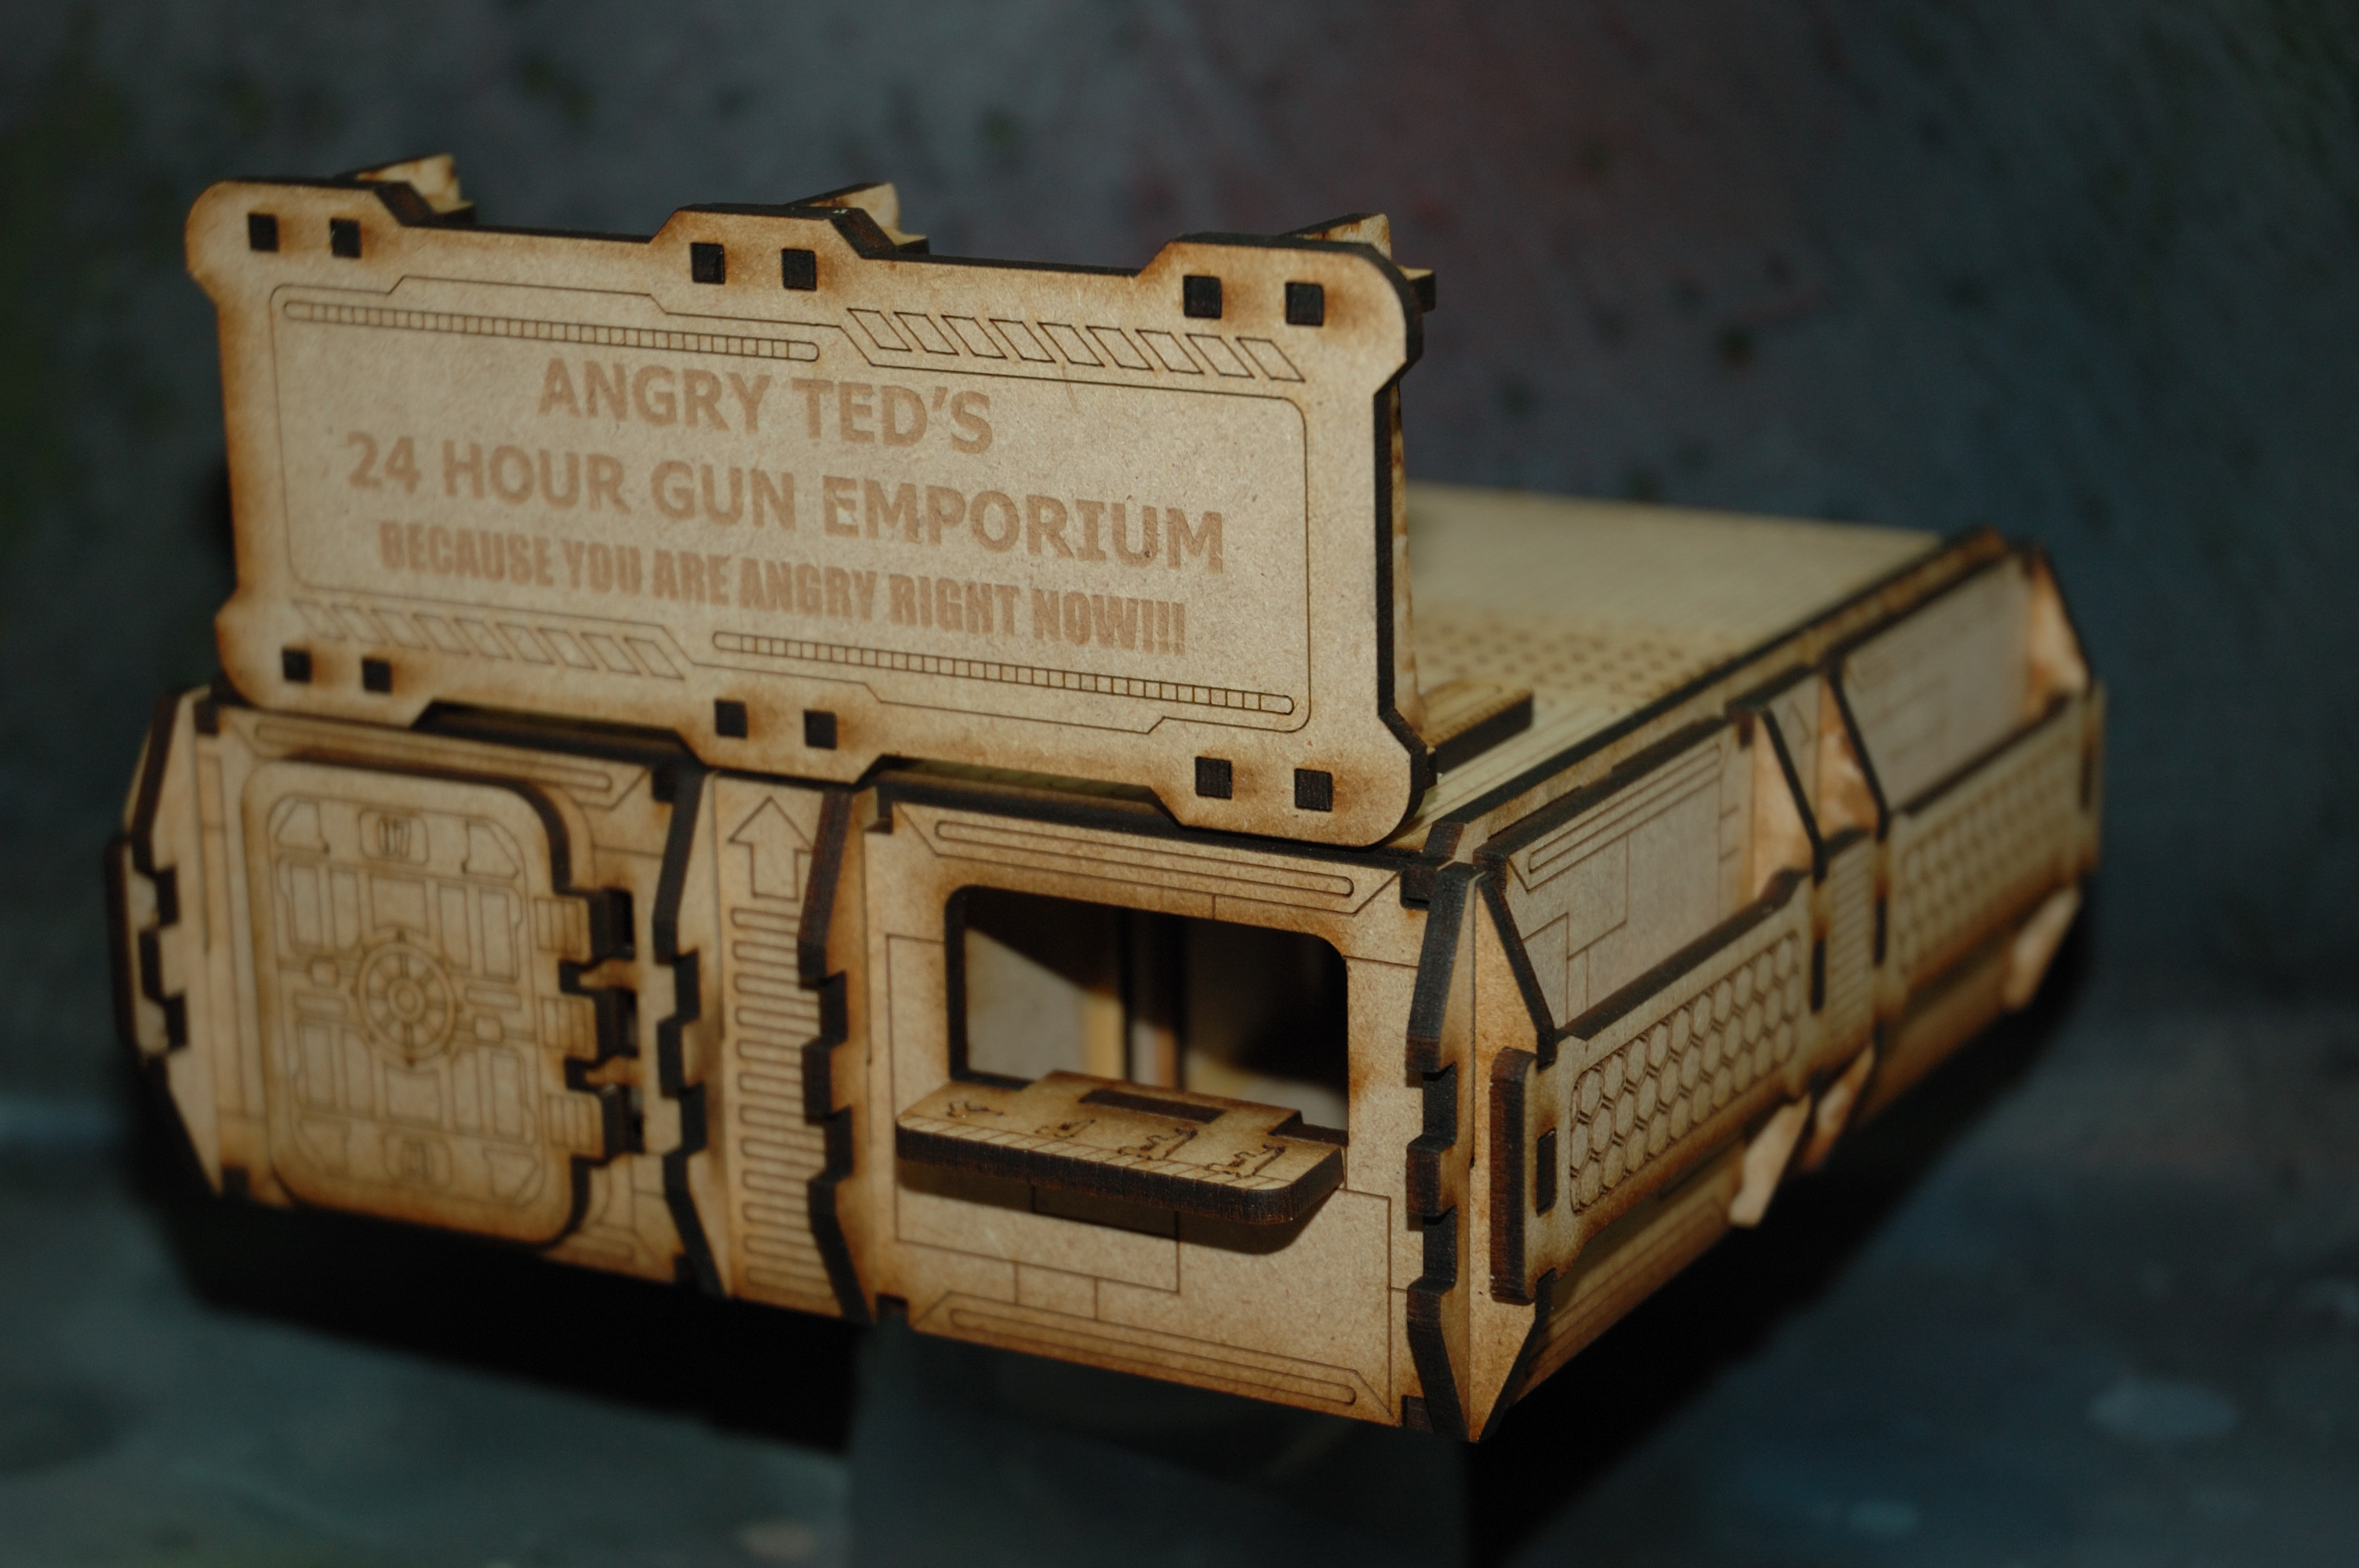
- This one is my favorite.


3: Painting
Now, to paint these pieces you need to prepare the wood for paint. Like all MDF, this terrain will simply drink up all your paint unless you use specialized paints or simply prepare the wood beforehand!
Personally, I brush on gesso first. Though, I’ve heard of watered down PVA being used to seal in the wood. What I wouldn’t recommend is using a lacquer like you would use for furniture. There are speciality spray paints you can use to treat the MDF, as well. But that’s a whole other article, I guess.
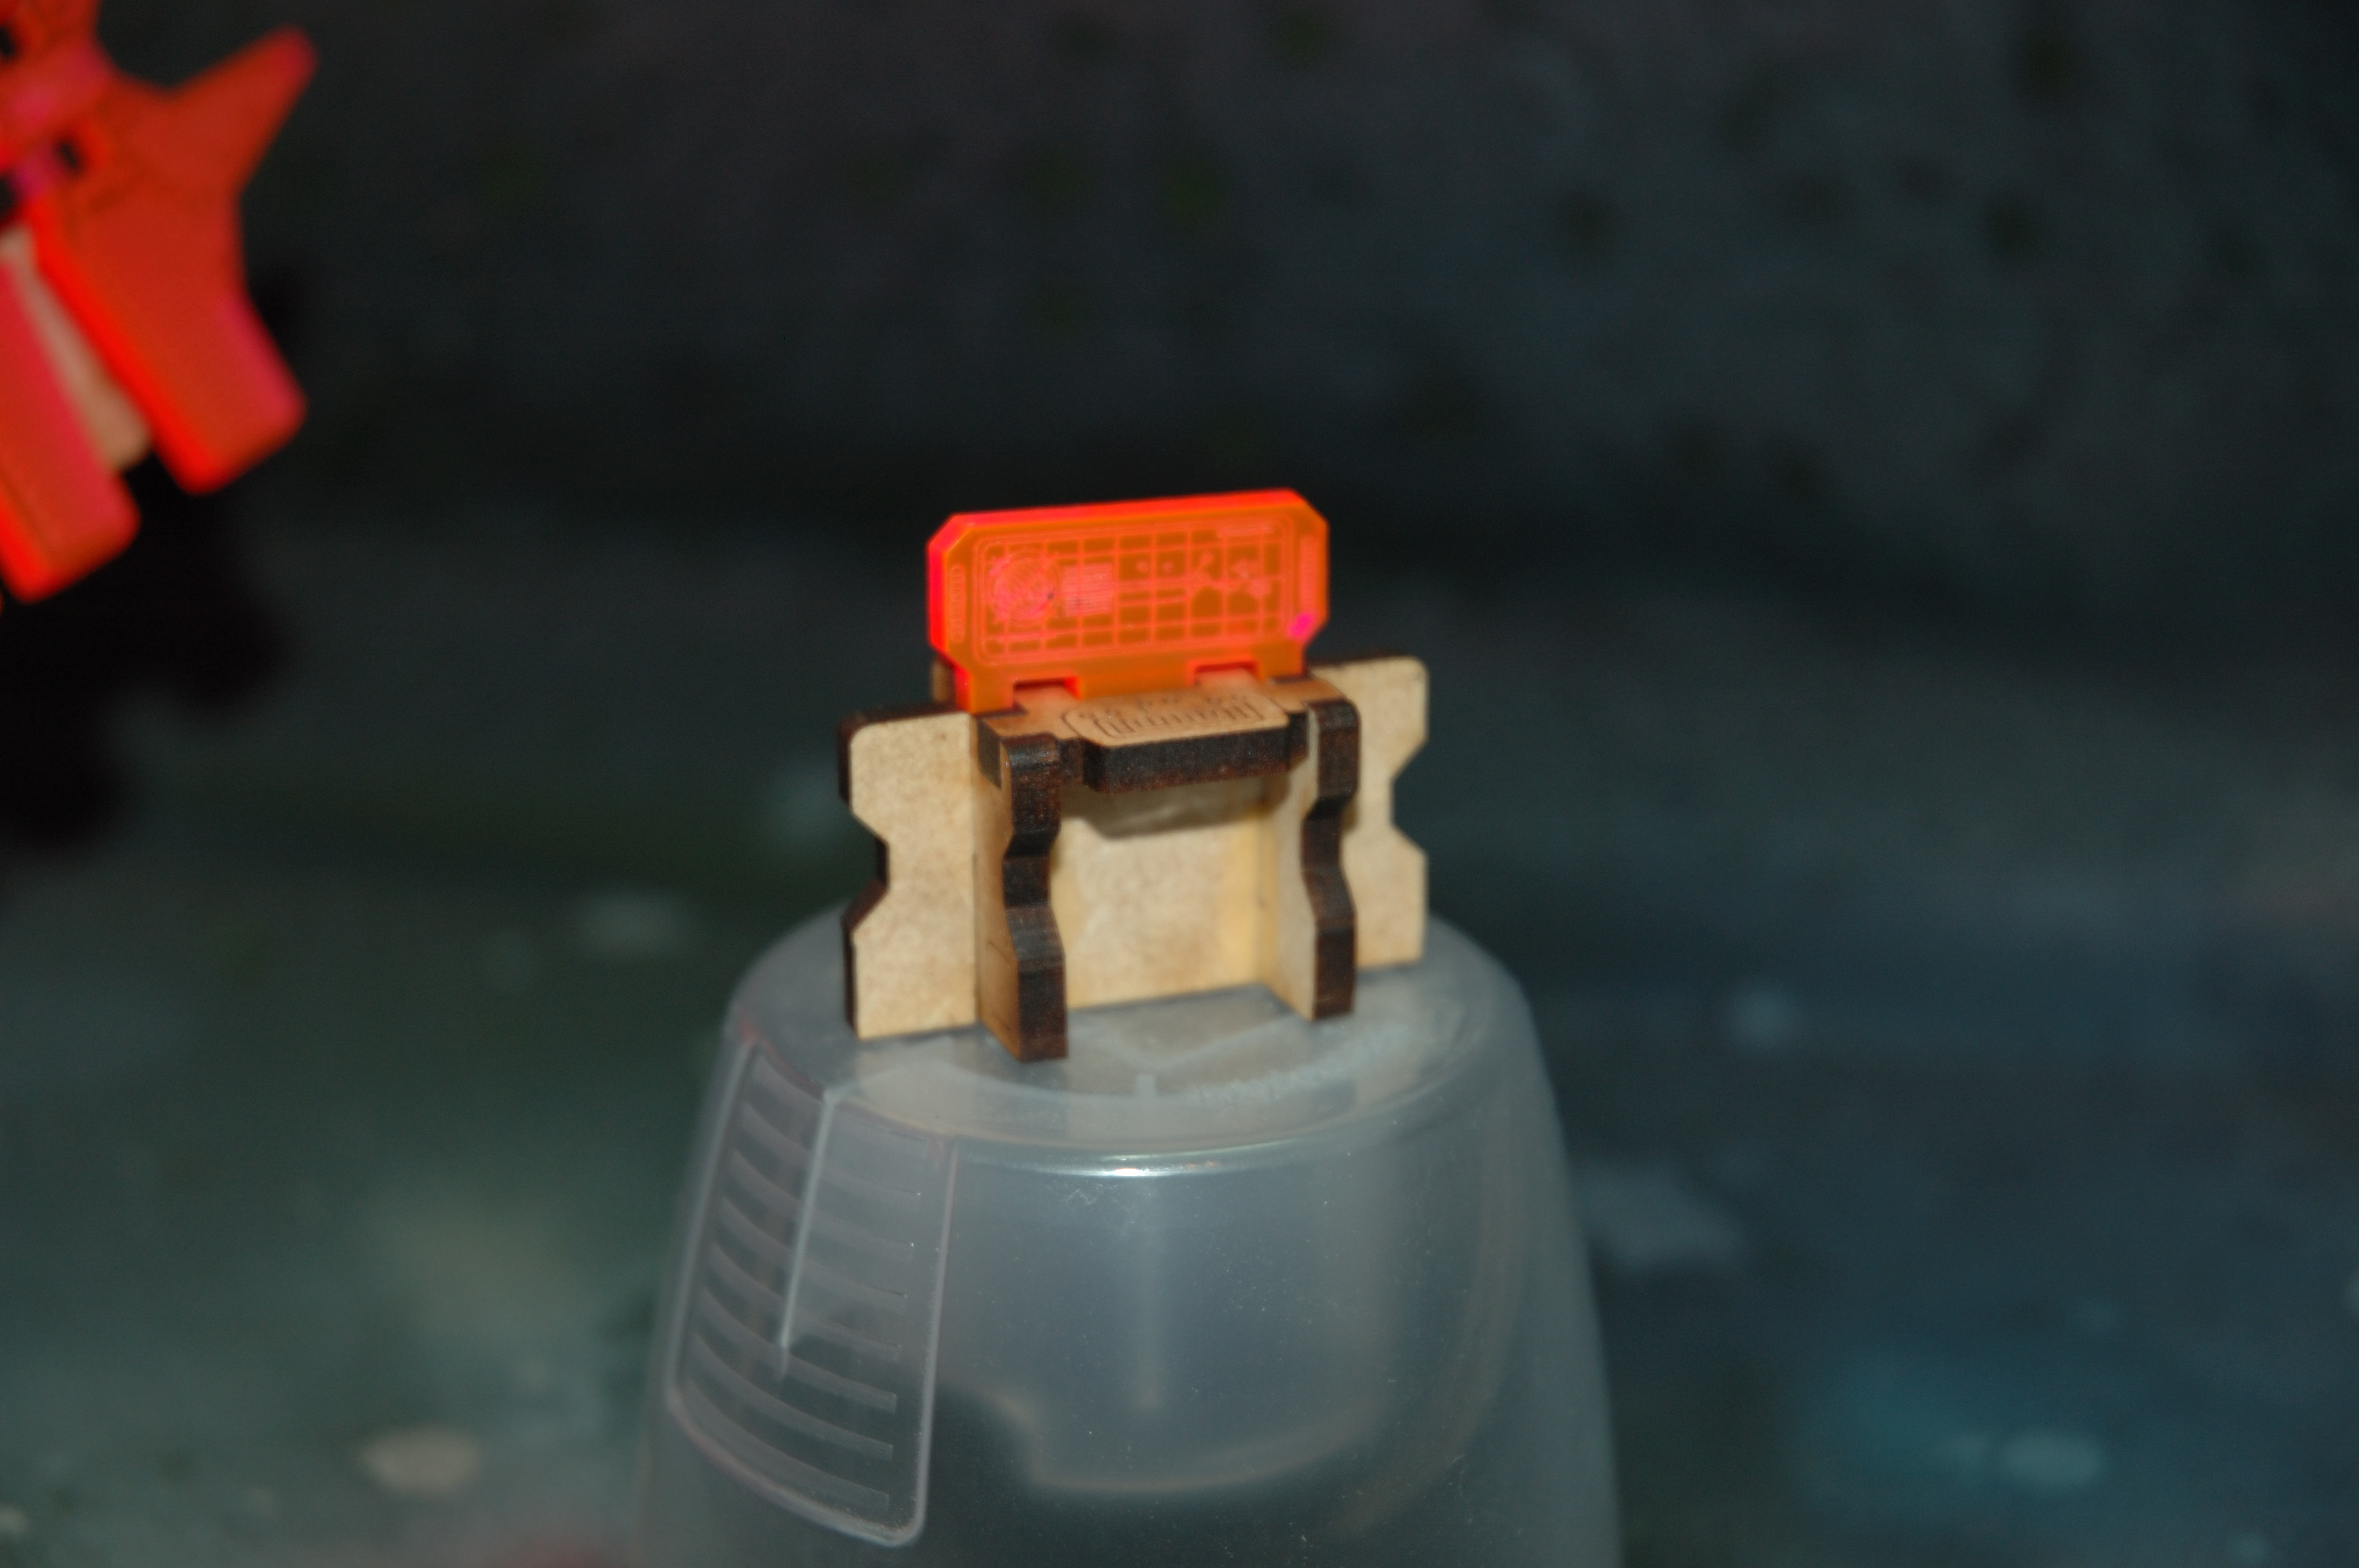
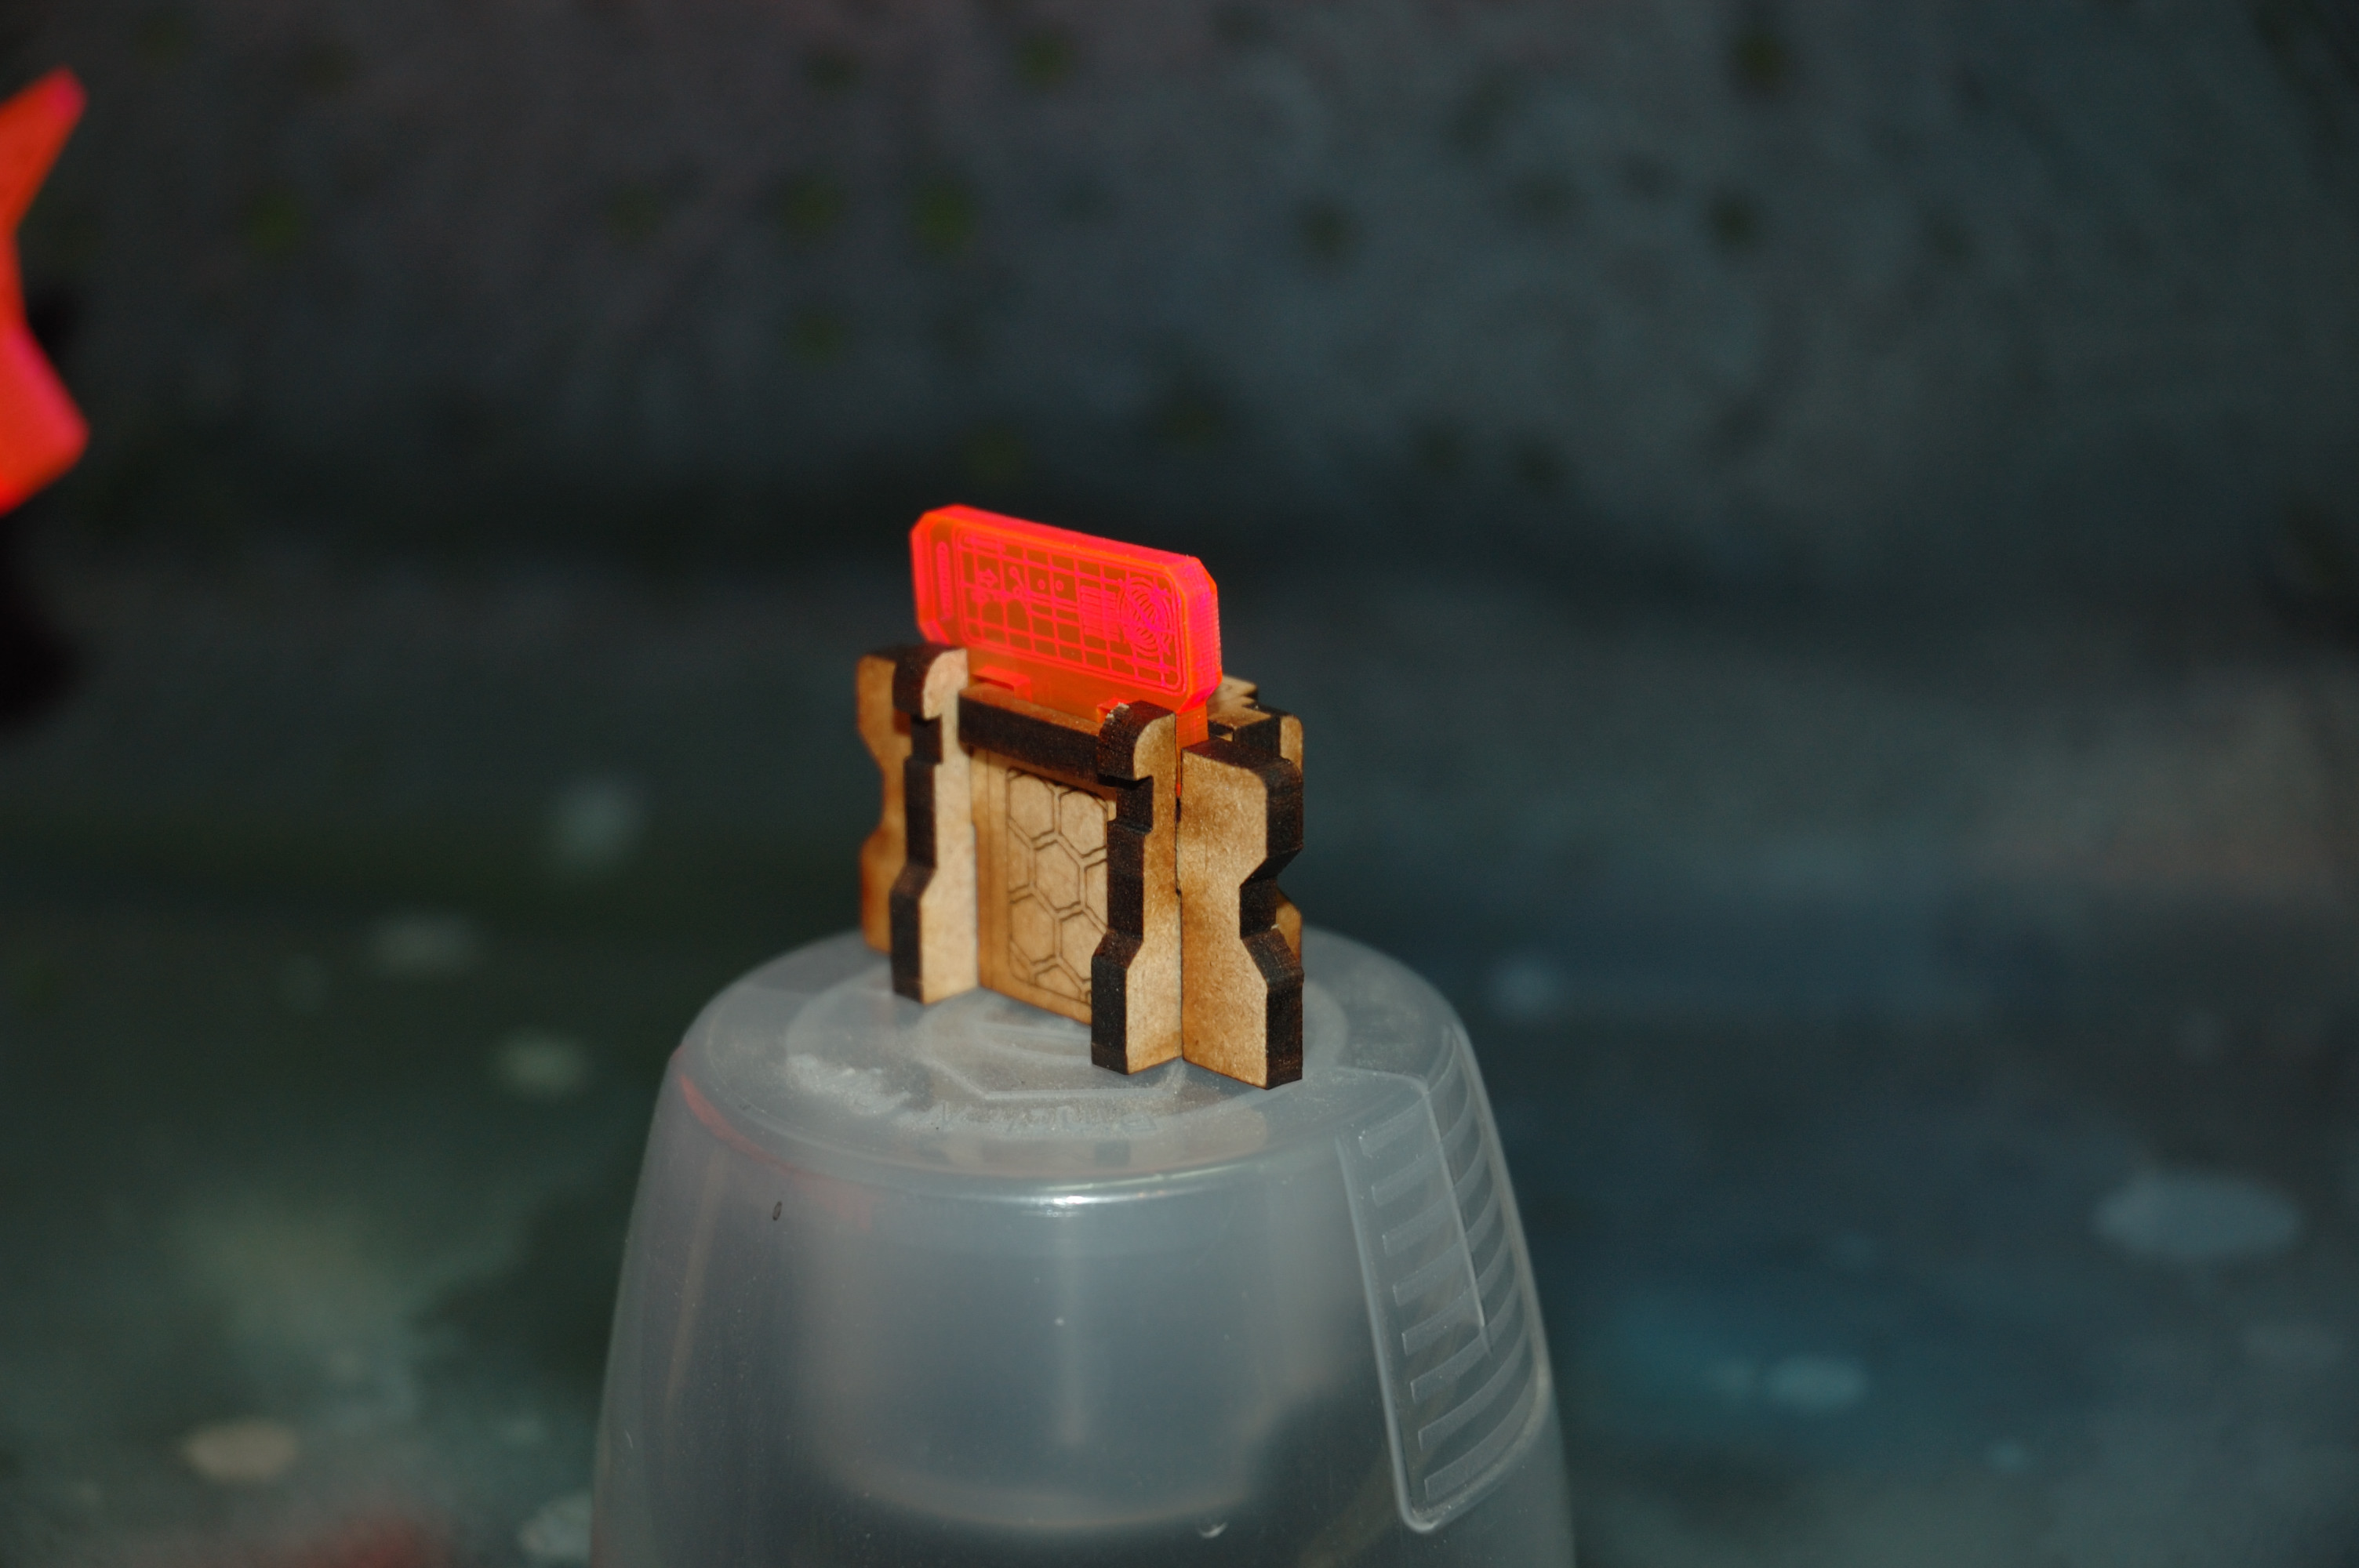
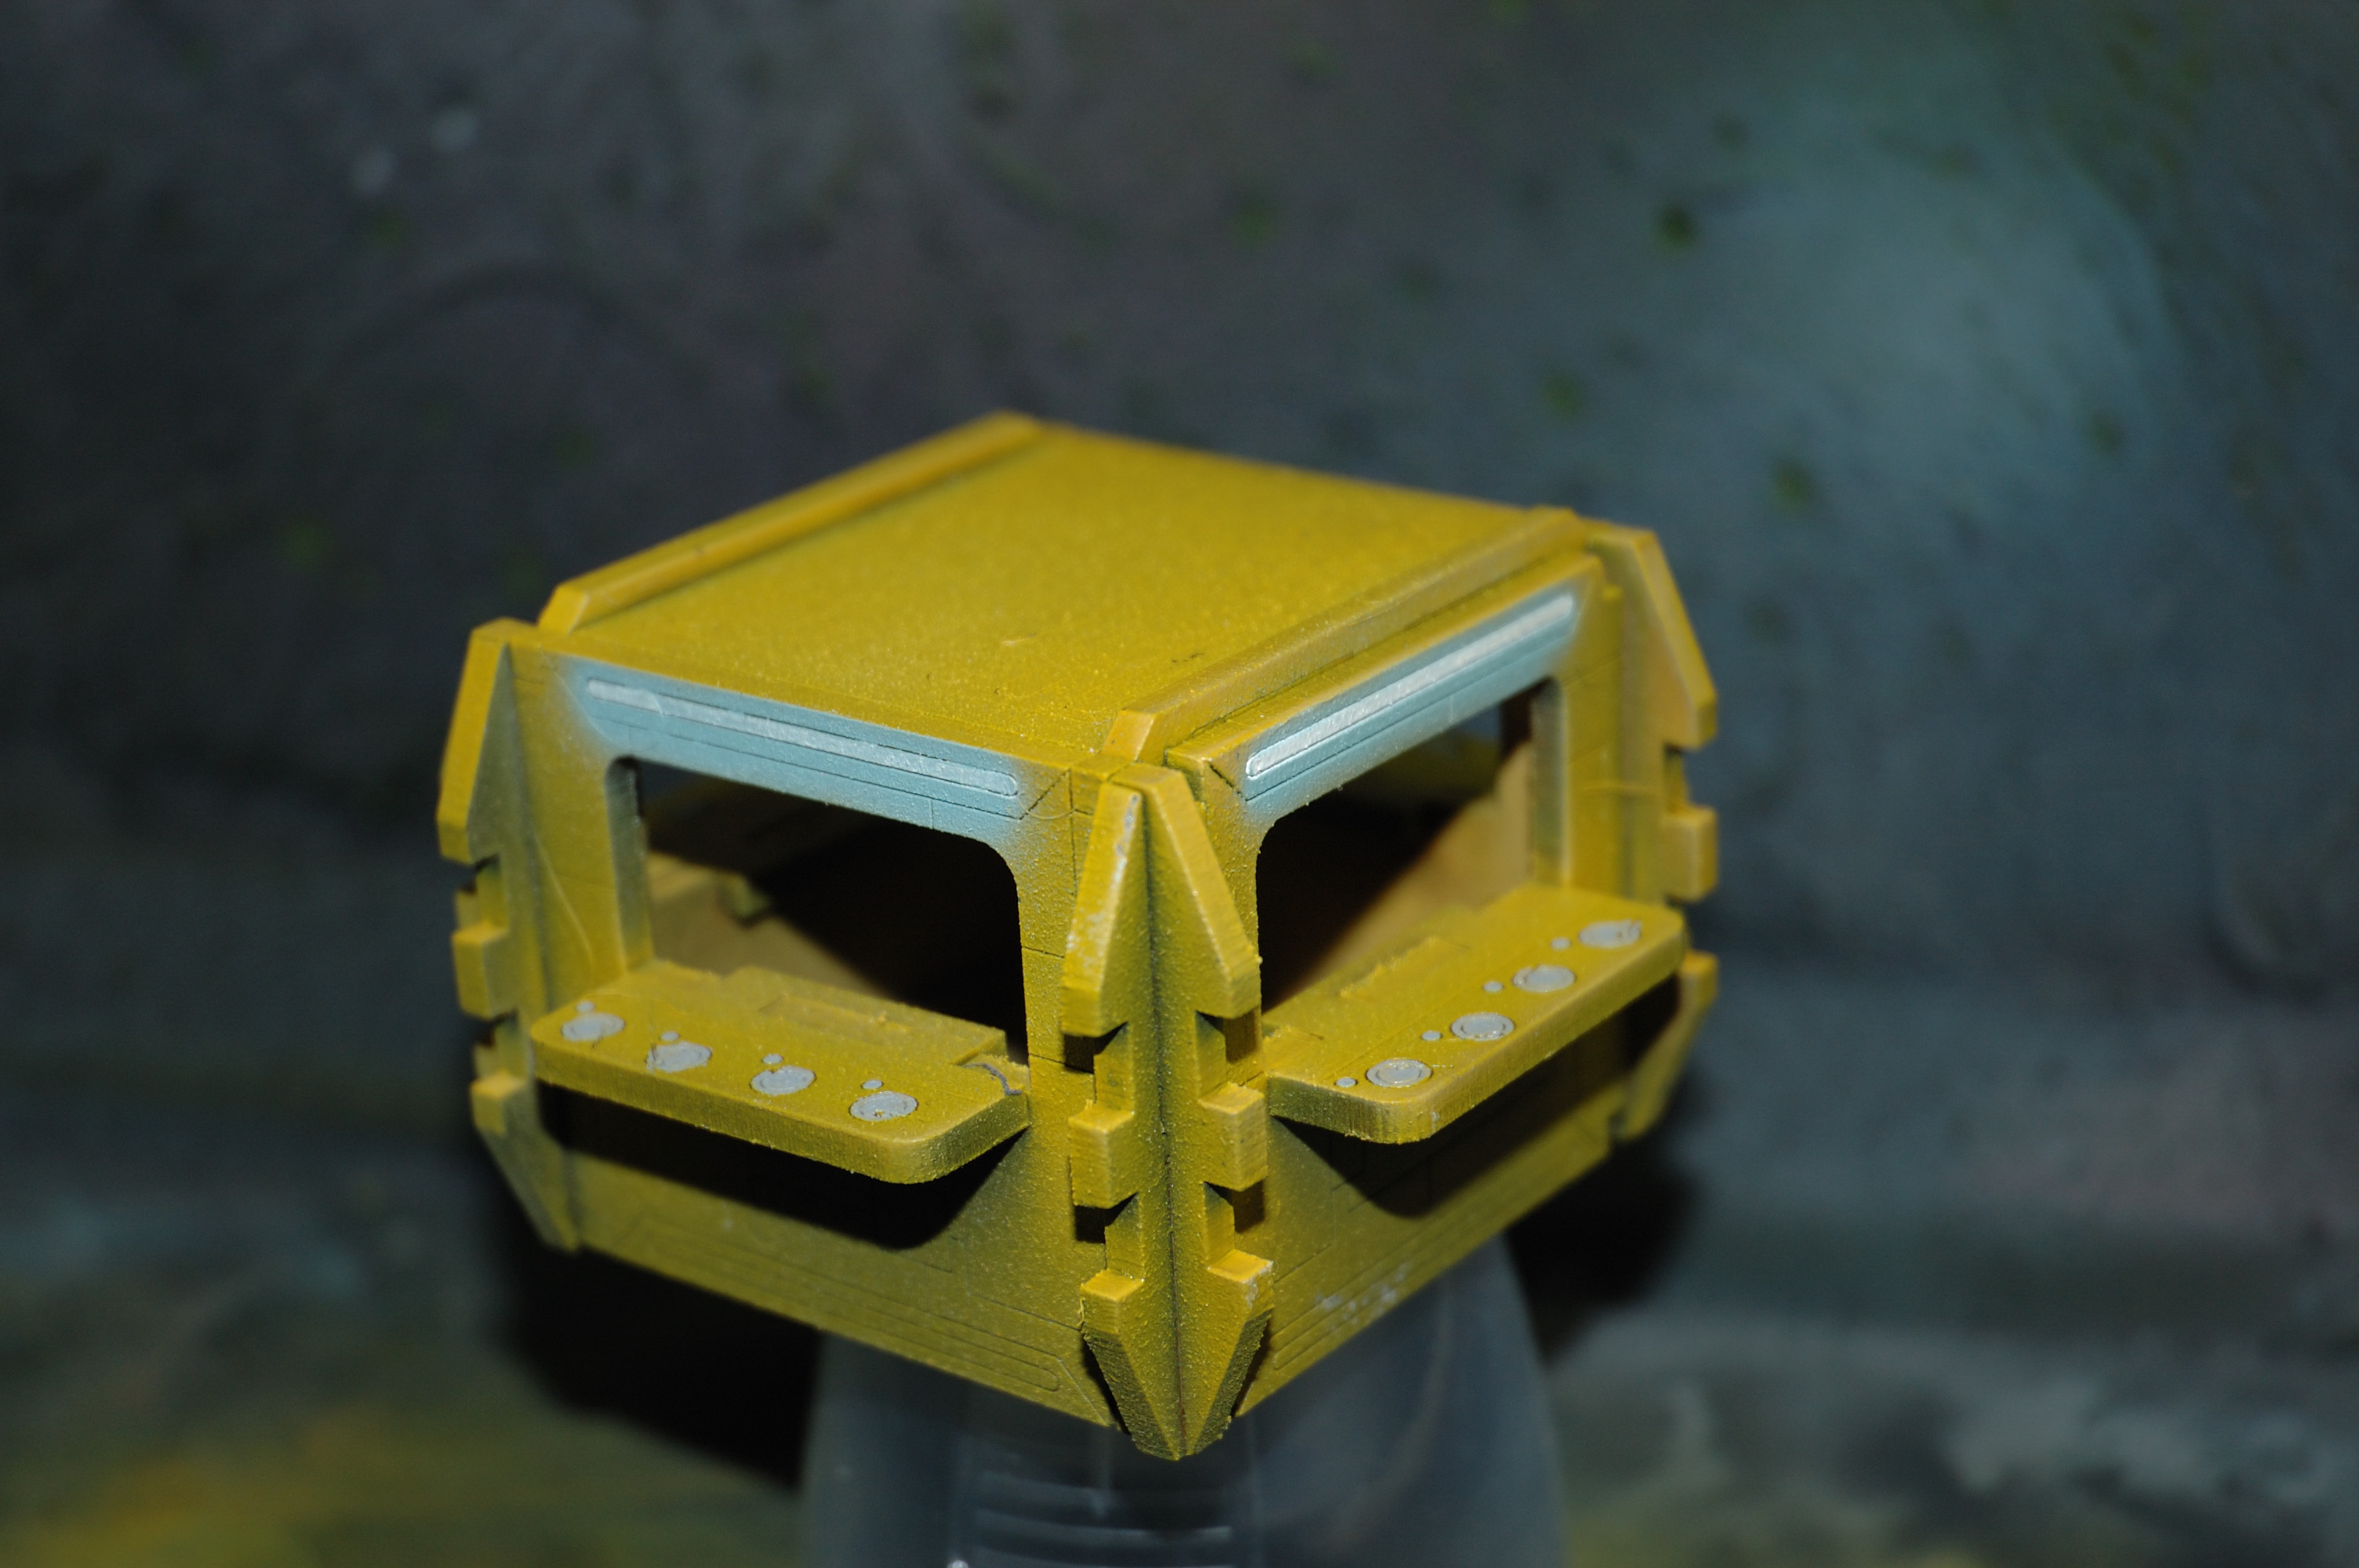
For these, I just airbrushed a black primer onto the gesso layer then went with the shadow color, then base color after that. Then details went after that. By details, I mean I airbrushed the “glow” of the “lights” before going in with a brush for the “blocked” colors like the plates and the signage. I also painted in the white of the lights to give a true glowing effect.
To get this review out in a decent (read: horribly long) time, I only painted one building. A small one, at that! You can see some of my results after the score and criticism.
Score: Solid 9/10
Not much I can really say. The pieces took paint well, though I ended up running through a fair amount of paint in painting the one piece. Though, I’ll attribute that to the color choice I made. Note: Yellow is hard to layer on top of black.


4: Aesthetics
Now, this section won’t have a score as it’s rather subjective and prone to individual differences.
To start with, these buildings aren’t particularly well detailed in a 3D fashion. Most of the details are etched in rather than layered on top. Now, this gives the buildings a more shallow feeling as opposed to some other manufacturers. While not necessarily bad (it keeps things simple for painting and construction), it also comes off as looking cheaper than the other terrain (which it is).
I like the art direction they went with, though. Some humor is present and the details are, at least, there.
Some things I don’t like are the general “boxy” feel of the terrain as it’s all in rectangles with no real deviation from that template and, as mentioned earlier, the shallow details. I would’ve certainly preferred a more layered approach.
5: Gameplay
Here’s what might be one of the more interesting points for those interested in the terrain. Now, I played a little on the terrain and also saw other people playing around it. This means I haven’t gotten that much experience in using the terrain in games. Keep that in mind.
Though I criticized it in the Aesthetics section, the square shape of the pieces allows for pretty clean gameplay. The corners don’t allow for too many discrepancies.
Something I’d recommend for those using the terrain is to set up the board with most of the doors open. These doors are great Line of Fire blockers and good sources of cover for your usual 25mm based troopers.
For terrain like the BBQ stands, remember the presence of those windows, too. They’re pretty handy for giving less corner-centric cover with open avenues for counter attacks.
Remember that all the larger buildings have ladders along the longer walls at the midpoint! It gives the terrain some good 3D potential and opens up more possible lanes of fire.
Overall, very easy to play and utilize.
Score: Good 8/10
If the ladders had been more of a 3D procedure, their presence wouldn’t get forgotten or overlooked as often. This could be a simple fix by having a small thing you’d simply glue over the etched on ladder design with a piece that simply has the rungs punched out. That’s the critique, but it’s a pretty important one. Multi-leveled battlefields are a great opportunity that isn’t likely to see occur on this terrain as it’s simply overlooked.
6: Durability
I’ve been pretty thorough with my Durability testing. I’ve had the terrain for almost a month now with a game or two a week being played with it. I even “accidentally” dropped the painted piece on my carpeted floor a couple times to test how well the glue set and how robust the piece was. For the simple piece I had painted, very little changes occured; some of the paint chipped ever so slightly. That’s it. These pieces are (due to perhaps their simplistic and rectangular design) quite sturdy and can withstand a fair amount of abuse. Now, I wouldn’t go purposefully dropping my terrain during normal use, but these should stand up to most things you put them through. None of the connections are particularly thin, either, which helps with preventing breakage.
All of that said, I didn’t try dropping the radar dish. I can tell that would simply explode on me.
Score: Solid 9/10
Nothing real substantial to add here, in all honesty. The pieces are strong. I’d have like some more time to do temperature testing and perhaps even water damage (some gamers are forgetful and/or clumsy). I have a suspicion that very high (Texas Summer car temperatures) would cause damage but don’t have a means of testing that until Summer rolls around. We’re only hitting high’s of 90’s in September this year.
7: Final Comments
Overall, the terrain is quite good. Recap mode!
Pros:
- Fast Shipping
- Individual packaging
- Simple construction
- Fast construction
- Easy painting
- Good gameplay
- Very solid design with regards to durability
Cons:
- No labels in packaging
- No included instructions (though, they are available online and generally hard to screw up)
- Prep work required to paint MDF
- “Hidden” ladders
Final score: 8.4/10
Good job, Underground Lasers! You get my approval and recommendation! I’m glad I could do my first official review for you guys. Good looking stuff seems to be on the horizon!


Holy cow Angry Ted’s looks awesome! There is a strong Fallout Vibe (1&2) going on here.
Quick question: does brushing glue or gesso on obscure the lines etched into the wood? My experience has been glue runs into them and fills them in. How do you get around that?
Yes! That’s the aesthetic that I was trying to grasp at straws for. I couldn’t quite place it, but you are correct. With proper weathering and the right color palette, these building could very easily fit the Fallout aesthetic.
In my experience, brushing glue is more likely to fill in those details, but gesso retains the texture very well with only minor smoothing of features. The painted piece that I display in the review is brushed with two layers of gesso and with no noticeable loss of detail. The gesso shrinks more than PVA glue as it dries, which I think is the difference and the reason why PVA needs to be watered down as opposed to me applying straight gesso.
If you’re still set on using the PVA glue, I’d recommend simply watering the glue down further if you’re having issues with detail being lost.
Nice review, but Elmer’s Glue is PVA glue and canopy glue is polyvinyl acetate glue which, you guessed it, is PVA glue.
Hmm… the glue I use isn’t the usual “white” glue that I’m used to. The type I use is very watery, clear, and smells very similar to your average “super” CA glue.
I’ll try to remember to take a look and see what the ingredient is.
Hey guys, thanks for the review
quick points.
-Try just priming the terrain with acrylic paints, we had no issues with this MDF soaking it in that much.
– There are ladders included in some of the kits =) there should be one included with the radar dish.
– The simple design was mean that way, these are shipping containers that are retooled as habitats for planet colonization. also the main goal was to make this things tough enough to store in a box and dropped.
as per glue, Elmers wood glue is great for these.
Hopefully these help
I was worried that my paint would simply soak into the MDF like I’ve had on other manufacturers. Glad to hear that should not be the case with your buildings. I’ll try painting the other BBQ stand this weekend without using the gesso layers and see how it ends up. Maybe I’ll write an article on the differences.
Yes! I got that ladder. It seems useful for those shorter kits that don’t have the mid-point ladders. I’ve used it in some of my terrain setups that involve the radar dish, but most of the players that end up playing don’t often find themselves using the higher point of the radar dish.
These things are certainly tough! I went a little beyond my initial drop testing and tried twisting some of the buildings, dropping some of the larger buildings, and even flailing the buildings about. These things are rugged!
Thank you for the opportunity to review your terrain.
I have some of the older terrain. I’ve found that the generic purple top gap filling CA glue works really well on this. It is thick enough that it doesn’t soak right in but it dries insanely fast. You could literally be playing on it in minutes after you built it with the CA stuff.
Could you do an article or tips and tricks with prepping and painting this stuff? Models I have no issues, but MDF terrain is nowhere near my wheelhouse, so I’m an utter noob…
Sure! I’ll talk with some of the staff members on getting an article about prepping and painting MDF and other wood-based terrain.